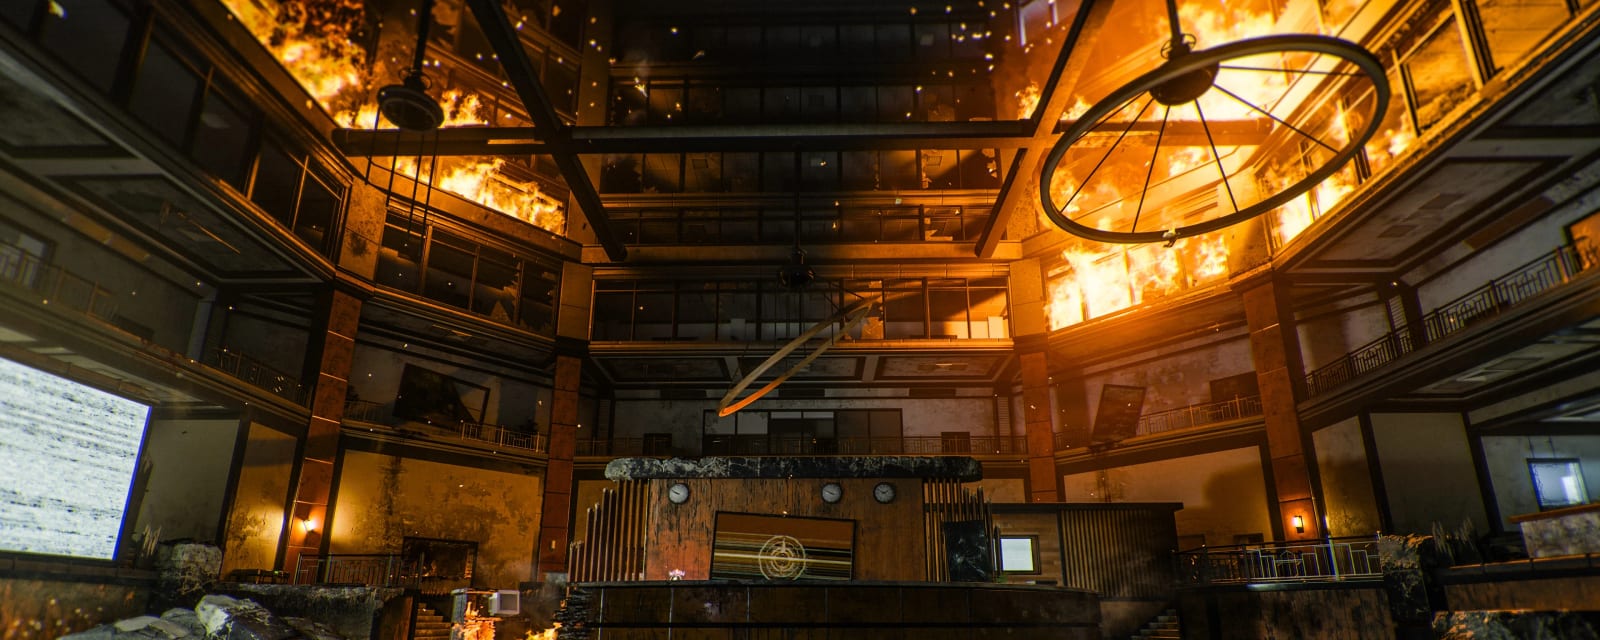

Reckoning
The Season 4 finale of the Black Ops 6 Dark Aether saga, set deep inside the Project Janus HQ across three sublevels. Open the Teleportation Lab, stitch together Franken-Klaus, forge the Gorgofex Wonder Weapon, power the portal, then make the branching alliance CHOICE — help Richtofen to fight S.A.M., or help S.A.M. to fight Uber Richtofen.
Quick answers
Reckoning is the Season 4 finale of the Black Ops 6 Dark Aether saga, set inside the Project Janus HQ across three sublevels. Its 15-step main quest has you build Franken-Klaus, forge the Gorgofex Wonder Weapon, power the portal, then make a branching choice: side with Richtofen to fight S.A.M., or with S.A.M. to fight Uber Richtofen. Very Hard; solo-capable.
Where is Pack-a-Punch on Reckoning?
Pack-a-Punch is on Sublevel 10. Interact with the snow globe in the Director's office to open the route down through Android Assembly and Dark Entity Containment, restart the particle accelerator, then shoot the twelve Aetherium deposits — the purple crystals marked with orange symbols — to activate Pack-a-Punch.
What is the Wonder Weapon on Reckoning?
The Wonder Weapon is the Gorgofex. Solve the periodic-table code to open the Bioweapons Lab, fill the cyst and drain the three etheric flowers, then trigger the power surge and lead an Uber Klaus onto the electrified plate — killing the resulting Forsaken-Klaus drops the Gorgofex.
Who is the boss of Reckoning, and which side should I pick?
Reckoning ends with a branching choice: help Richtofen to fight S.A.M., or help S.A.M. to fight Uber Richtofen. The S.A.M. path is the easier fight; the Richtofen path is much harder. You get only one per game, so decide before you commit.
How do you build Klaus on Reckoning?
Franken-Klaus needs two arms and two legs. The arms are the bottleneck — one drops per Commando Klaus special round (about every five or six rounds), so start early. Both legs are always available in T2 Android Assembly. Assemble him at the Klaus droid before round 16.
How many steps is the Reckoning Easter egg?
The Reckoning main quest is 15 steps and runs roughly 60–95 minutes, rated Very Hard — the longest and hardest Black Ops 6 Easter egg, and the finale of the Dark Aether saga. It is solo-capable for 1–4 players, though many props randomise per match.
Map & Key areas
The map layout first, then the areas worth knowing by name. Map imagery © Activision, self-hosted.
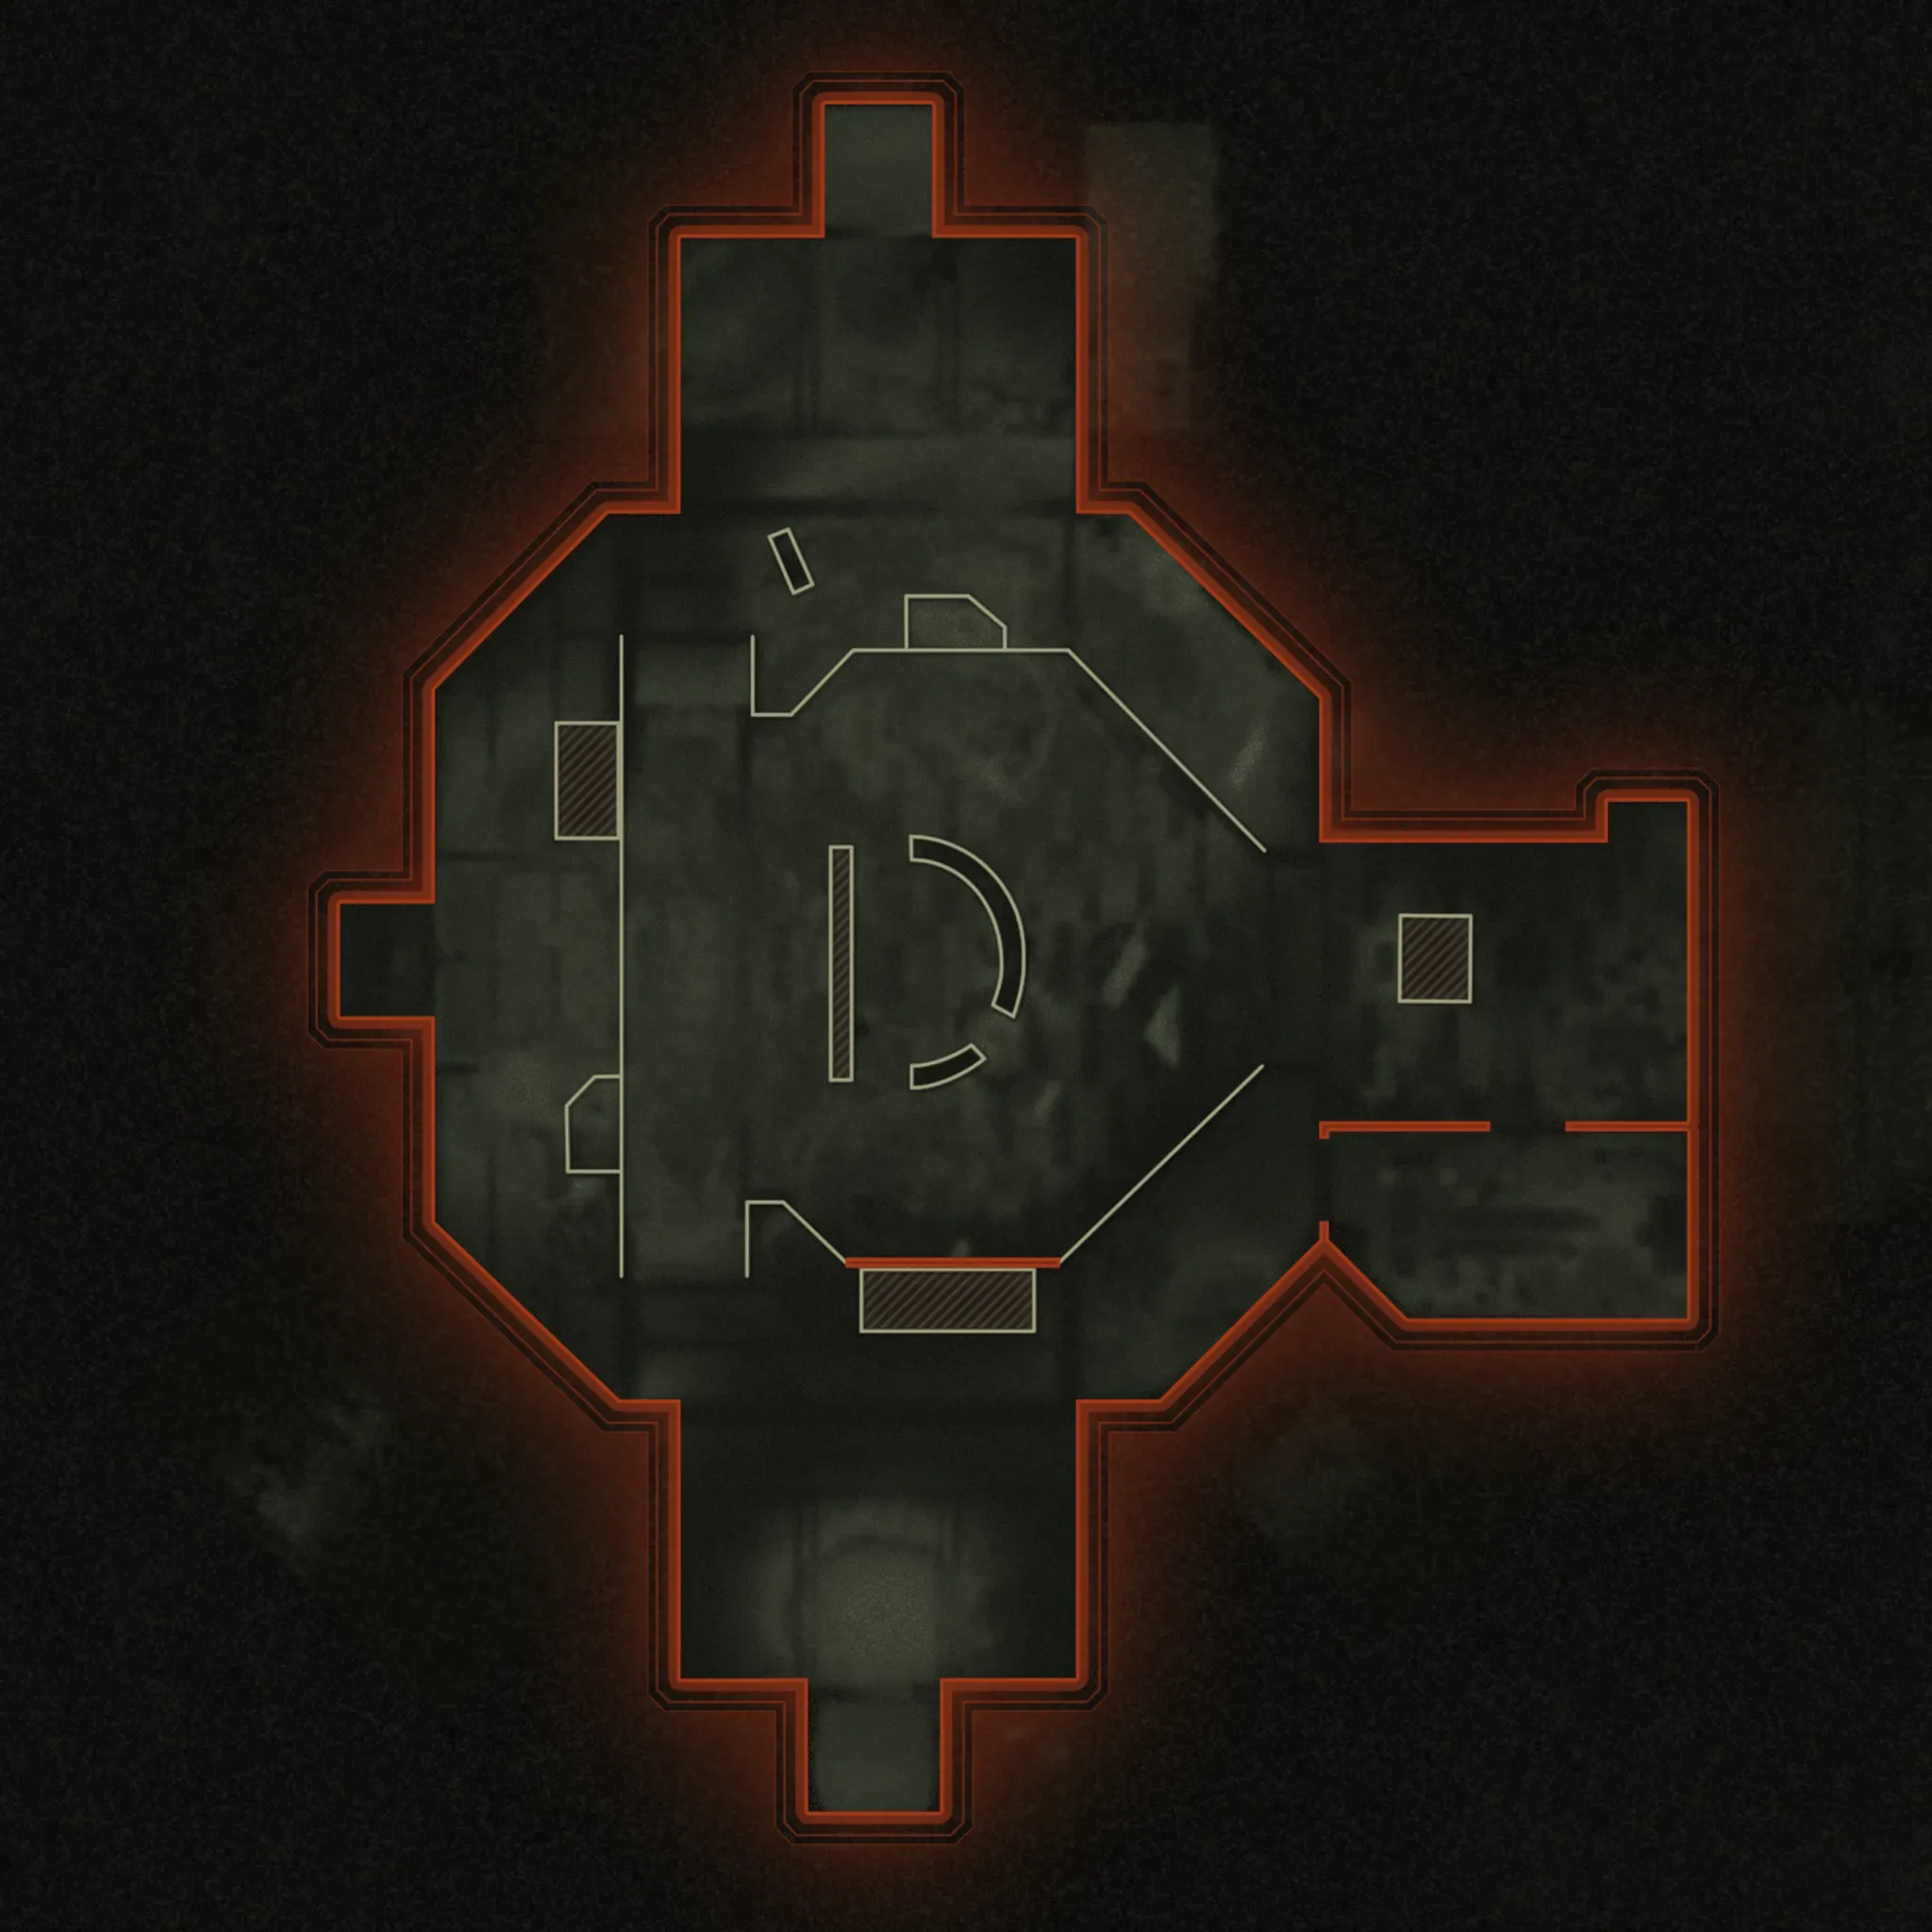
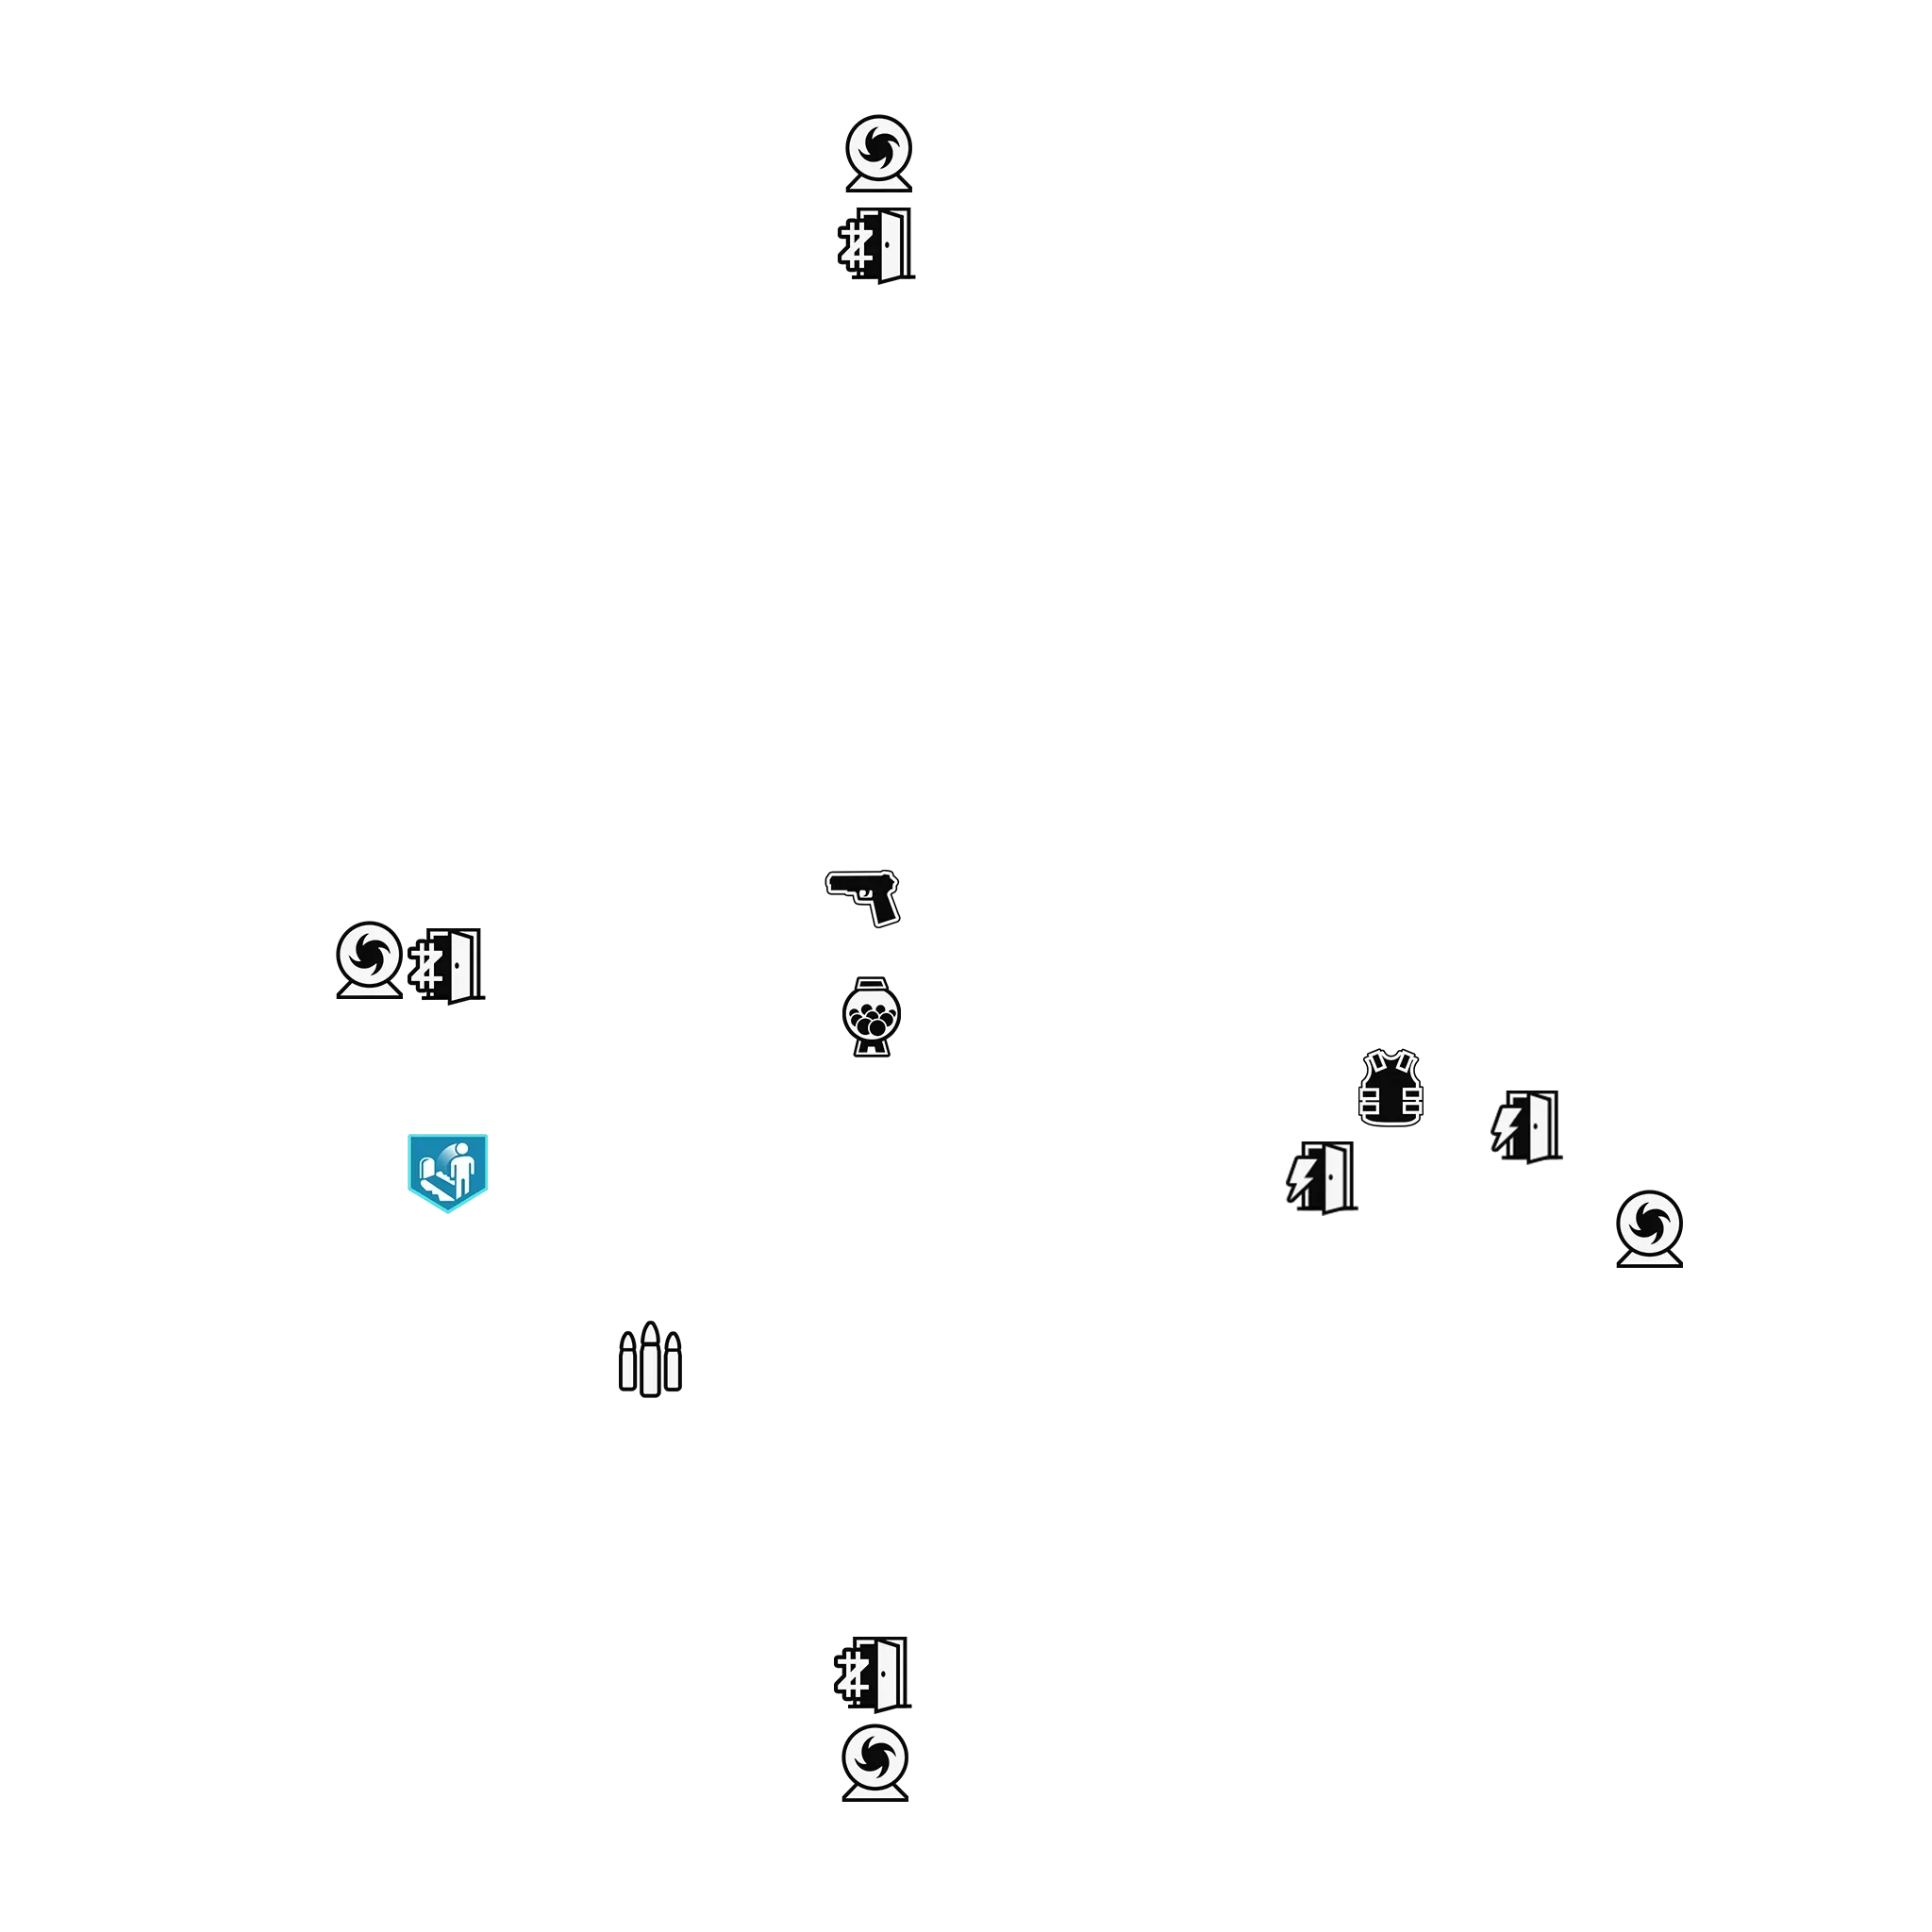
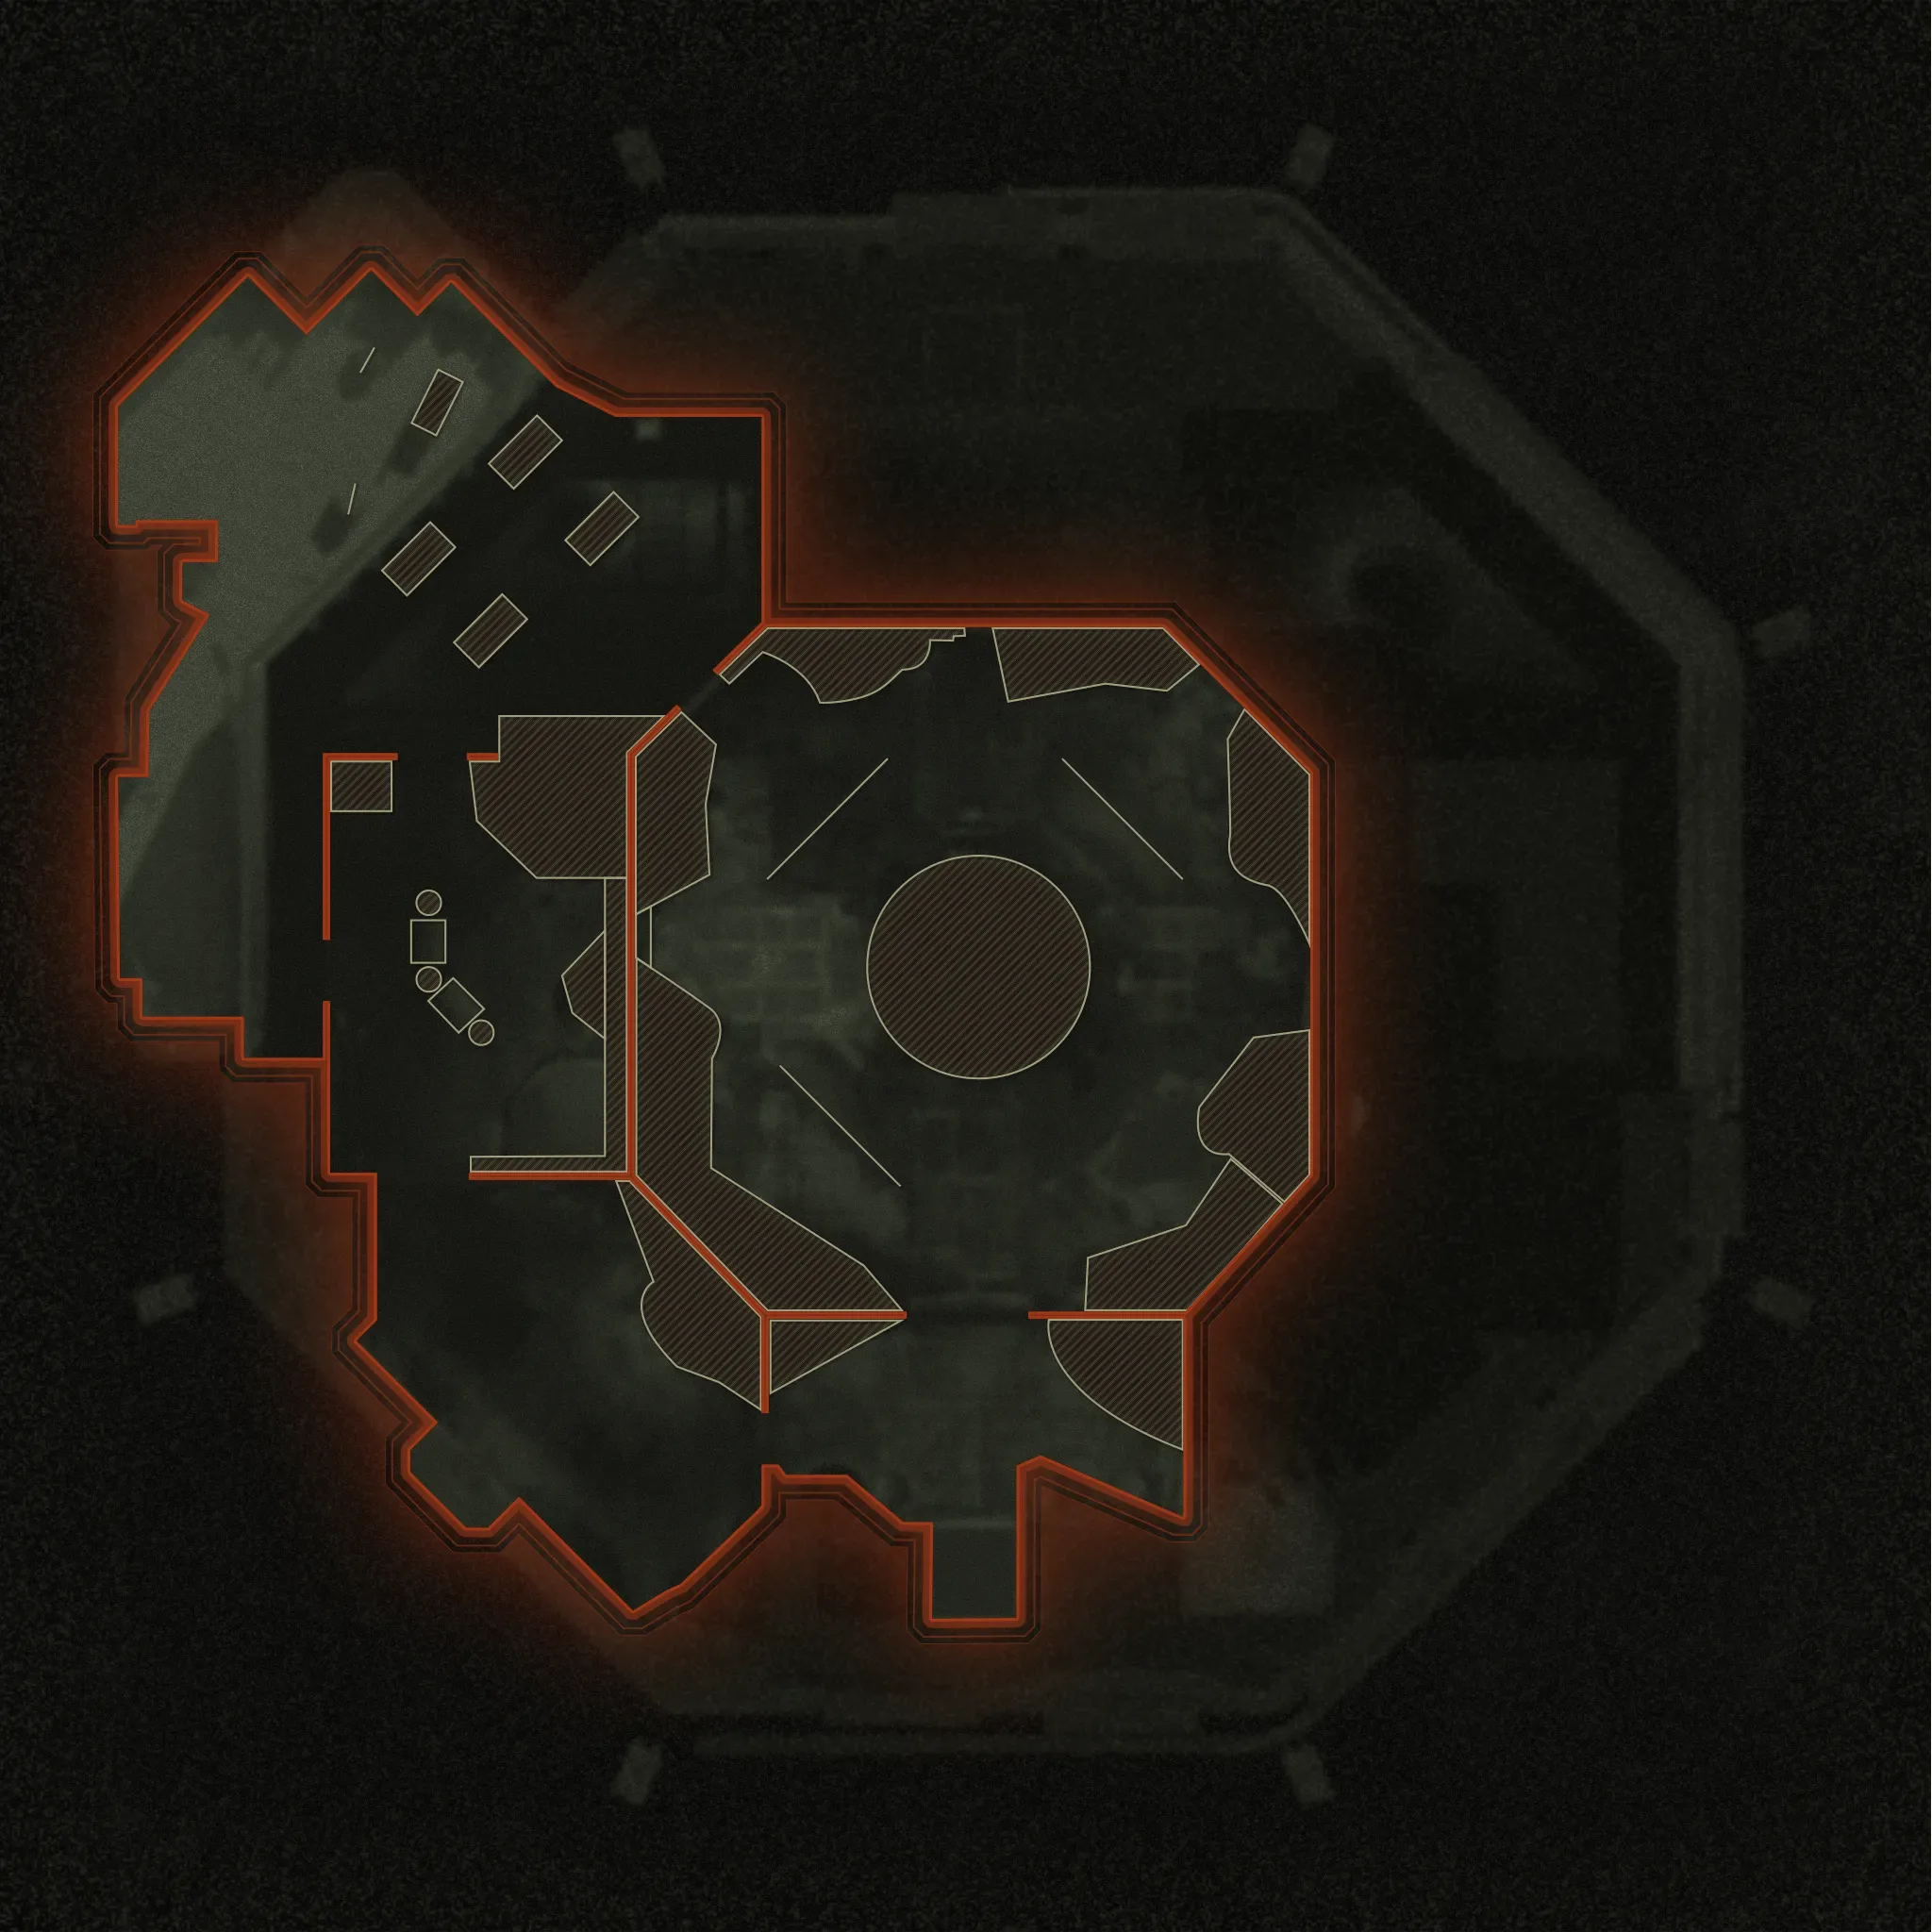
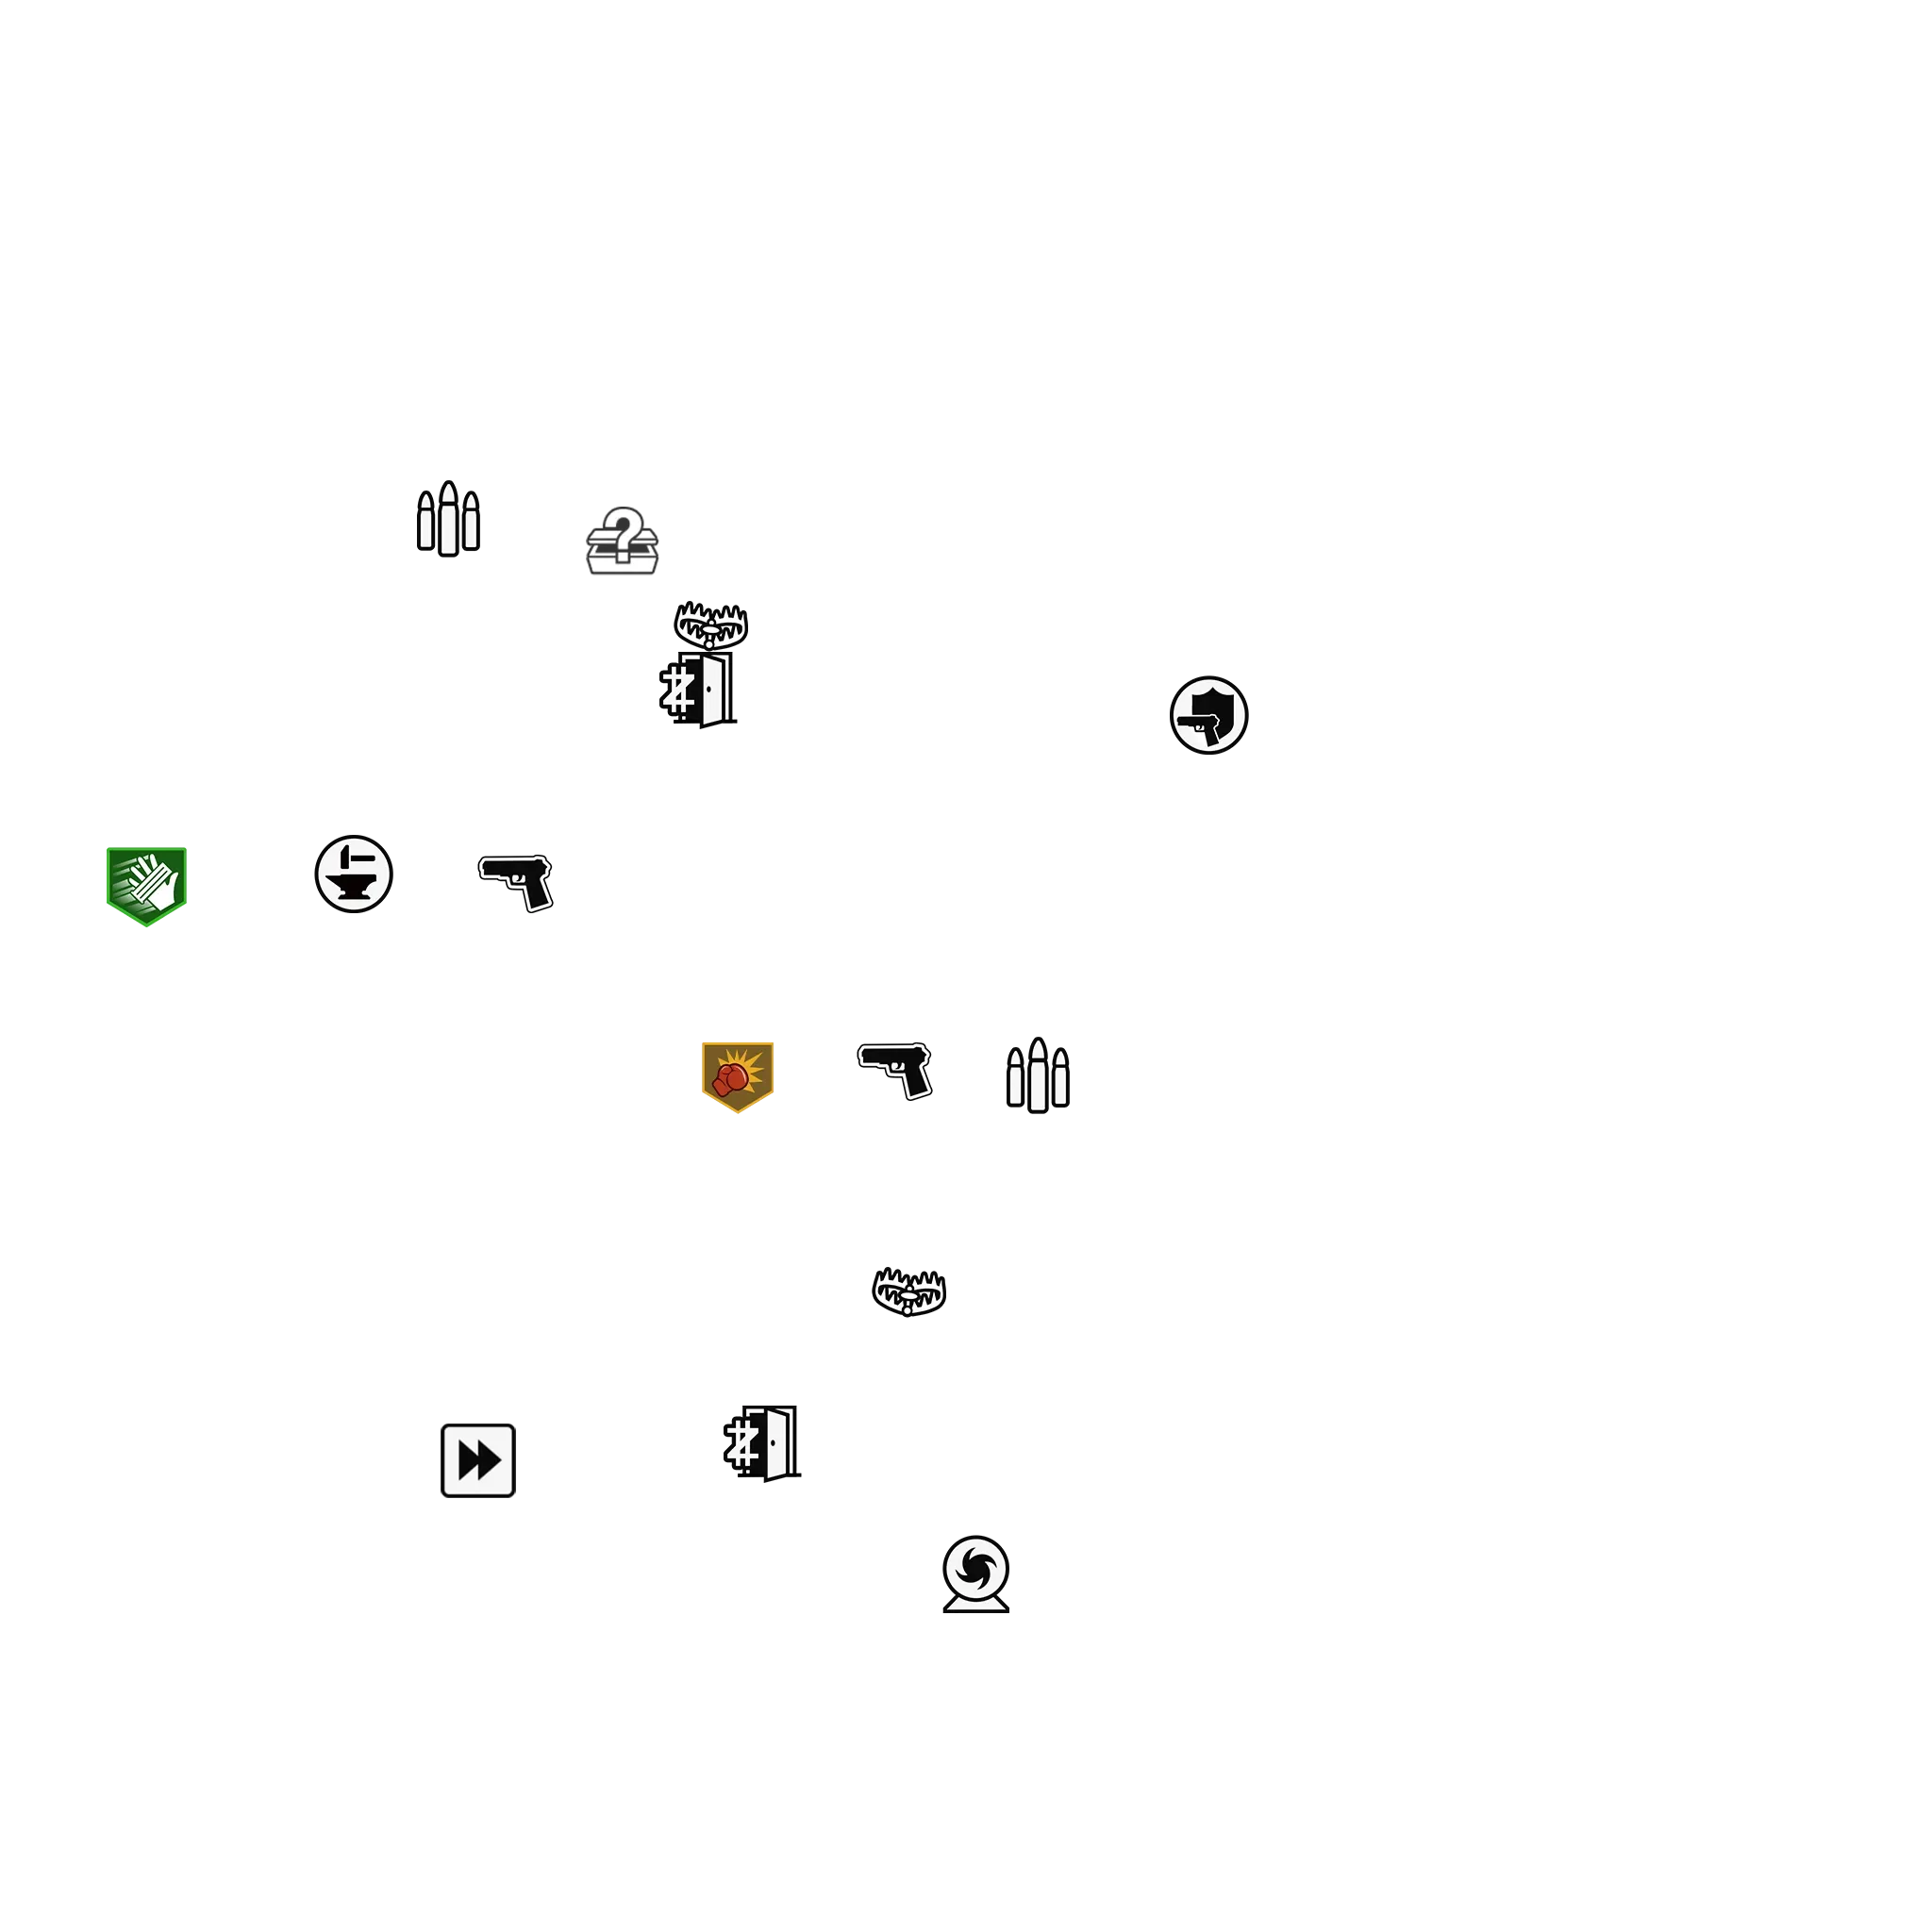
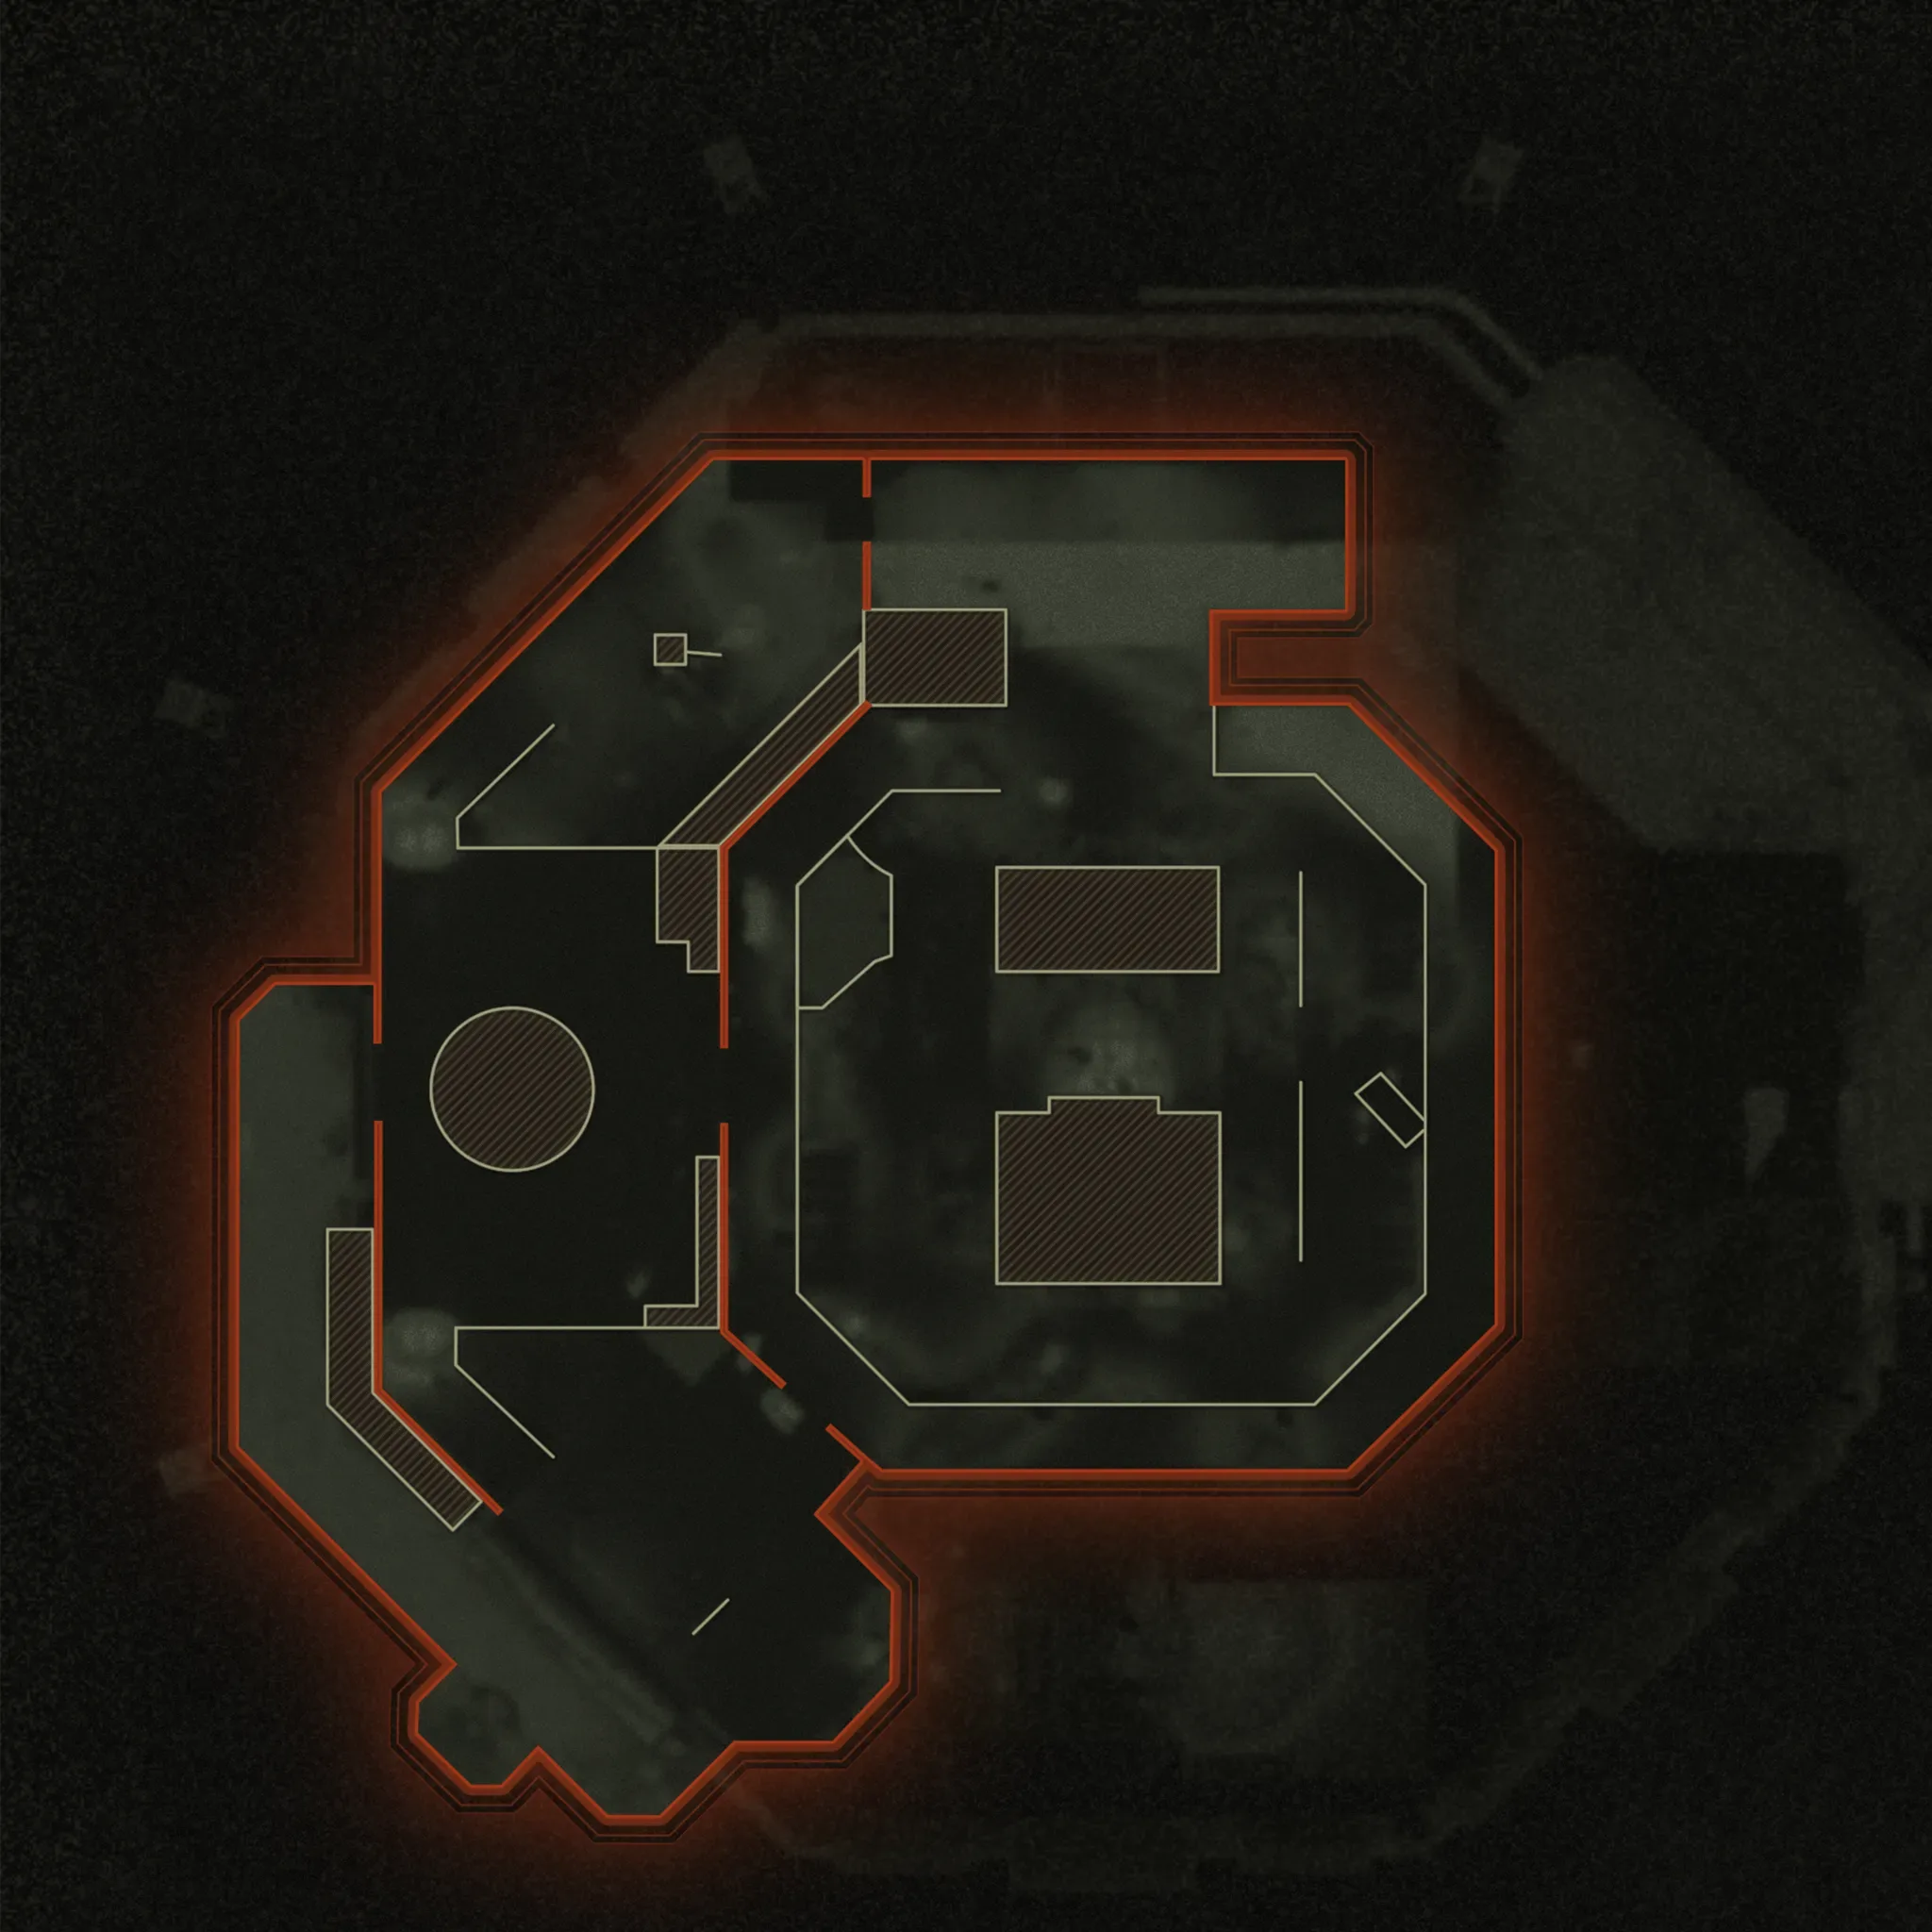
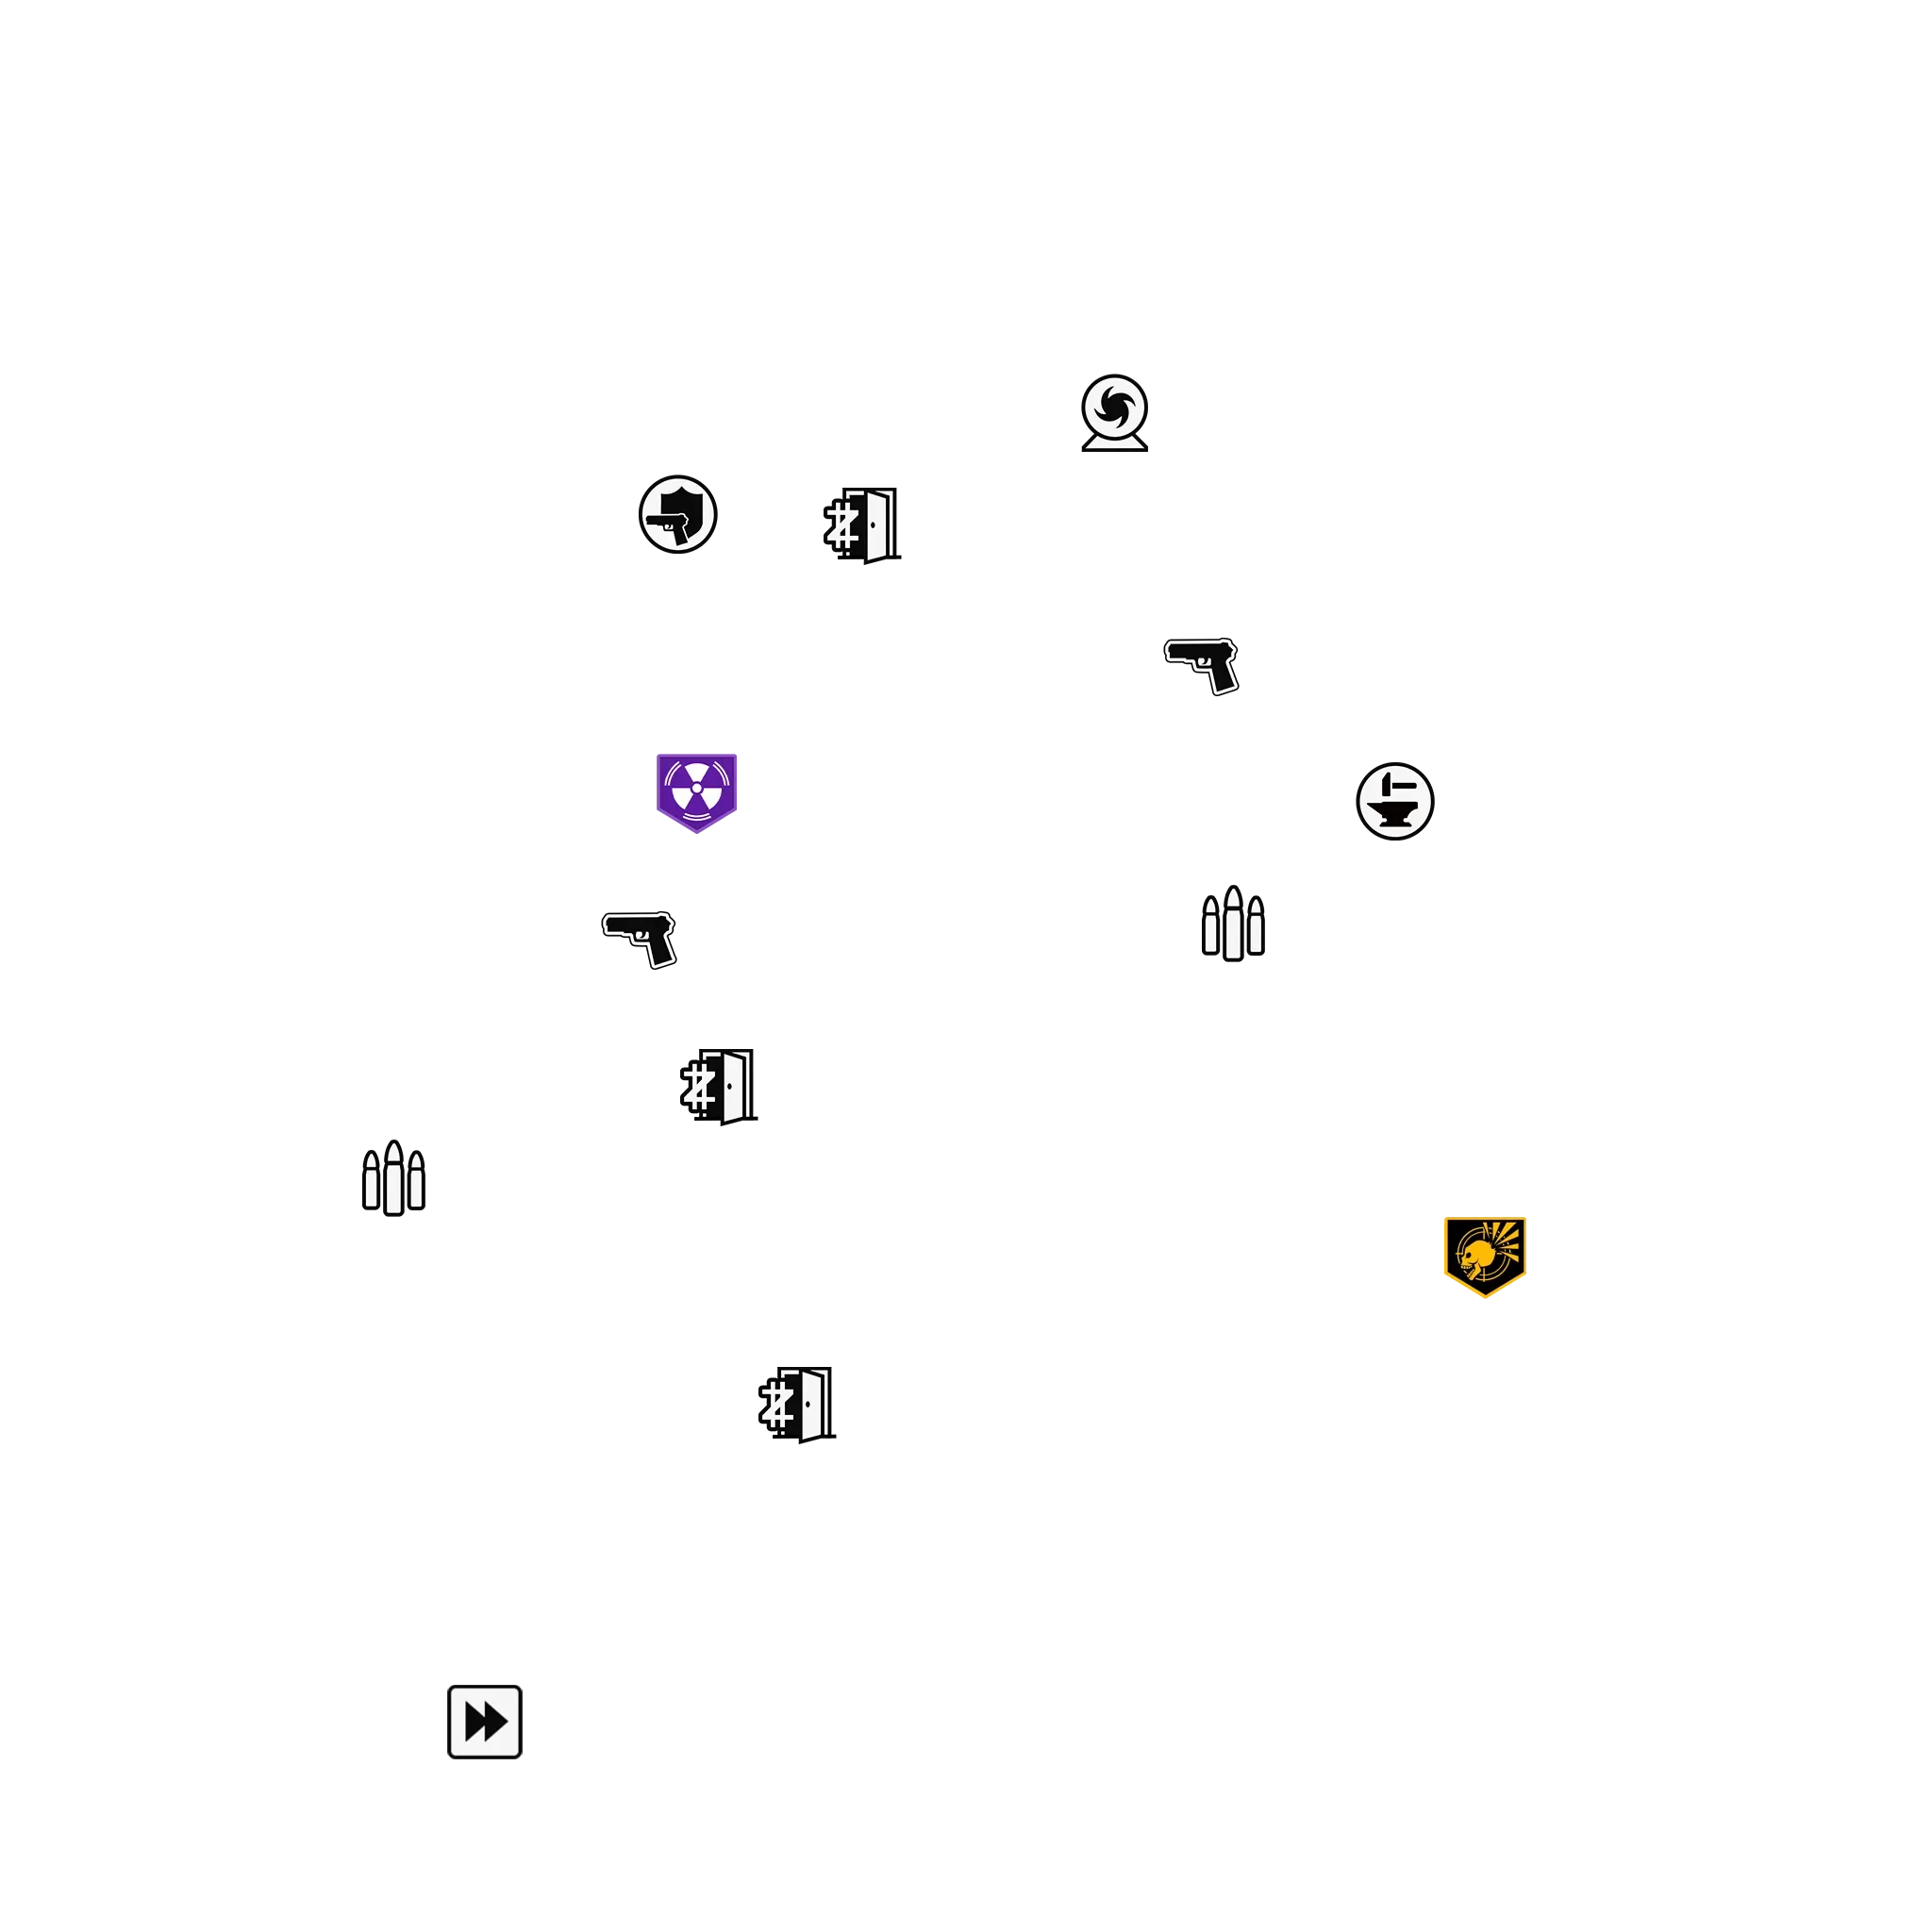
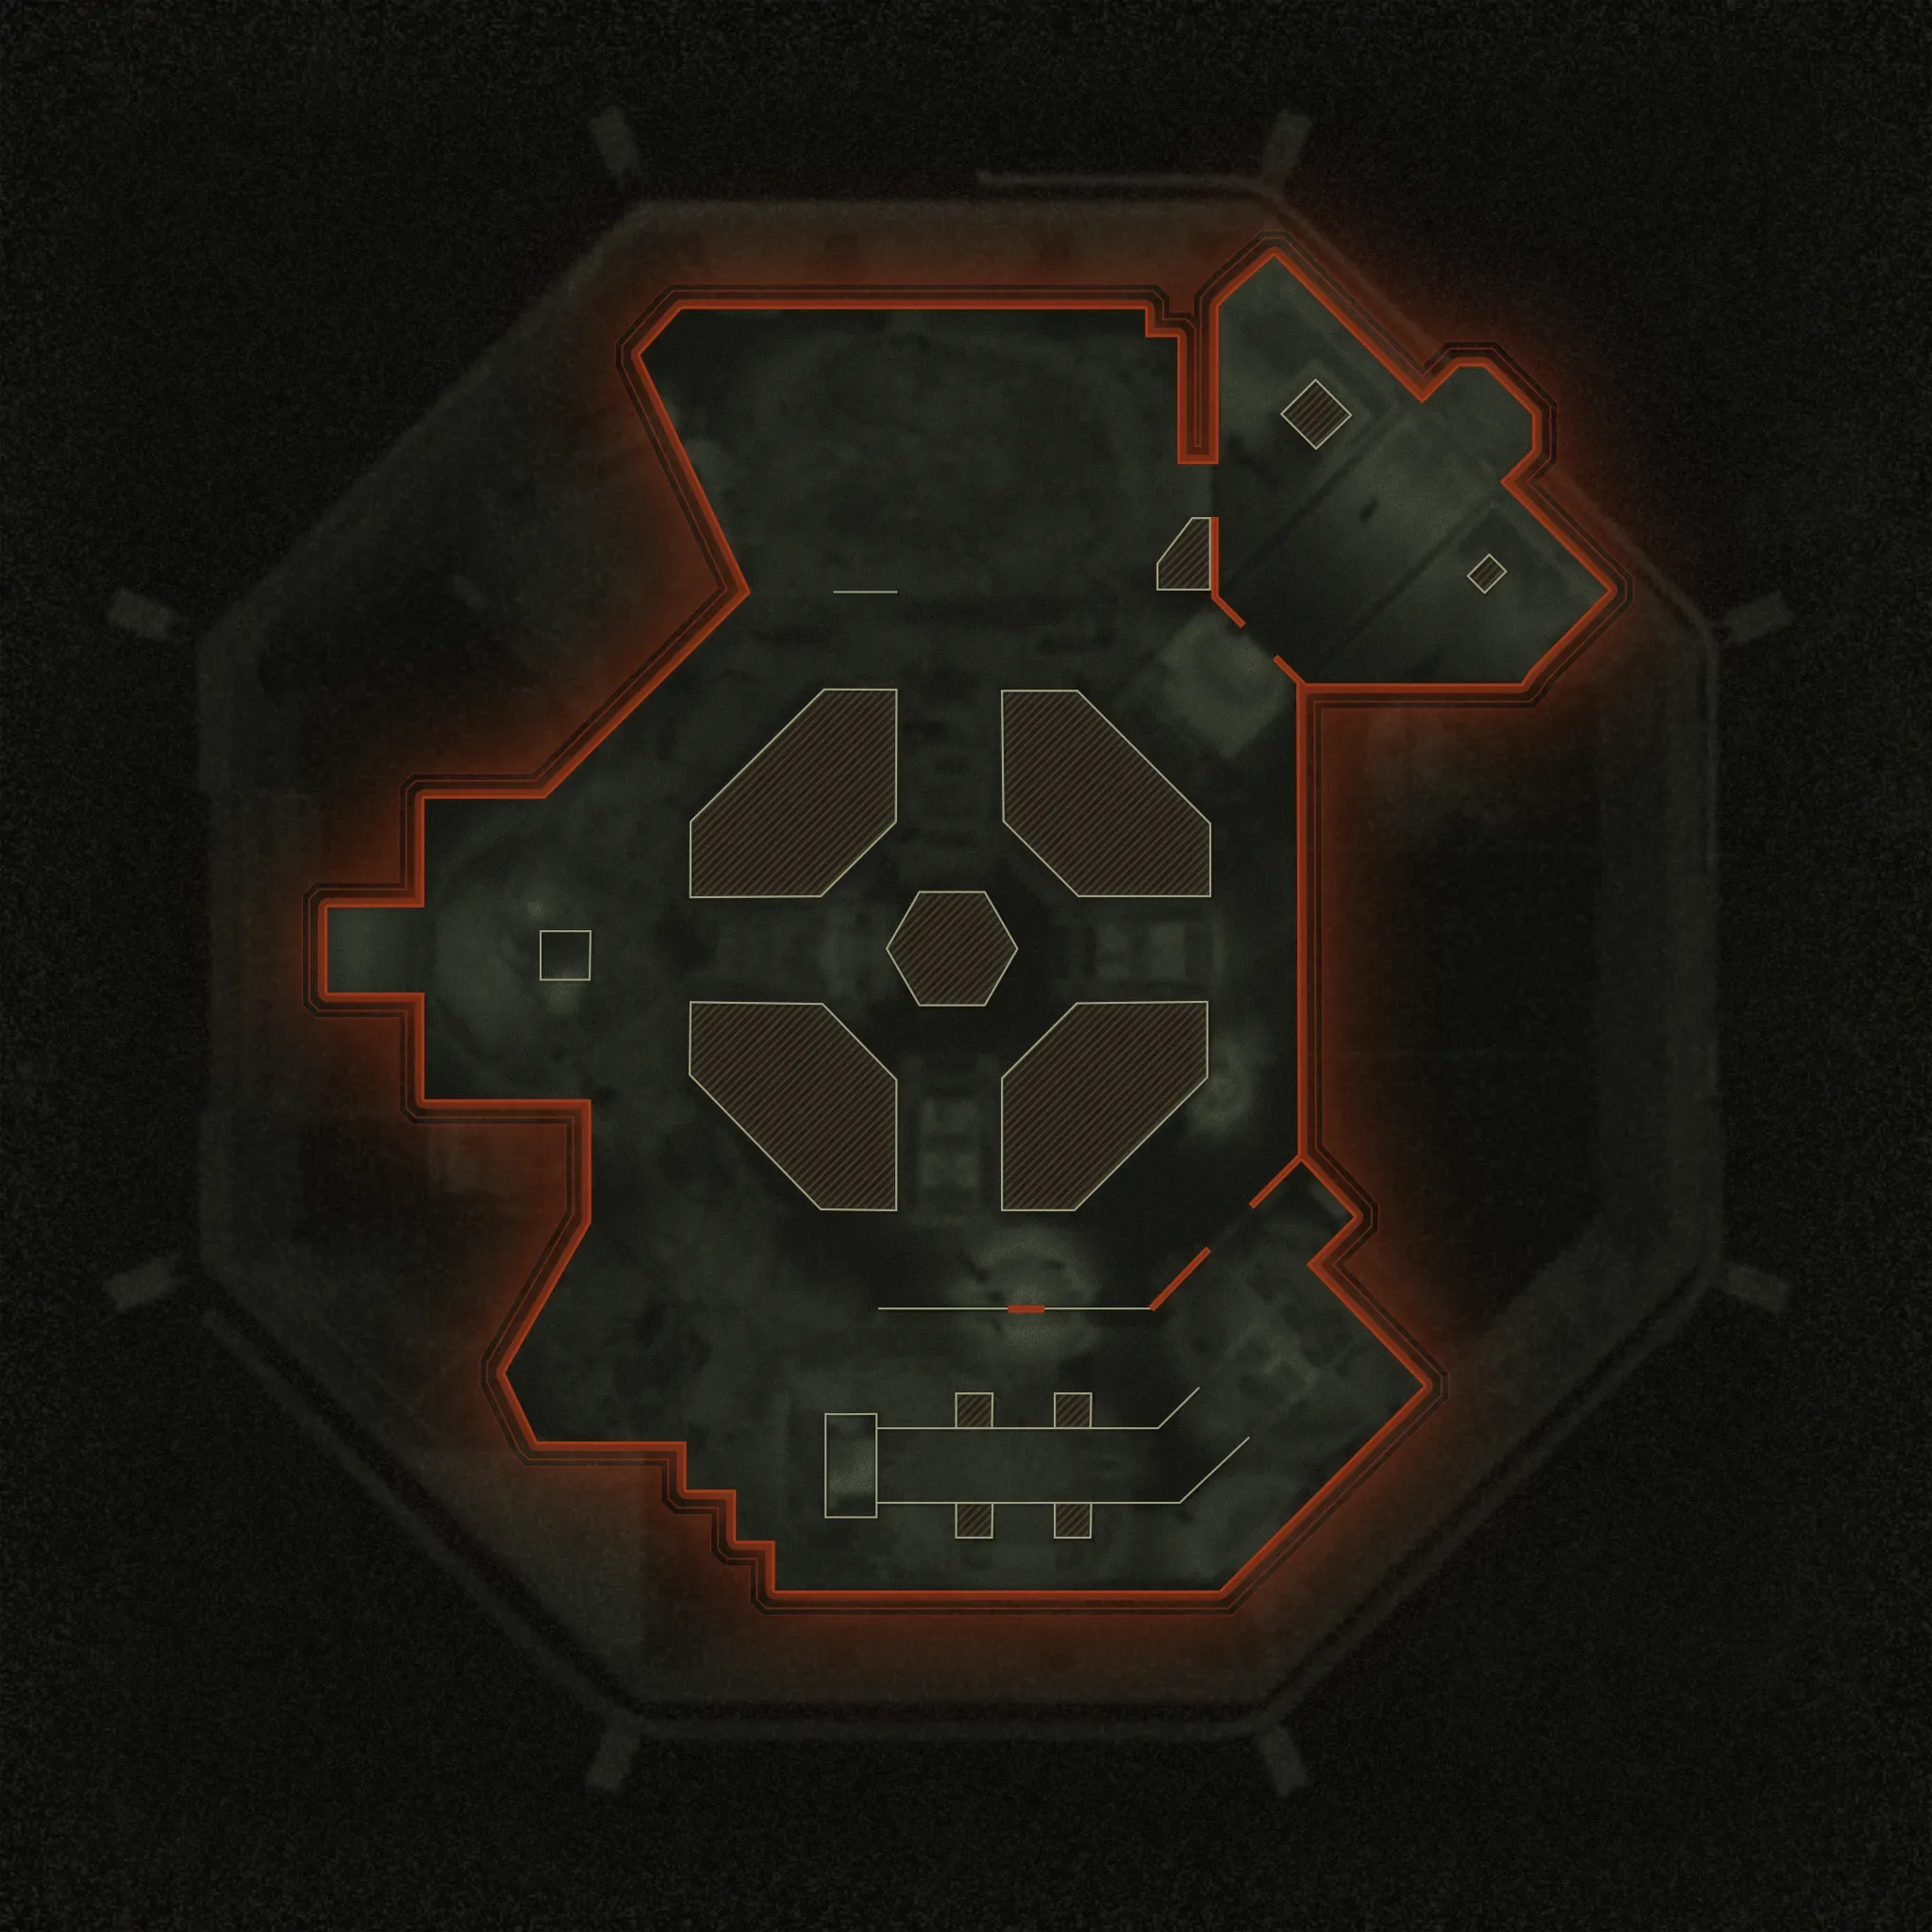
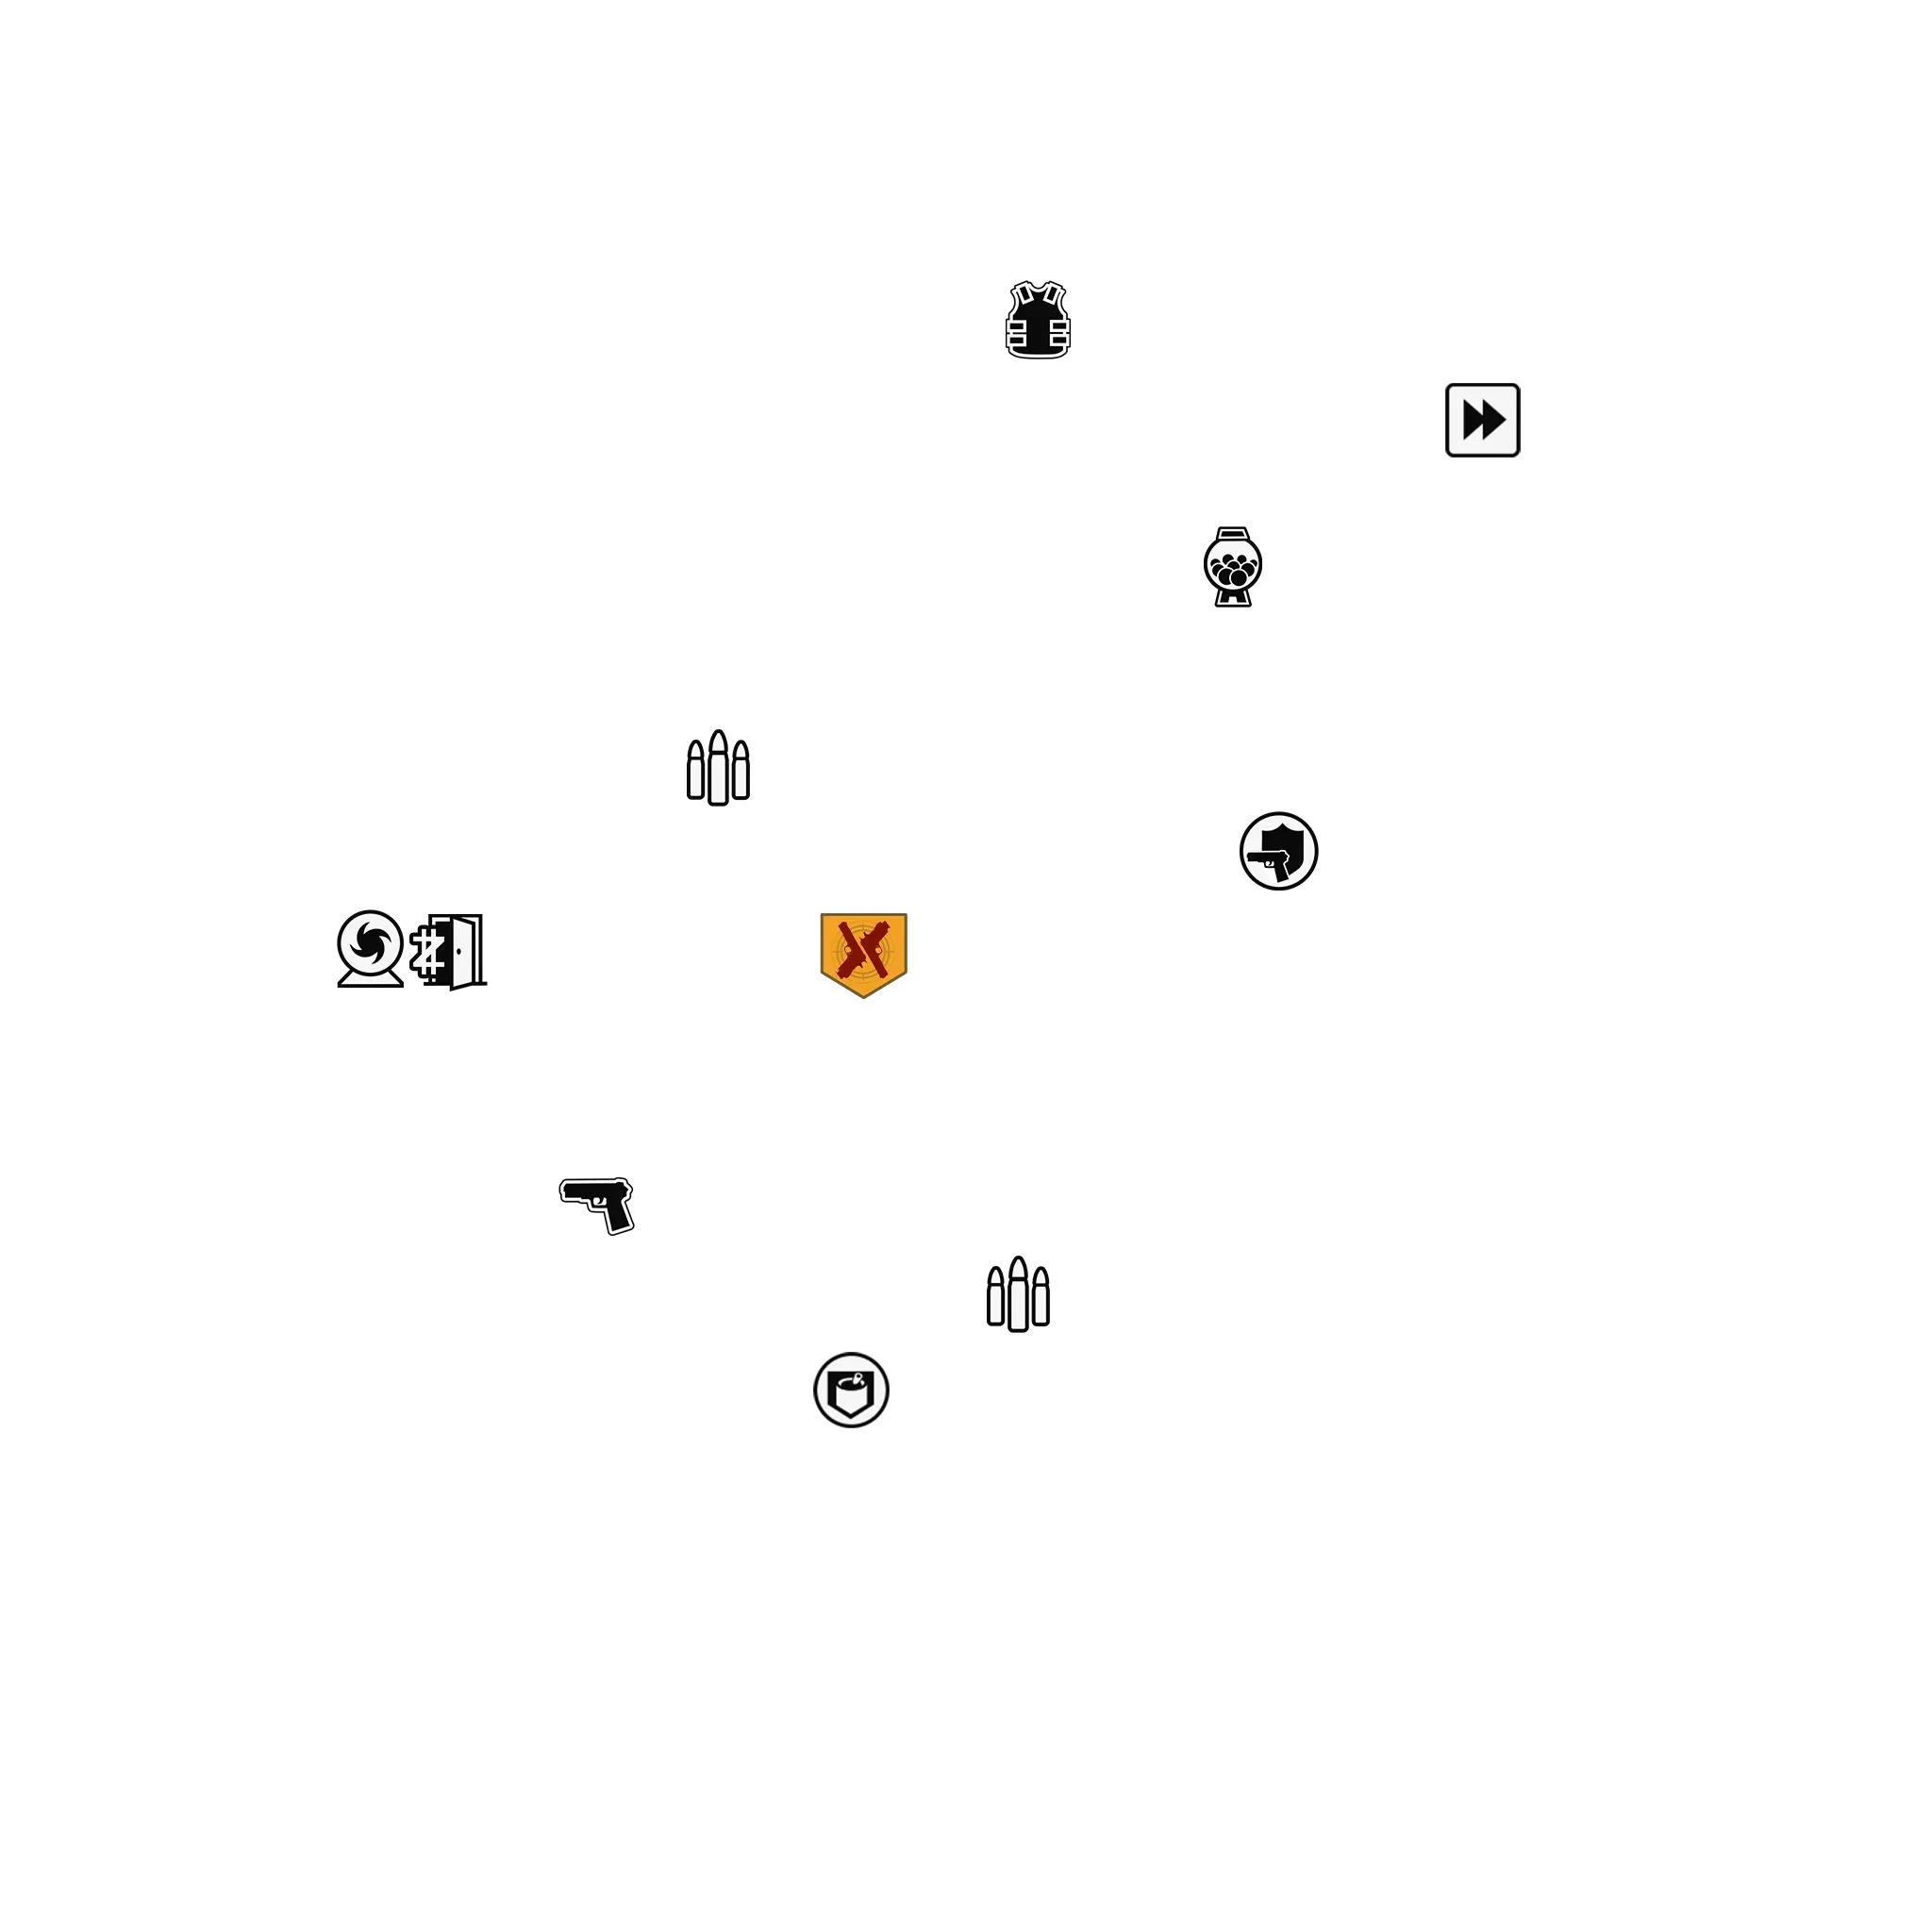
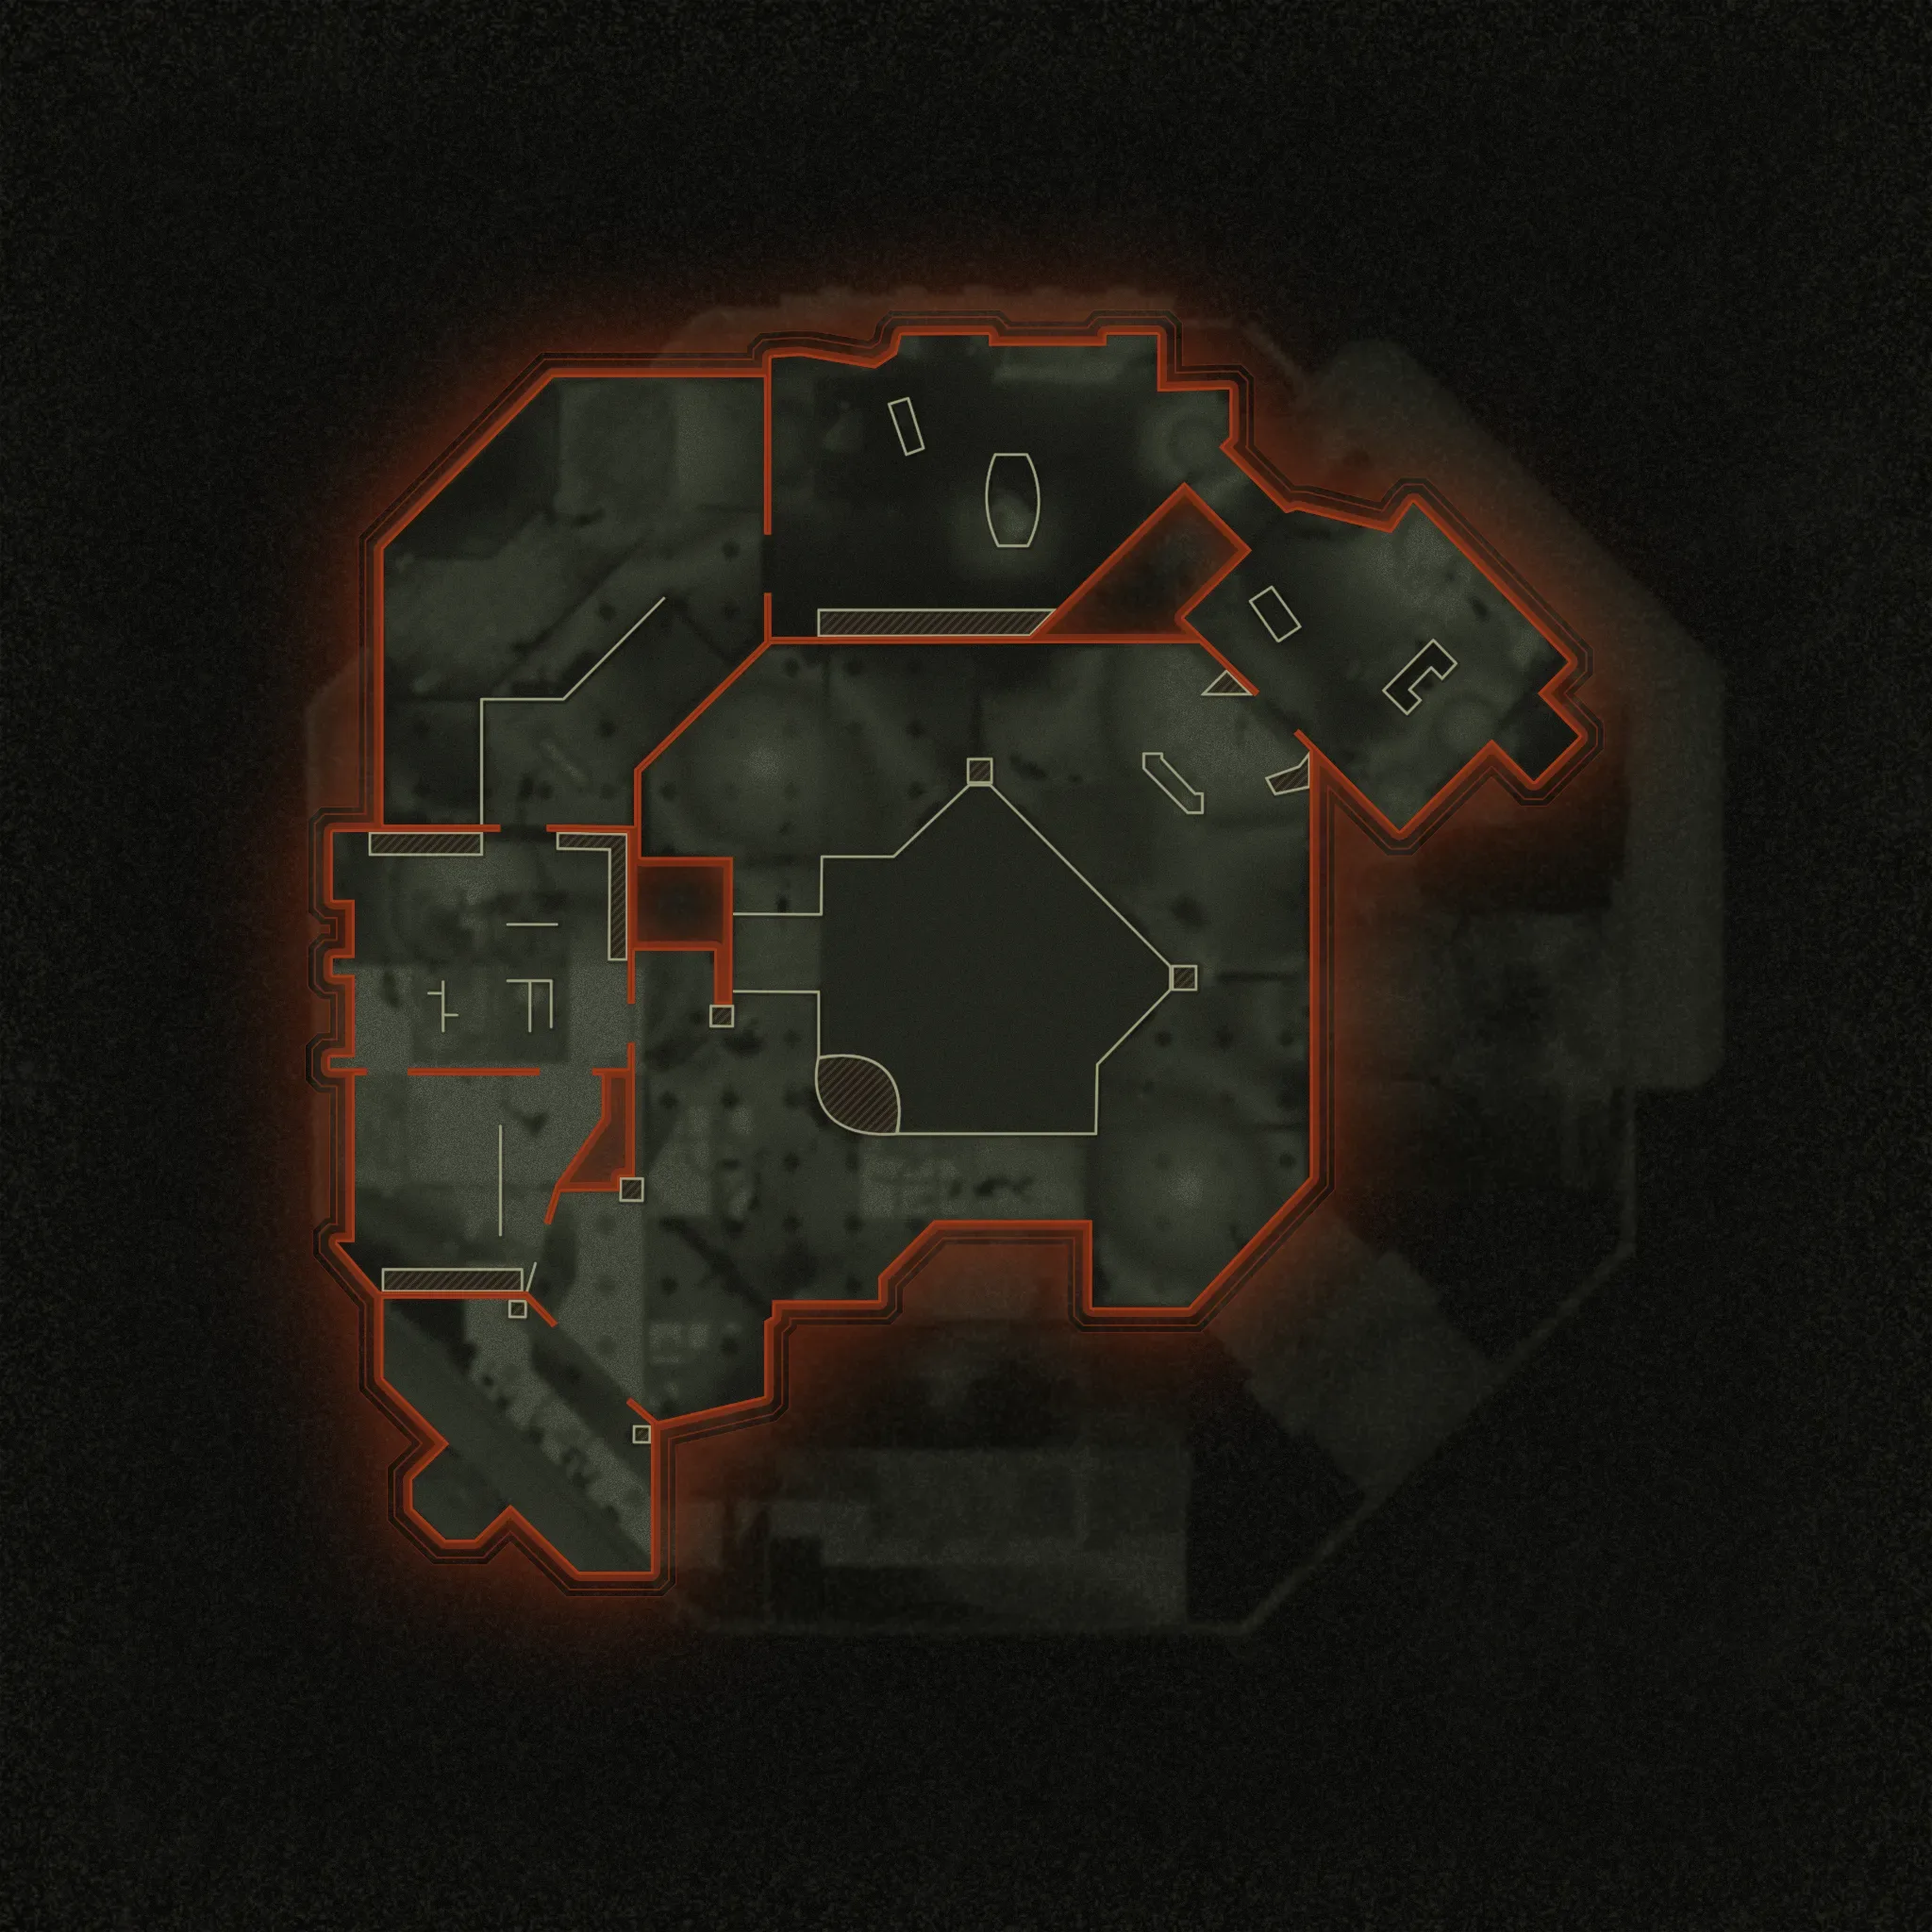
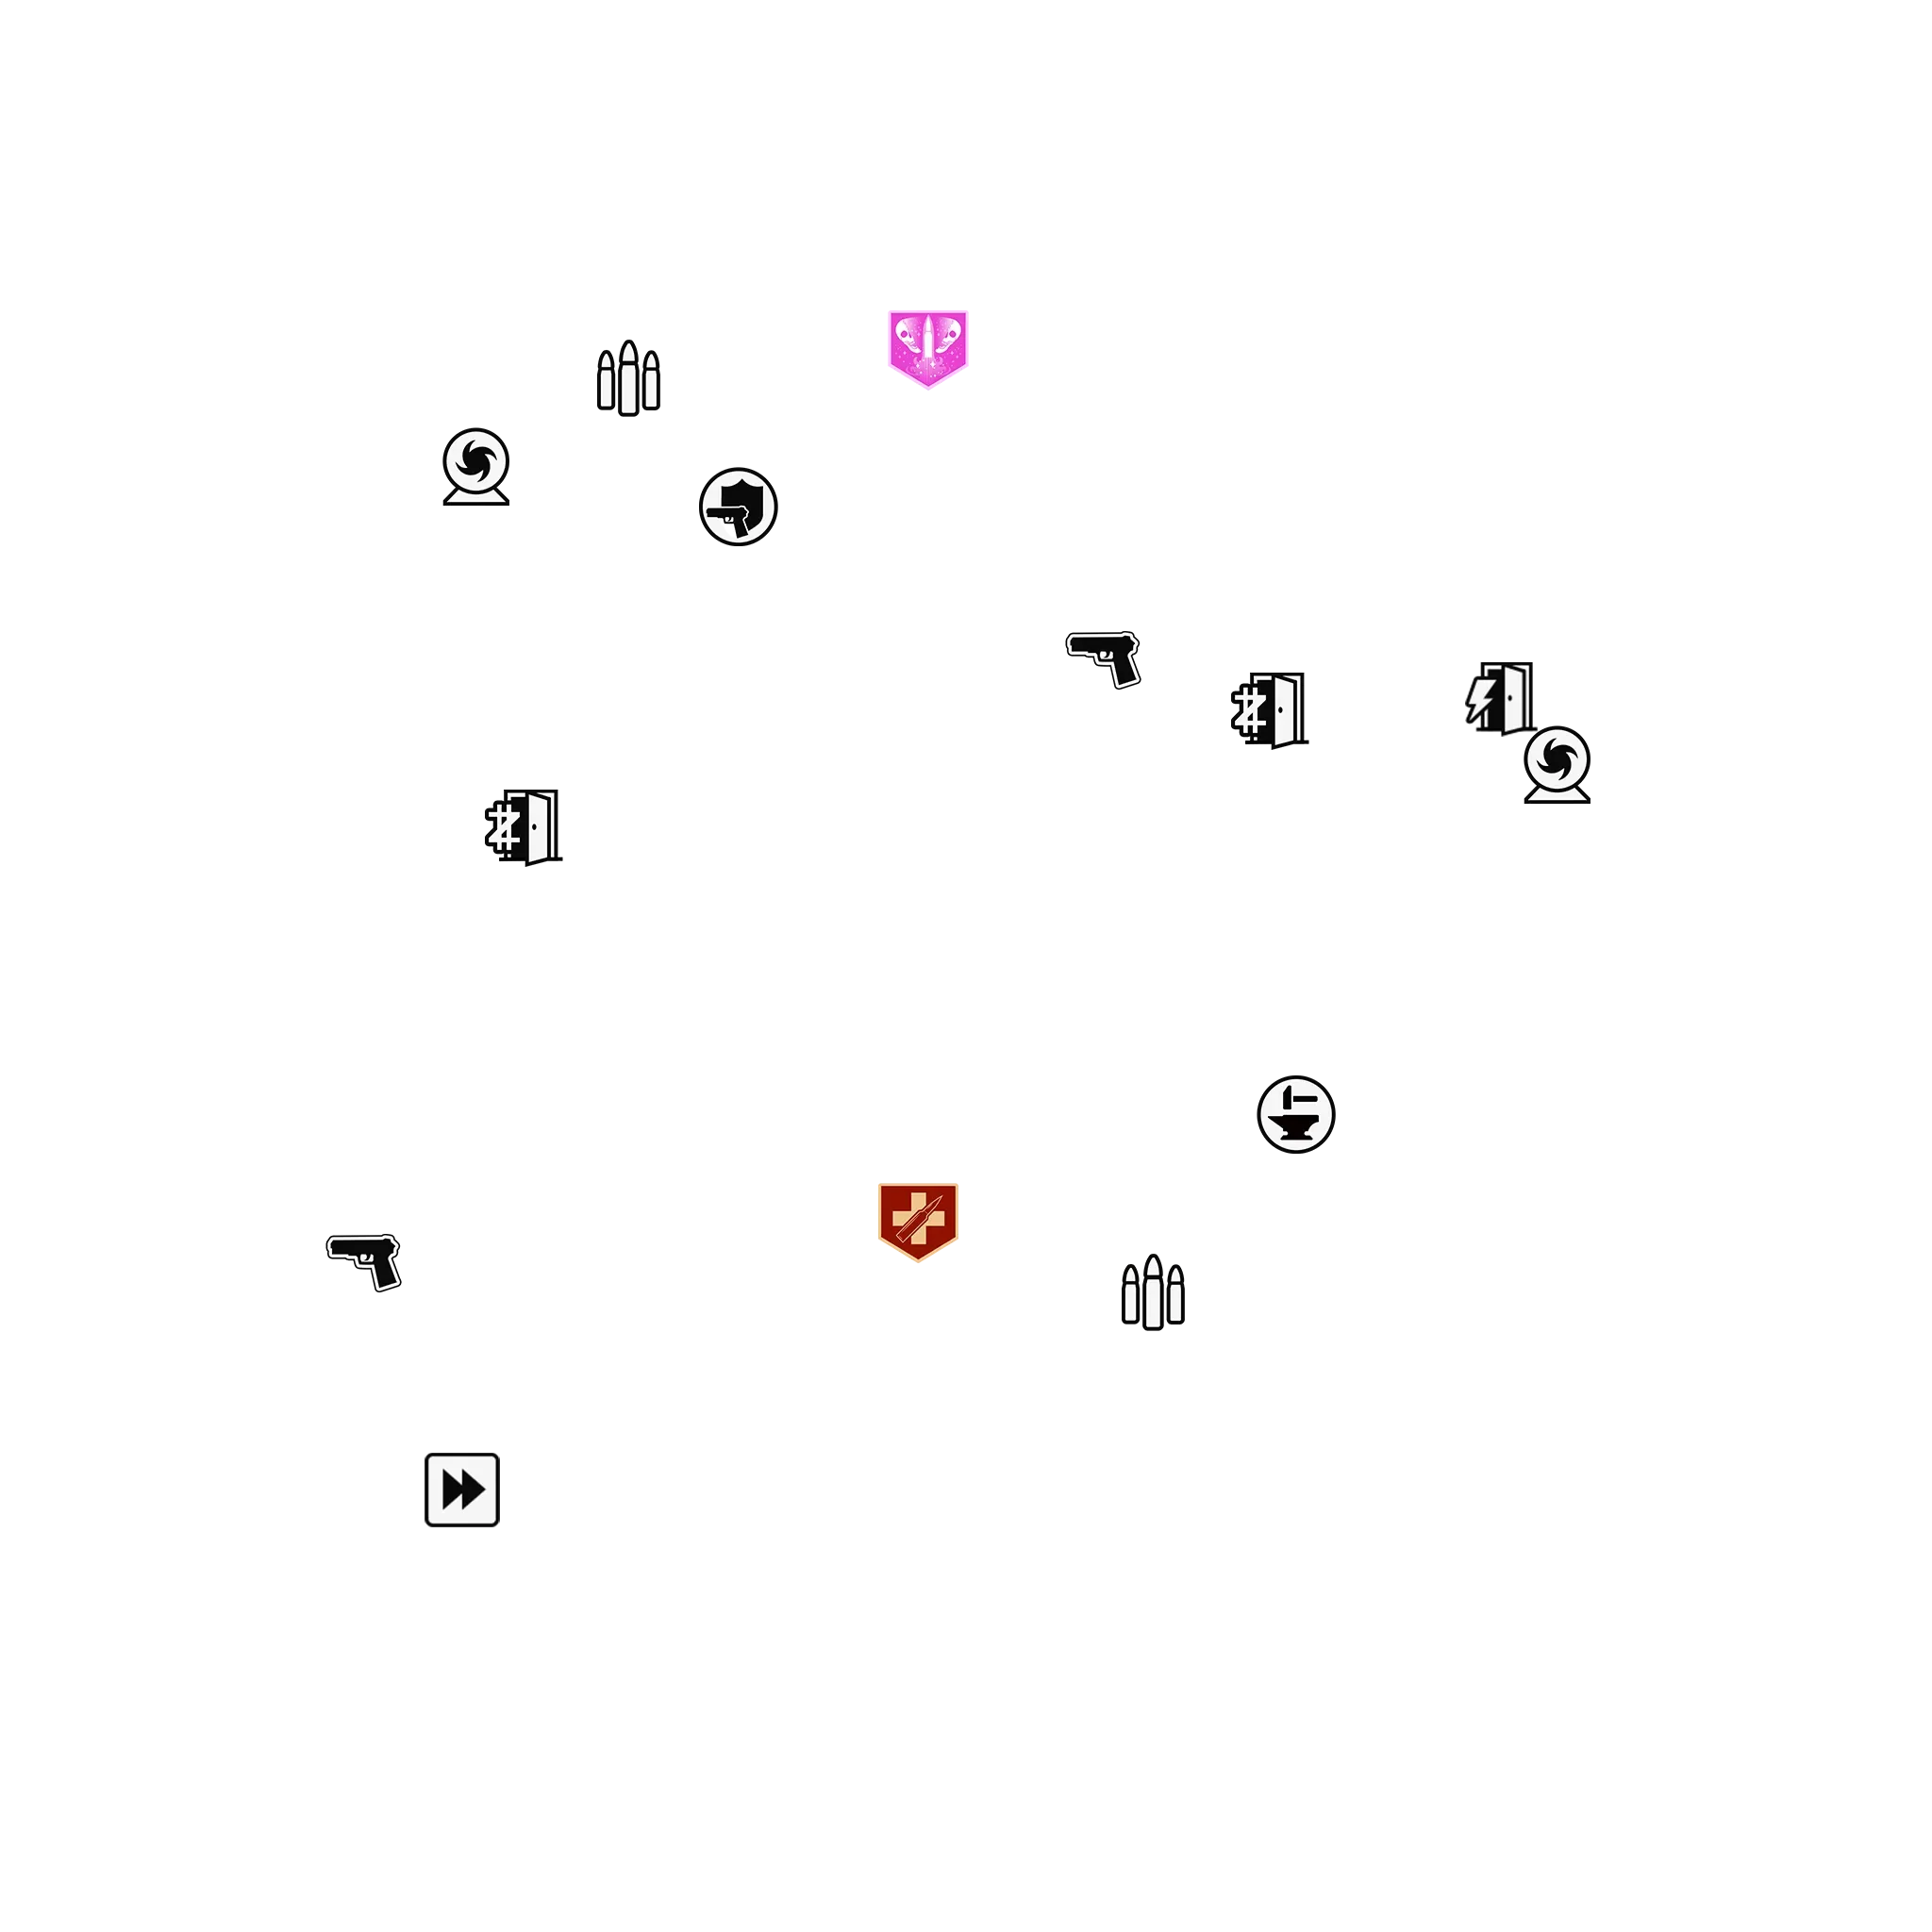
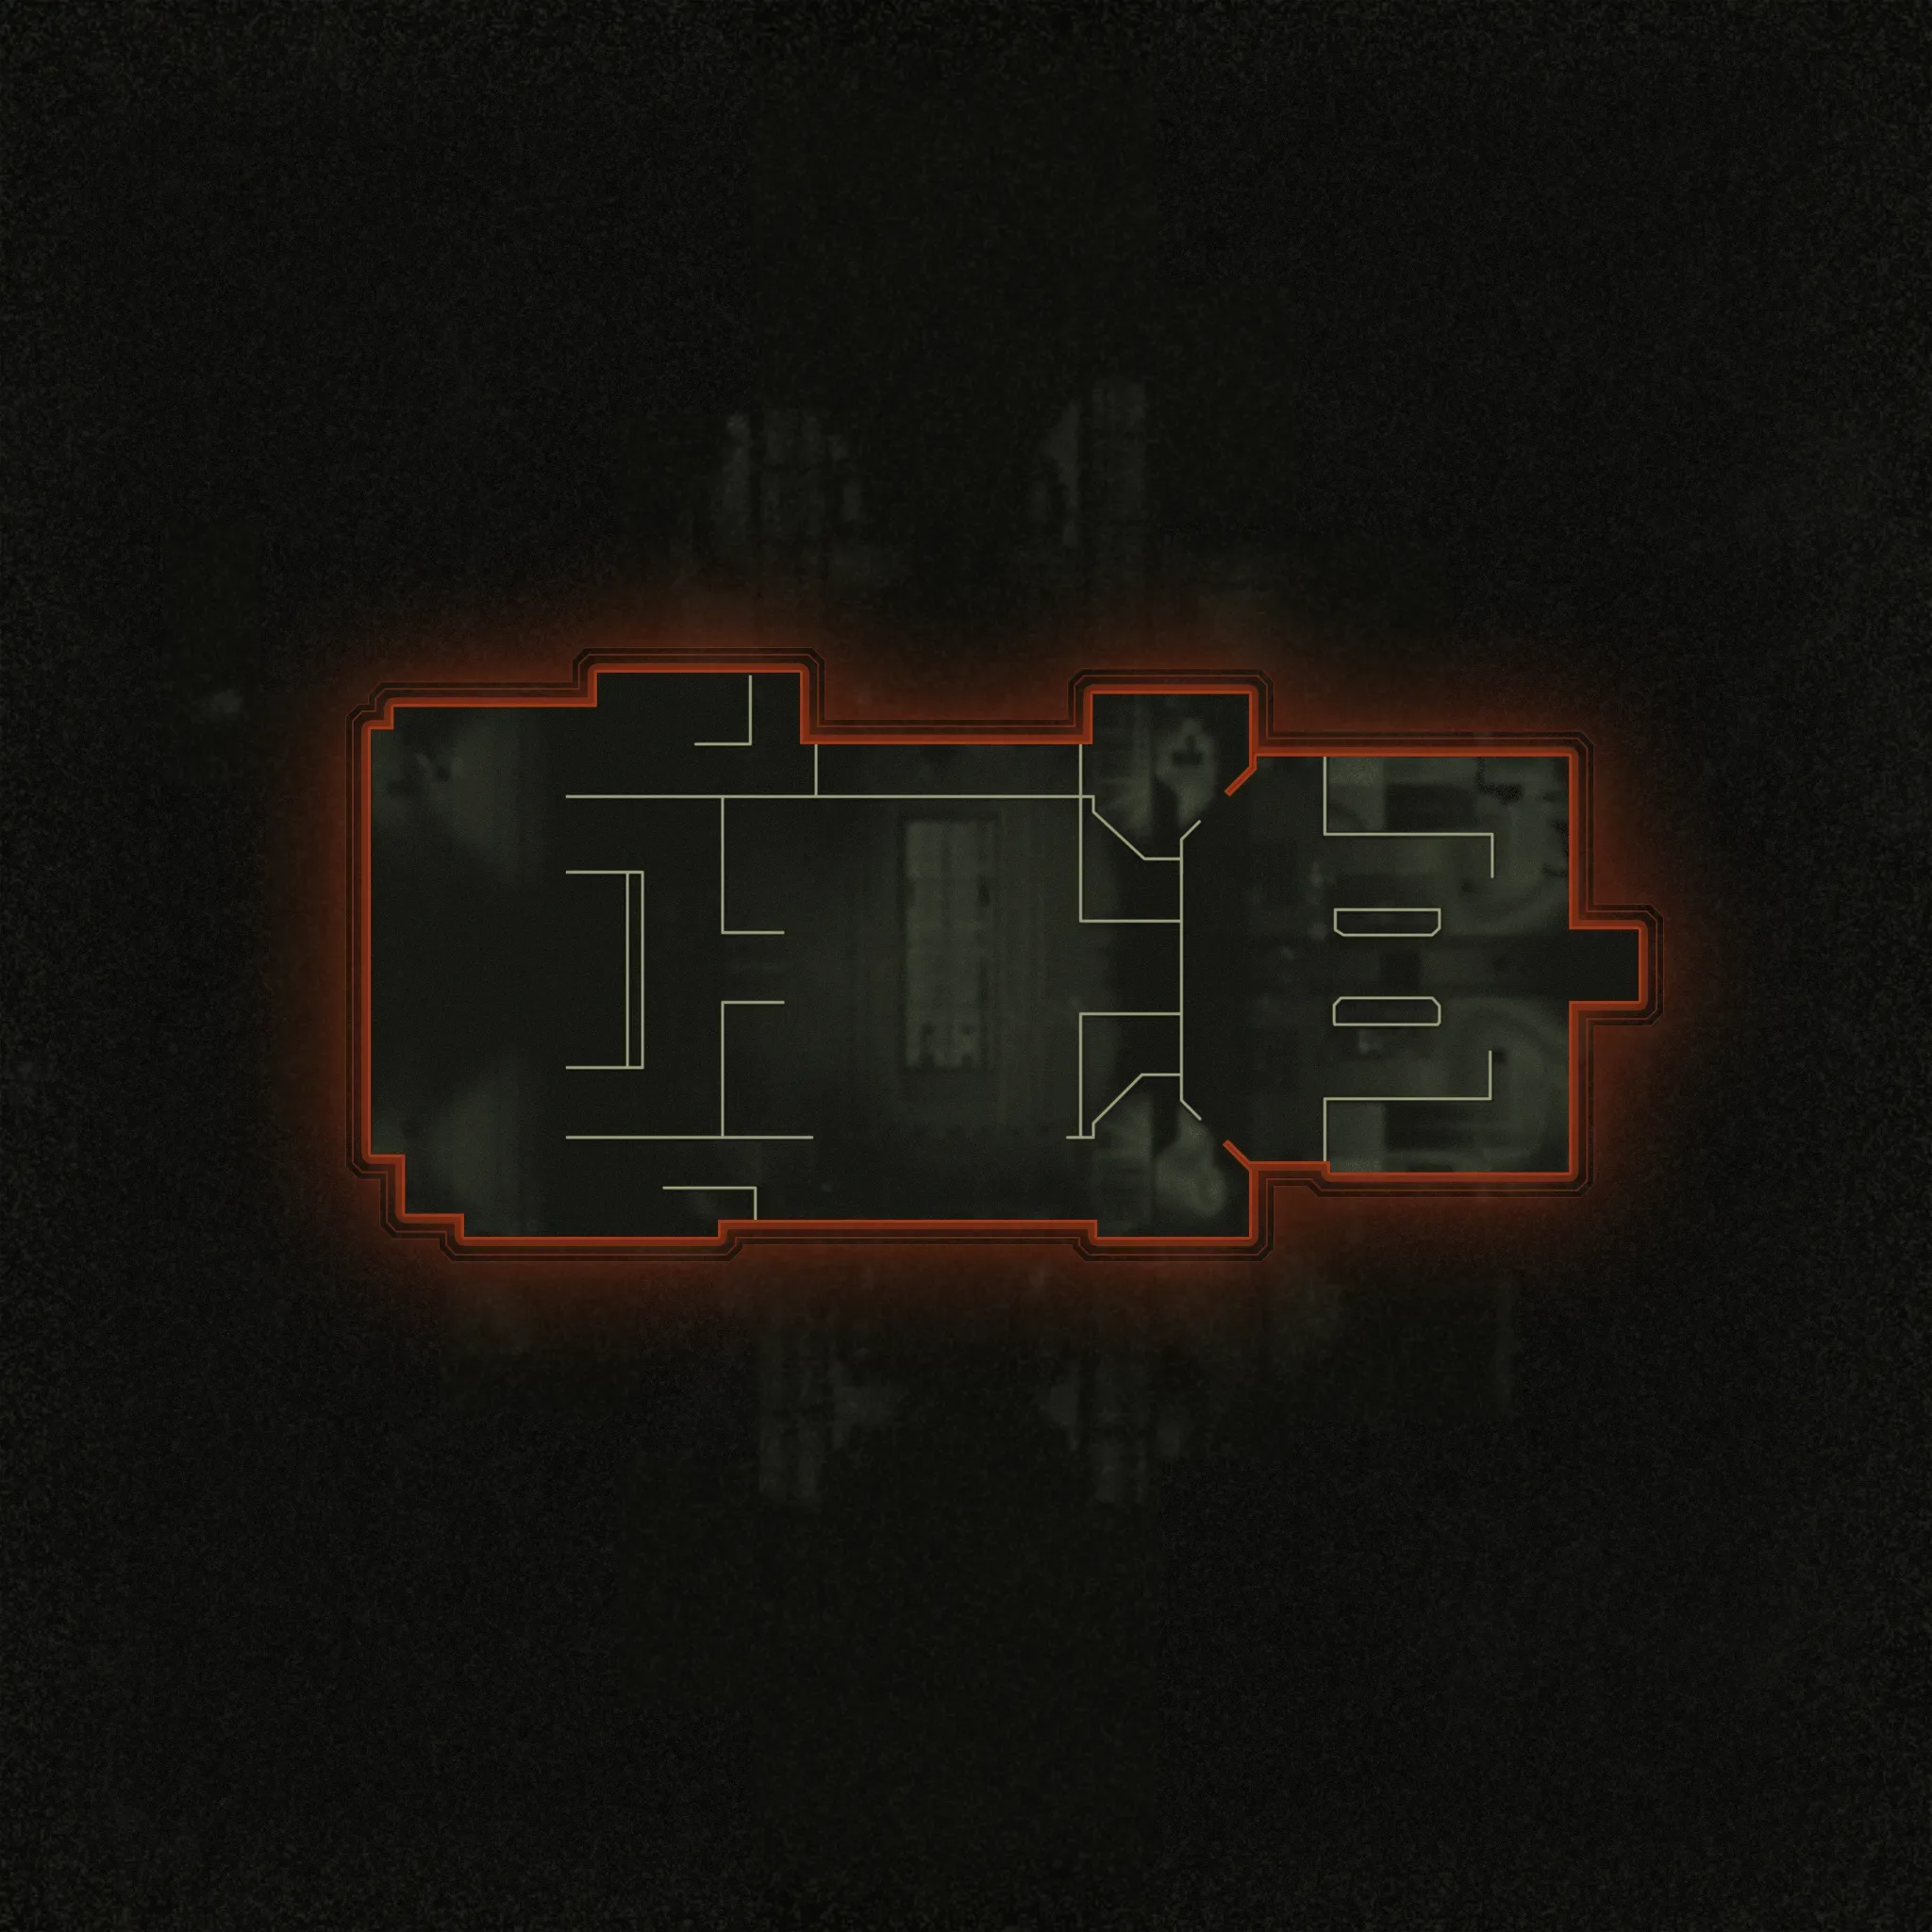
T1 Mutant Research
Centrifuge/Syringe, static screens, Geneticist Keycard, DNA Vial fridge, Bioweapons Lab and the Cyst.
T1 Quantum Computing
Three Aetheric Flora, the Project Janus brain chamber, the C.A.S.T.E.R. sight line for the Fungal Head, Gorgofex upgrades.
T1 Executive / Director / Reception
Folder spawn pool, Blanchard upgrade paths, the sprinkler mop bucket and several side quests.
T2 Android Assembly / Dark Entity Containment
Hanging Klaus body and leg pool, the Vending Machine; Fowler scanner, S.A.M. Trial, Forsaken panel and power-surge terminals.
T2 Teleportation Lab / Sublevel 10
Franken-Klaus final terminal, blocked portal, Fungal Head and Vacuum-Seal console; Particle Accelerator, Pack-a-Punch, floating corpse and the Quantum Vermin terminal.
T3 Vaults / Rooftop
Three L.T.G. canisters (Vault 1), the Aether crystals (Vault 2), the alliance choice and the final boss.
Steps at a glance
- At spawn: melee the mop bucket under the sprinkler, then run the metal detectors
- Take the syringe part in T1 Mutant Research on your way through
- Snow globe → Sublevel 10 → shoot 12 Aetherium crystals for Pack-a-Punch
- Jump into the particle beam as a ball orb → syringe the body for a blood sample
- Farm 2 Klaus arms (special rounds) and 2 legs (Android Assembly)
- Kill Fowler for the injection → retina scanner opens the teleporter room
- Find 4 documents, sort oldest to newest date → 4-digit code
- Melee Macchiato the brain machine → timed run to the Teleportation Lab
- TV letters + periodic table → 3-digit code opens the Bioweapons Lab
- Feed the cyst 3 vermin and 3 zombies → drain the three flowers
- Power surge → Uber Klaus onto the plate → kill Forsaken-Klaus for the Gorgofex
- Boost the Gorgofex → break the portal crystals → fungal head
- Four vacuum seal devices → switch lockdown → boss portal
- Pick a side: SAM (easier) or Richtofen (much harder)
Full walkthrough
Do the bucket first, then open the map
Before anybody moves: in Project Janus reception, melee the mop and bucket until it sits under the sprinkler — go prone or change angle if it will not shift — then run through the metal detectors. That sets the sprinklers off and fills the bucket with water, which you need much later for the fungal head. It costs thirty seconds now and saves a hunt later.
Open the map toward Mutant Research first — both creators agree it is the better route. In the T1 Mutant Research Lab, find the big blue tank with a Mangler inside; just to its right is a console. Hold interact to take the syringe part — this starts the boss-teleporter chain immediately, so grab it on the way past.
Loadout: both creators run the Maelstrom shotgun for everything pre-boss. For the boss itself MrRoflWaffles rates an AMR or SVD above the Wonder Weapon and above scorestreaks, especially against Richtofen, with Tribologist on PhD Flopper for mobility. Melee Macchiato is required for the brain step later.
Reach Sublevel 10 and start Pack-a-Punch
Follow the orange markers through the Executive Office route to the Director’s office and interact with the snow globe to open the route to Sublevel 10. Continue through Android Assembly and Dark Entity Containment.
At Sublevel 10, restart the particle accelerator with the power button, then shoot the twelve Aetherium deposits — the purple crystals on the pipes marked with orange symbols. Pack-a-Punch is then live.
Collect the blood sample
With Pack-a-Punch active, both sides of the particle room glow orange and a human body floats in the beam. Go up onto the side walkway and jump into the beam — you become a small ball orb.
Steer the orb toward the floating body, avoiding the other floating objects, and nudge into it so the body falls to the floor. Drop out of ball form, run to the body and hold interact to use the syringe and take the blood sample.
Retries are free: items in the laser periodically despawn — wait ten or fifteen seconds and re-enter. There is no attempt limit. If you cannot get into the beam from one side, jump in from the other.
Build Klaus
Start this early and chip away at it alongside everything else. Klaus needs two arms and two legs.
The arms are the bottleneck: they only come from the special Commando Klaus rounds, roughly every five or six rounds, and you can only get one arm per special round. That means at least two special rounds — so if you leave this late, you will be waiting on the game rather than on yourself. Shoot the robots’ arms specifically, and watch the ground where they die so you never miss a drop.
Both legs are in T2 Android Assembly and are always available — grab both in one visit. Known spots: on a shelf just above head height, by the broken-down door in front of the teleporter, near the broken TV, by the fiery box area, and the corner by the box in front of the up elevator.
Assemble: hold interact on the Klaus droid facing the teleporter in Android Assembly once you have all four parts. Aim to have him built before around round 16, when an Uber Klaus spawns naturally and can activate him.
The other guide: MrDalekJD describes the arm as a chance drop rather than guaranteed — shooting the arms specifically is what makes it reliable.
Fowler, the keycard and the retina scanner
Return to the syringe console and insert the blood-filled syringe. The test chamber spawns Fowler, a chatty and genuinely strong Mangler HVT — have your gun Pack-a-Punched if you are deep into the rounds. Kill it and take the green vial, the Fowler Mutant Injection. If you later fail the retina scan or waste the injection, you do not need to farm another special round — a replacement can be bought from the Centrifuge for 1,500 salvage. Other chambers then open with a Disciple and toxic zombies — kill them promptly so the Disciple stops buffing the horde.
While you are here: a unique geneticist in a green lab coat spawns in the research rooms once Pack-a-Punch is active, around round 5 or 6. It drops a gold key card — and it can spawn at any time, so you may have already killed it. Check the floor around both rooms. The card opens the fridge in the room with Richtofen’s wife and son, holding the DNA vial.
Now go to T2 Dark Entity Containment, up the stairs to the retina scanner. Activate the Fowler injection to become the mutant, then interact with the scanner — it reads Fowler’s eye, ejects you, and opens the secret door to the new teleporter room. That teleporter is later the boss portal.
The four-document code
The terminal in the new room needs a four-digit code built from four documents scattered around the map. More than four spawn points exist but you will have exactly four notes in your game. Screenshot each one as you find it.
Each note carries a number before the item name — for example “5 Combat Goggles” — and an archive date.
The rule: order the four notes by archive date, oldest to newest, then read off each note’s item-number in that order. That is your code. Enter it at the terminal in the T2 Teleportation Lab for ACCESS GRANTED.
Use the full date, not just the month. MrDalekJD sorts by month number alone, which works in his game but breaks the moment years differ or two months repeat. MrRoflWaffles sorts on the full date — that is the safe rule.
- Director's office desk, left side; the small desk round the corner by the lamp; the coffee table down the stairs in the projector room
- T2 Teleportation Lab — on the desk where Klaus hacks
- T1 Executive Suite, on the circular table by the knocked-over furniture near the weapon wallbuy
- The main desk outside the offices up the stairs from Juggernog, and the corner of the big white table under the TV
The brain run
Buy Melee Macchiato — the machine is in the T1 Quantum Computing Core, the same room you need. Melee the computer box there to reveal a blue brain, then interact to carry it. Your weapon is stowed while you hold it.
Timed: sprint it to the T2 Teleportation Lab. Fastest route is the launch pad to Android Assembly, elevator up to Dark Entity Containment, up the stairs and through the teleporter, then place the brain in the receptacle. A quote confirms it.
Fail state: if the timer lapses, wait for the next round, grab the brain again and re-run. No permanent loss.
Note: plain melee may not break the machine — Melee Macchiato appears to be genuinely required, not just helpful.
Folder Chronology Code
Teleportation Lab computerFour dated folders spawn from a random pool. Enter each folder's date in MMDDYYYY form and the item number printed beside its name. The four-digit code — the item numbers sorted oldest → newest by date — updates live. Folder years can differ, so enter the full date; the tool orders them chronologically for you.
Gorgofex step 1 — the periodic table code
Two static screens in the Mutant Research Lab briefly flash a green word before returning to static, repeating every few seconds. One is left of Deadshot Daiquiri, the other behind the chamber holding Richtofen’s wife and son.
Take the first letter of each word — Nettles and Deceitful gives N and D. Match that letter pair to a chemical element symbol on the periodic table poster in the lab, and read its atomic number. Pad it to three digits: 60 becomes 060, 1 becomes 001.
Try it both ways round: the letter order is not fixed, so if PR gives nothing, try RP. You get two code attempts per round. If one screen is off entirely, use the single letter on its own.
Confirmation cue: the keypad upstairs lights blue and the Bioweapons Lab opens. The words re-randomise every round, so read them fresh each attempt.
Element Atomic-Number Code
T1 Mutant Research — vat keypadThe two static screens flash a word each; take the first letter of each to form a chemical element's symbol (one screen may give only one letter). Type that symbol — its atomic number, formatted as a 3-digit code with leading zeroes, updates live.
Gorgofex step 2 — the cyst and the flowers
Inside the Bioweapons Lab a cyst sits behind glass and behaves as a soul box, but with an unusual rule.
Damage, do not kill. Wound zombies next to the machine without killing them so vermin burst out, then lightly damage the vermin in front of the cyst. They levitate and get sucked into the tube — a small yellow glow above the cyst confirms each capture. Assume three vermin then three zombies.
When it is full, interact to pick the cyst up and carry it to the T1 Quantum Computing Core — you can drop down through the floor to get there.
Three large etheric flowers grow in and around the plant room. Stand under each and the cyst auto-deploys with a drain bar. Drain all three to zero. The yellow flowers spit damaging goo, so hold the line between close enough to drain and far enough to dodge. Progress persists — you can run a lap to shake zombies and come back mid-bar.
Gorgofex step 3 — the Forsaken
In the Forsaken room, interact with the computer whose screen reads INITIATE POWER SURGE — active screens also give a distinct audio cue. On a timer, activate the remaining ones; there are four computers in the room, and running it anticlockwise hits them all in time.
Confirmation cue: a big electrical surge into the Forsaken’s corner, and an Uber Klaus spawns.
Do not simply kill it. Shoot both shoulder plates off, then lead it onto the electrified floor plate in front of the Forsaken. The Forsaken transfers into the Uber Klaus, creating the Forsaken-Klaus HVT and then its core. Bring Pack-a-Punched weapons.
The reward: killing it gets you the free Gorgofex. MrDalekJD has it drop directly; MrRoflWaffles gets a blood fusion that you combine with the cyst to spawn the weapon. Same result either way.
Wake Klaus and escort him
With Klaus built, lure an Uber Klaus to the body and let it fire its ranged energy attack next to him. The zap brings Klaus to life — a quote confirms it. Then kill the Uber Klaus normally.
Klaus stands up and types on the computer beside him. Flip to the next round and he moves — follow closely or you will lose him. He stops in Dark Entity Containment at a SAM trial; flip the round again to activate it, then complete it (usually eliminating zombies inside a marked zone — check your map).
Confirmation cue: he moves to his third spot, through the Fowler teleporter into the T2 Teleportation Lab, and starts hacking. That is your prompt for the document code and brain run if you have not already done them.
Boost the Gorgofex and clean the fungal head
At T2 Sublevel 10, trigger the boost — the desk screens read BOOST READY, or hold interact on the same switch that activated Pack-a-Punch to turn the particle beam red. Ghostly blue quantum vermin spawn and you must kill them fast with the Gorgofex. Expect four or five, most of them watching from high up with one on the ground, on a tight timer.
When it completes, the floating canister above the room carries a glowing blue orb — interact to attach it to your Gorgofex.
Do not fire any weapon while the blue orb is attached. Shooting loses the orb and you redo the whole step next round. Walk it, do not fight it.
Carry it to the T2 Teleportation Lab and hit the boss portal crystals with a charged shot to destroy them and materialise the portal.
The fungal head. Back in the Quantum Computing Core, put a charged Gorgofex shot into the spore in the window corner — easier from the upper level — and a fungal head drops. Dunk it in your water-filled bucket, let it clean, and pick it back up.
Carrying the head: you cannot sprint, and you become a mobile soul box needing roughly thirty kills. Once souls start filling, a shadowy figure with glowing eyes stalks you and damages on contact — keep moving, and farm in the direction of the Fowler teleporter since that is where you are going.
Finish: take the full head through the Fowler teleporter to the boss teleporter and interact — the head floats onto it.
Optional — upgrade the Gorgofex
You get exactly one. Upgrading to one variant locks out the other for that game, so decide before you start. MrDalekJD rates Gorgofex N as slightly stronger for the quest and boss; Gorgofex C is the easier path.
Gorgofex C — the Peck side. Interact with Blanchard’s door in the Executive Suite for a quick line of dialogue. In Project Janus reception, press the big red button to trigger a shutdown; wait for the maintenance Klaus to finish at the central PC, and one reception elevator breaks. Ride the working elevator up the opposite side, find the broken elevator’s shaft and parachute down it, hitting all three glowing red buttons on the way. Miss one and you simply retry — attempts are unlimited. You are launched back up to an orb, which then possesses zombies and turns them electric blue. Kill every blue zombie using only the Gorgofex; their orbs spiral around the main machine in the Quantum Computing lab. When they are all down, interact with the ghost at the front of that structure while holding the Gorgofex.
Gorgofex N — the Blanchard side. Talk to Blanchard’s door; he asks for items. Take the Strauss counter from the terminal mid-room in the Quantum Computing lab, teleport to the other tower, and follow the radiation reading — it peaks around 9.6 and usually leads to a zombie window barrier. If nothing is visible in the window, fire a charged Gorgofex shot near it to tip a box and pop out a vial. Then gather three parts: a clean hood from the scientist corpse in the corner of the Bioweapons Lab, a PC fan in the Forsaken room on the machinery left of the Arsenal station, and tubing outside the Quantum Computing area near Speed Cola. Return to Blanchard’s door to build the essence extractor, insert the vial, and survive a 90-second lockdown protecting the machine from zombies and Klaus robots. Then carry Blanchard’s life essence to the T1 Bioweapons Lab — it drains your health as you go, exactly like a Liberty Falls canister, so put it down briefly to recover and re-grab. Interact with the glass machine right of the cyst spot to craft it.
Source note: both upgrade paths come from MrDalekJD only — MrRoflWaffles’ main guide skips them entirely.
Vacuum seal devices and the final lockdown
The previously locked Project Janus security boxes are now open, each holding a vacuum seal device. It replaces your tactical and throws like a Kazimir — but you must pick it back up after each use.
Around the map, mostly in Tower 1, are purple floating objects. Throw a device at one, it gets sucked up, then retrieve the device. Your quest inventory count increments each time — check it every grab. You need four filled devices.
Where to look: a purple flower pot in spawn reception, a toolbox on the outside edge of Quantum Computing, a trash bin and boxes in the Mutant Research test area, and three or four objects around the Executive Suite and Director’s office. Device boxes sit nearby in each area, plus Android Assembly, the back of Dark Entity Containment, and the Teleportation Lab.
Pre-boss checklist: triple Pack-a-Punch, all perks, ammo mods, gums, a crafted self-revive, a big bank of points for ammo buys, and four devices in inventory.
In the teleporter room, insert all four devices and press READY to start the lockdown. Several wall switches in the room light red one at a time with an audio cue, only five to ten seconds apart — run to each and interact to turn it green. The screen flashes white when you are done.
The other guide: MrDalekJD instead describes three switches spread around the map about twenty seconds apart, with Uber Klauses spawning throughout — be ready for either.
Co-op: nobody is pulled in until everyone votes ready at the portal.
Boss fight — pick your side
Take the portal, interact with the Sentinel Artifact and vote. Siding with Richtofen means you fight SAM — both creators agree this is the easier fight. Siding with SAM means fighting Richtofen, which is much harder.
Both sides share the vaults. Vault 1: fill three soul boxes — interact, then kill zombies beside each — in the corner, the middle, and past-middle-right. Arsenal machines and Der Wunderfizz are here if you skipped perks. Vault 2: the ceiling has purple lights, some of which are dark aether crystals in randomised positions. Shoot every crystal — you cannot advance until they are all gone.
SAM — the easier fight. She is immune except during two attacks. After her laser beam ends, red critical points and her eye are briefly exposed — hide behind cover during the beam, then unload; Kazimir or Aether Shroud makes that window enormous. She is also damageable during her centre-arena spin. Otherwise train the perimeter, farm armour from heavies, and accept it is a tanky, patient fight. At the 75%, 50% and 25% health marks she despawns for a SAM trial — completing it grants a free perk, which is excellent if you lost Quick Revive, and failing it can leave you with a debuff. In the final phase she can launch you skyward; paraglide down and keep running.
Richtofen — the hard fight. An Uber Klaus on steroids: extremely tanky with weak shoulder pads to shoot off, air-dive body slams, and a nuke for anyone who stands still two seconds. Expect immune phases with zombie waves between. At zero health on the Uber body he becomes a flying Klaus core, strafing the arena with a Wunderwaffe plus air raids and dormant floor bombs, with Uber Klauses and special-round Klauses as adds. Keep moving clockwise to dodge his sky beams and burst him during Aether Shroud windows. MrRoflWaffles rates the AMR with Tribologist above both scorestreaks and the Wonder Weapon here.
The other guide: MrDalekJD ties the SAM trials to damage thresholds with different rewards — a perk power-up, then a Max Ammo spawn, then a random perk for a legendary completion.
Side Easter Eggs & extras
Everything beyond the main quest. Tap any entry to open the full how-and-where breakdown.
“Remember Us”
Activate the hidden headphones in three rooms to play the map's musical Easter egg: T1 Mutant Research Lab, T2 Dark Entity Containment, and T1 Director's Office. All three must be triggered in the match.
S.A.M. Trials to Legendary
During the S.A.M. boss fight (and at map Trials), completing a Trial to Legendary grants a free perk; failing applies a Grief such as Ammo Drain, Weapon Nerf or Weapon Carousel.
Pool-ball 1-1-5
In T1 Director's Office, shoot the pool balls representing 1-1-5; a Self-Revive spawns on the pool table.
Aetherella
Spray/activate the hidden bathroom-stall interaction in Reception, charge the figurine with a Gorgofex shot, then use the Sublevel 10 beam to collide with and activate it for a companion.
Golden Trash Bin
Interact with all eight trash bins around the map — four give loot, four do not. Completing all eight unlocks the Golden Trash Bin in Reception for a large payout.
Chicken Bucket Hat
Use explosive damage on the chicken bucket in T1 Executive Suite, collect the six chicken wings around the route, then return to the bucket to equip the hat for the match.
Android Assembly Vending Machine
Across from Franken-Klaus, melee it once per round for a random payout. A Melee Macchiato punch releases one final jackpot but permanently ends the once-per-round interaction.
Hidden power-ups & Round 100 bosses
Shoot map-specific statues/props (including the Max Ammo target on the Android Assembly generator) for hidden power-ups. Optional Round 100 boss interactions are separate from the Main Quest — do not trigger them while holding portal items.
Interactive solvers
Every solver for Reckoning, in the order you meet them. Each also appears inside its step in the walkthrough above — use whichever is handier. Browse every Zombies solver →
Folder Chronology Code
Teleportation Lab computerFour dated folders spawn from a random pool. Enter each folder's date in MMDDYYYY form and the item number printed beside its name. The four-digit code — the item numbers sorted oldest → newest by date — updates live. Folder years can differ, so enter the full date; the tool orders them chronologically for you.
Element Atomic-Number Code
T1 Mutant Research — vat keypadThe two static screens flash a word each; take the first letter of each to form a chemical element's symbol (one screen may give only one letter). Type that symbol — its atomic number, formatted as a 3-digit code with leading zeroes, updates live.
Recommended loadouts
Three strong picks for this map — the map's Wonder Weapon plus reliable box/wall options. Each weapon lists a full recommended attachment build and the perks to pair with it, every perk shown with its Major and Minor augment. Push weapons to Legendary rarity and Pack-a-Punch; augment/attachment metas shift with balance patches, so treat these as a strong current baseline.
Gorgofex (Wonder Weapon, PaP III)
Quest tool and boss damage+Formed from the Forsaken transfer — the only weapon that kills the blue Quantum Vermin, shatters the portal crystals and knocks down the Fungal Head. Optionally upgrade once to Corpsloder (Panos) or Necrodystonia (Blanchard); keep it full before the finale. Charged shots also chunk both bosses.
Attachments
- —Wonder Weapon — no Gunsmith attachments
Perks & augments
- Jugger-NogMajorReactive Armor — plate breaks stun nearby zombiesMinorDurable Plates — tougher armour
- Speed ColaMajorClassic Formula — even faster reloadsMinorQuick Swap — faster weapon swaps
- Deadshot DaiquiriMajorDead Again — crits can add a bullet to the magMinorDead Break — extra armour damage
- Stamin-UpMajorStalker — faster movement while aimingMinorHot Foot — speed burst on equipment kills
- PhD FlopperMajorPhD Slider — slide into a group to detonateMinorTribologist — longer, faster slides
- Death PerceptionMajorDeath Stare — chance to instantly drop wounded specialsMinorBird's-Eye View — faster minimap scan
Maelstrom (PaP III / Legendary)
Close-range boss DPS — S.A.M. branch+High close-range burst that deletes S.A.M.'s exposed centre eye once the four outer lights break. Pair with Combat Stims/Decoys and a Death Machine for the red-eye windows; strong crowd-clear through the lockdown defences.
Attachments
- —Wonder Weapon — no Gunsmith attachments
Perks & augments
- Jugger-NogMajorReactive Armor — plate breaks stun nearby zombiesMinorDurable Plates — tougher armour
- Speed ColaMajorClassic Formula — even faster reloadsMinorQuick Swap — faster weapon swaps
- Deadshot DaiquiriMajorDead Again — crits can add a bullet to the magMinorDead Break — extra armour damage
- Stamin-UpMajorDasher — longer tactical sprintMinorHot Foot — speed burst on equipment kills
- PhD FlopperMajorPhD Slider — slide into a group to detonateMinorTribologist — longer, faster slides
- Quick ReviveMajorDying Wish — brief invulnerability on lethal hitsMinorSlow Death — longer last-stand timer
ABR A1 (Legendary · PaP III)
Accurate long-range — Uber Richtofen branch+An accurate marksman rifle for hugging the outer arena against Uber Richtofen — land shoulder-generator and core hits from range while Cryo Freeze locks his robot waves. Rapid Fire converts it into a crit powerhouse.
Attachments
- OpticVolzhskiy Reflex
- MuzzleSuppressor
- BarrelCHF Barrel
- UnderbarrelRanger Foregrip
- MagazineExtended Mag II
- Fire ModsRapid Fire
- Rear GripQuickdraw Riser
- StockInfiltrator Pad
Perks & augments
- Jugger-NogMajorReactive Armor — plate breaks stun nearby zombiesMinorDurable Plates — tougher armour
- Speed ColaMajorClassic Formula — even faster reloadsMinorQuick Swap — faster weapon swaps
- Deadshot DaiquiriMajorDead Again — crits can add a bullet to the magMinorDead Break — extra armour damage
- Stamin-UpMajorStalker — faster movement while aimingMinorHot Foot — speed burst on equipment kills
- PhD FlopperMajorPhD Slider — slide into a group to detonateMinorTribologist — longer, faster slides
- Death PerceptionMajorDeath Stare — chance to instantly drop wounded specialsMinorBird's-Eye View — faster minimap scan
Recommended kit & gum picks
The BO6 saga finale — a long, tough quest with a choice of final boss (S.A.M. or Uber Richtofen). Kit for endurance. Weapons and the Gorgofex are in Recommended loadouts above.

Aether Shroud
Cover for the Franken-Klaus build, the Vacuum-Seal steps and the finale.

Frenzied Guard
Pull aggro and repair armour on kills for the red-switch lockdown and boss adds.

Dead Wire
Stuns and strips the Quantum Vermin and Manglers during the crystal steps.

Napalm Burst
Burning area damage for the lockdowns.

Shatter Blast
Explosive shrapnel chews armour on S.A.M. / Uber Richtofen.

Kazimir Grenade
A mini black hole that pulls and clears a packed lane on the holds.

Monkey Bomb
Distraction bait during the Vacuum-Seal and Vault steps.

Perkaholic
UltraEvery perk at once — worth it for the longest BO6 quest.

Phoenix Up
LegendaryRevive with all perks kept.

Wall Power
LegendaryNext wall-buy comes Pack-a-Punched.

Dead Drop
EpicMore salvage and equipment for ~5 min.

Free Fire
EpicNo ammo for 60s on the boss.

Shields Up
RareRefills armour at 2× strength for 3 min — the gum both creators bring on every map, and blue rarity so you will actually have it.

Power Keg
RareMrDalekJD brings it for the boss; cheap and reliably available.

Reign Drops
UltraMrDalekJD pairs it with Perkaholic for the Richtofen and SAM fights.
Perkaholic
UltraFull perks for whoever pops it.

Nowhere But There
EpicTeleport to a downed team-mate and revive nearby — vital on the finale.
Free Fire
EpicNo ammo for 60s on the boss.

Temporal Gift
RareExtends your next timed power-up.
Dead Drop
EpicSalvage and equipment for the squad.
Per-map augments
The Major + Minor augment to run on each core perk for this quest. BO6 gives 3 Major and 3 Minor options per perk — pick one of each; these are tuned to this map's boss and steps. Augments unlock at Level 11; metas shift with patches, so treat as a strong baseline. Per-map augment recs are ground no competitor covers.
 Reactive ArmorMinor
 Durable Plates
 Phantom ReloadMinor
 Quick Swap
 Dead AgainMinor
 Dead Break
 DasherMinor
 Hot Foot
 PhD SliderMinor
 Tribologist
 Death StareMinor
 Bird's-Eye View
Calling cards on this map
Cosmetic calling cards you can earn on this map. ⏳ marks time-limited main-Easter-Egg cards — miss the window and they're gone for good. Global Dark Ops challenge cards are in the reference section below.

Main-quest completion card
Main EEComplete the Reckoning main quest.
Exact card name not yet confirmed.
⏳ Time-limited — only awarded if you finish before Directed Mode is added for this map; permanently missable afterwards.
GobbleGum reference — Black Ops 6
All 41 Black Ops 6 GobbleGums by rarity — Rare, Epic, Legendary, Ultra and the cosmetic Whimsicals. They drop at end-of-round and you hold up to three. Filter by rarity.

Kill Joy
RareDrops an Insta-Kill.

Cache Back
RareDrops a Max Ammo.
Temporal Gift
RareYour next timed power-up lasts longer.

Stock Option
RareAmmo drawn from your stockpile for 60s.

Anywhere But Here
RareRandom teleport plus a concussive blast.

Arsenal Accelerator
RareFaster Field-Upgrade charge for 5 min.
Shields Up
RareRefill armour at 2× strength for 3 min.
Power Keg
RareDrops a Full Power power-up. (Season 1)

Tactical Diffusion
RareNext Nuke is disabled and pays +2,000 Essence. (Season 3)

Respin Cycle
EpicRespin the Mystery Box to an equal or higher rarity.

Who's Keeping Score?
EpicDrops Double Points.
Free Fire
EpicNo ammo consumed for 60s.

Exit Strategy
EpicInstant exfil vote with fewer spawns.

Profit Sharing
EpicShare Essence with nearby players for 2 min.

Soda Fountain
EpicYour next perk buy grants +1 random perk.
Nowhere But There
EpicTeleport to a downed player and revive nearby.
Dead Drop
EpicIncreased salvage and equipment drops for 5 min. (Season 2)

Explosive Flourish
EpicEach reload triggers an explosion for 2 min. (Season 4)

Idle Eyes
LegendaryZombies idle for 30s.
Wall Power
LegendaryYour next wall-buy comes Pack-a-Punched.

Immolation Liquidation
LegendaryDrops a Fire Sale.
Phoenix Up
LegendaryRevive all downed players, perks kept.

On the House
LegendaryDrops a Random Perk power-up.

Wall To Wall Clearance
LegendaryWall-buys cost 10 Essence for 30s.

Crate Power
LegendaryYour next box gun comes Pack-a-Punched.

Modified Chaos
LegendaryReduced Ammo-Mod cooldowns for 2 min. (Season 2)

Support Group
LegendaryGrants an ARC-XD, Mangler Cannon, Sentry and Mutant Injection. (Season 3)

Flavor Hex
LegendaryGrants a random Ultra gum. (Season 4)
Perkaholic
UltraEvery perk on the map at once.

Wonderbar!
UltraYour next box spin is a Wonder Weapon.

Near Death Experience
UltraProximity revive with perks for 3 min.
Reign Drops
UltraDrops all core power-ups at once.

Hidden Power
UltraYour held weapon becomes Legendary rarity.

Time Out
UltraClear all enemies and end the round for 3 min. (Season 1)
Newtonian Negation · Indiegestion · Holiday Cheer · Quacknarok · Die Pitched · Rainburps · Jacked Lanterns
Whimsical7 cosmetic seasonal gums — flair only, no gameplay effect.
Field Upgrade reference (Black Ops 6)
Black Ops 6's 6 Field Upgrades — charged by kills. Each has 3 Major + 3 Minor augments (unlocked at Level 11); you equip one of each. All augment options are listed. Source: CoD Wiki + GameLeap/GameRant cross-check.

Energy Mine
A proximity energy explosion.

Healing Aura
Instant heal beams (also revives teammates in BO6/BO7).
Aether Shroud
Phase out of enemy detection.

Tesla Storm
Lightning links players, stunning and damaging enemies.
Frenzied Guard
Repair armour and taunt enemies; kills repair your armour.
Dark Flare
A penetrating shadow beam.
Dark Ops & mastery cards (Black Ops 6)
Global ‘Dark Ops’ challenge cards — hidden until completed, earnable on any map. Filter by category.

Another Round?
Dark OpsReach Round 100.

Reaper of the Undead
Dark OpsKill 1,000,000 zombies (lifetime cumulative).

Invincible
Dark OpsReach Round 30 without going down.

Social Distancing
Dark OpsReach Round 20 without taking damage.

Good Enough
Dark OpsReach Round 20 with your starting loadout only — no augments, perks, ammo mods or Field Upgrade.
Box Addict
Dark OpsBuy every Mystery Box weapon in a single game.

Gummed Up
Dark OpsConsume 25 GobbleGums in a single match.
Well That Was a Waste
Dark OpsGet downed within 10s of consuming Perkaholic.
Armed to the Teeth
Dark OpsHold 3 Pack-a-Punch-III Legendary weapons with ammo mods and 8 active perks.
Harbinger of Doom
Dark OpsKill 100 enemies with a single Scorestreak.
Sticks N' Stones
Dark OpsReach Round 25 solo using only melee / Combat Axes / Melee Macchiato.
Fatale
Dark OpsKill two Amalgams with a single shot.
Light 'Em Up
Dark OpsKill 10 ignited Elites using the Napalm Burst ‘Big Game’ augment.

Kunoichi
Dark OpsIn one Aether Shroud (Void Sheath), kill 3 standard + 2 Special + 1 Elite.

Zombies Dark Ops 100%
MasteryComplete 15 Dark Ops challenges.
Intel
25 collectibles, tracked under Barracks → Zombie Intel — 13 Audio Logs, 7 Documents and 5 Artifacts. Around 15 are fixed pickups (several gated behind puzzles or the Mister Peeks upgrade); the rest are shoot-to-spawn, an enemy drop, the Gorgofex Wonder Weapon, a Weaver-only log and the boss-arena log. Story/lore only, no gameplay reward.
Audio Logs 13
Mom Genes
T1 Bioweapons Lab, SE corner — behind the periodic-table monitor puzzle (Gorgofex quest).
Play to Win
Quantum Computing area near Speed Cola — on a chair.
The Things I've Seen pt 1
T1 Mutant Research Test Area — on a crate on the south side, by the shooting range.
The Things I've Seen pt 2
Director's Office (T1 Executive Suites) — on a shelf by the pool table, right of the coffee machine.
Reactive pt 1
T1 Executive Suites — on a counter by the TV on the south wall, left of the Tsarkov wall-buy.
Reactive pt 2
T2 Sublevel 10 (Pack-a-Punch) — top of the crashed elevator shaft; reach it with low-gravity active.
Reactive pt 3
T2 Android Assembly — on the NE-wall lockers by the conveyor belt.
The Forespoken
T2 Dark Entity Containment — on a forklift seat SE of the Forsaken's box, right of Stamin-Up.
Dysphoria
Secret T2 Teleportation Lab — on a terminal by the purple teleporter (gated behind the Fowler mutant-injection step).
Miracle Worker
T1 Project Janus Reception (spawn) — behind the main reception desk.
Misdirection pt 1
Director's Office — inside Richtofen's safe (painting puzzle + the Mister Peeks Field Upgrade to open).
Whistleblower
Weaver operator only — after ~round 13 a S.A.M. line triggers in Mutant Research; use the terminal on the west wall behind Richtofen's family tube.
Great Voice From Beyond
T3 rooftop final-boss arena — on a workstation in the corner (needs the main-quest finale).
Documents 7
Department Head
Parachute through the hole from T1 Mutant Research into the Quantum Computing Core — on a ledge with the Dark Aether plant, above the Arsenal.
Brainiac
Director's Office safe, alongside the Aether Blade (same painting-puzzle safe as Misdirection pt 1).
Misdirection pt 2
On a tank in the NW corner of the upper floor, reached while jumping from the broken railing during the boss fight.
Employee of the Month
Shoot the projector on the roof near the Executive Suites / Elemental Pop.
Mangler Matrix
T1 Mutant Research — shoot the papers under the lab equipment on the NE platform.
Safety Measures
T2 Android Assembly — shoot the briefcase held by the rear Kommando Klaus bot.
I'm a Real Girl
Trash-Can egg — loot four spawn trash cans, then the glowing golden can on the spawn south wall.
Artifacts 5
Knick Knack
Director's Office (T1 Executive Suites) — interact with the snowglobe on the desk.
Fungal Head
Hit the fungus ledge above Quantum Computing (north wall) with a fully-charged Gorgofex shot from the Mutant Research floor hole.
Wish You Were Here
Activate the CASTER trap near Stamin-Up in T2 Dark Entity Containment and hit a zombie by the electric pillar.
Klaus Arm
Shoot off and collect the arm from Kommando Klaus during a Max Ammo special round.
Gorgofex
Obtained when you get the Gorgofex Wonder Weapon (the periodic-table / Forsaken-possession quest, or the Mystery Box).
Common Reckoning questions
Direct answers to the specific things players look up mid-game — part locations, puzzle steps and more.
What is the four-document code on Reckoning?
Find four documents scattered around both towers, each carrying a number before an item name and an archive date. Order the four notes by full archive date, oldest to newest, then read off each note's number in that order — that is the four-digit code for the Teleportation Lab terminal. Use the full date, not just the month.
What is the periodic-table code on Reckoning?
Two static screens in the Mutant Research Lab flash a green word each. Take the first letter of each word, match that letter pair to an element symbol on the periodic-table poster, and read its atomic number, padded to three digits (60 becomes 060). Try both letter orders — you get two attempts per round, and the words re-randomise each round.
How do you get the blood sample on Reckoning?
With Pack-a-Punch active, both sides of the Sublevel 10 particle room glow and a body floats in the beam. Jump into the beam to become a ball orb, steer into the floating body so it drops to the floor, then run to it and hold interact with the syringe to take the blood sample. Retries are free.
How do you do the brain run on Reckoning?
Buy Melee Macchiato in the T1 Quantum Computing Core, melee the computer box there to reveal a blue brain, and carry it — timed — to the T2 Teleportation Lab receptacle. Fastest route is the launch pad to Android Assembly, the elevator up, and through the teleporter. If the timer lapses, grab it again next round.
How do you get Fowler's injection and pass the retina scan on Reckoning?
Insert the blood-filled syringe at the Mutant Research console to spawn Fowler, a strong Mangler HVT — kill it for the green Fowler injection. Take it to the retina scanner in T2 Dark Entity Containment, activate the injection to become the mutant, and interact with the scanner to open the boss-teleporter room.
How do the vacuum seal devices work on Reckoning?
Open the Project Janus security boxes for vacuum seal devices, which throw like a Kazimir but must be picked back up after each use. Throw one at each purple floating object — mostly around Tower 1 — and retrieve it; your quest count increments each time. You need four filled, then insert them in the teleporter room for the final lockdown.
How do you upgrade the Gorgofex on Reckoning?
You get exactly one variant per game. Gorgofex C (the easier Peck path) has you parachute down the broken reception elevator shaft hitting all three red buttons, then kill blue-possessed zombies with the Gorgofex. Gorgofex N (the Blanchard path) needs the Strauss counter, three parts and a 90-second lockdown. MrDalekJD rates N slightly stronger for the boss.
Visual guides & sources
Screenshots and exact part locations live in these — open one on a second screen.