

Outbreak
Outbreak trades a single map for a rotating set of huge open regions. Each run begins at World Tier 1, clears one required primary objective, then uses a Beacon to warp to a harder region, upgrade, or Exfil. Two multi-part story quests run across it: Ravenov Implications (ending with Legion) and Operation Excision (ending with an Orda exfil battle).
Map & Key areas
The map layout first, then the areas worth knowing by name. Map imagery © Activision, self-hosted.
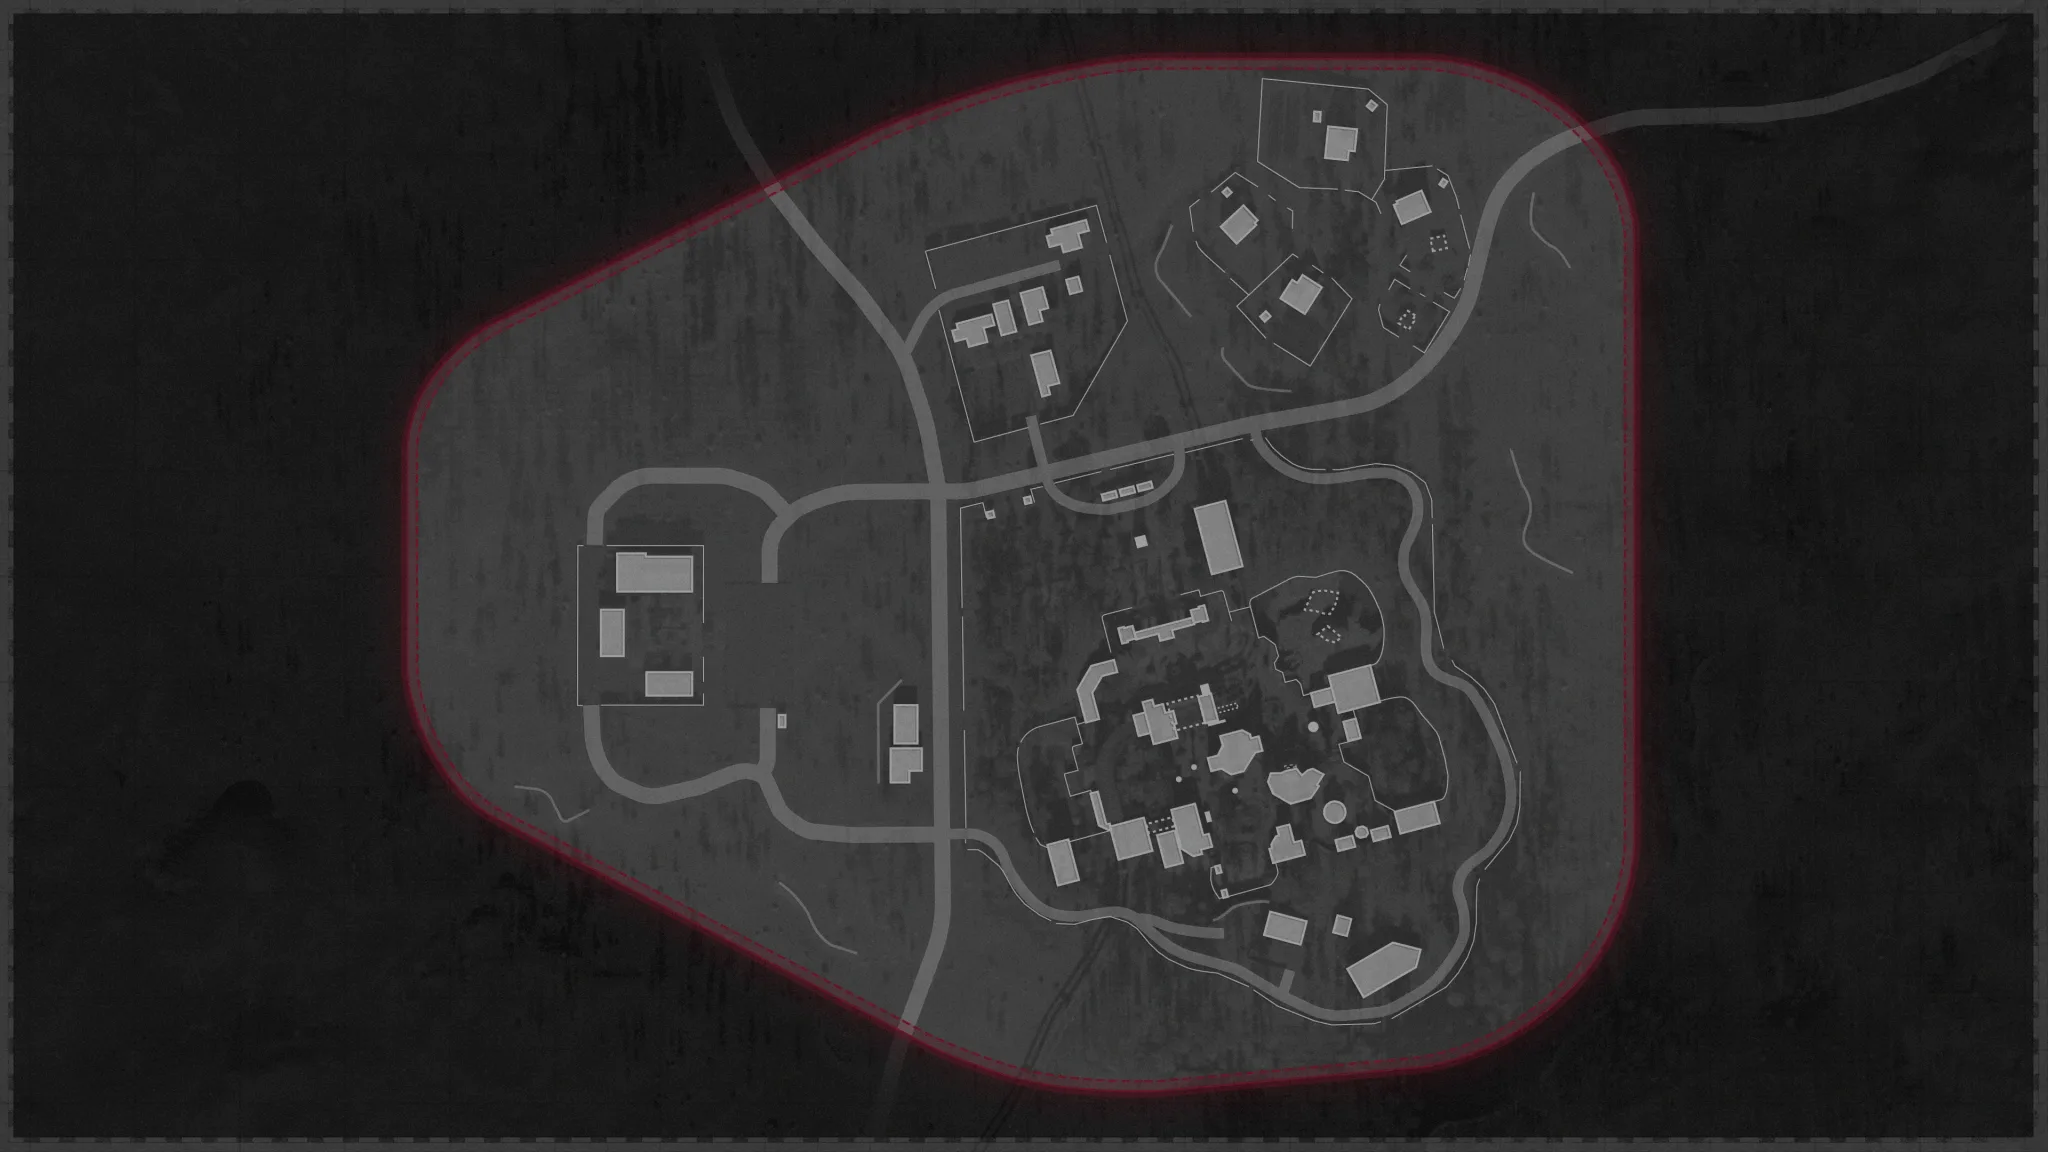
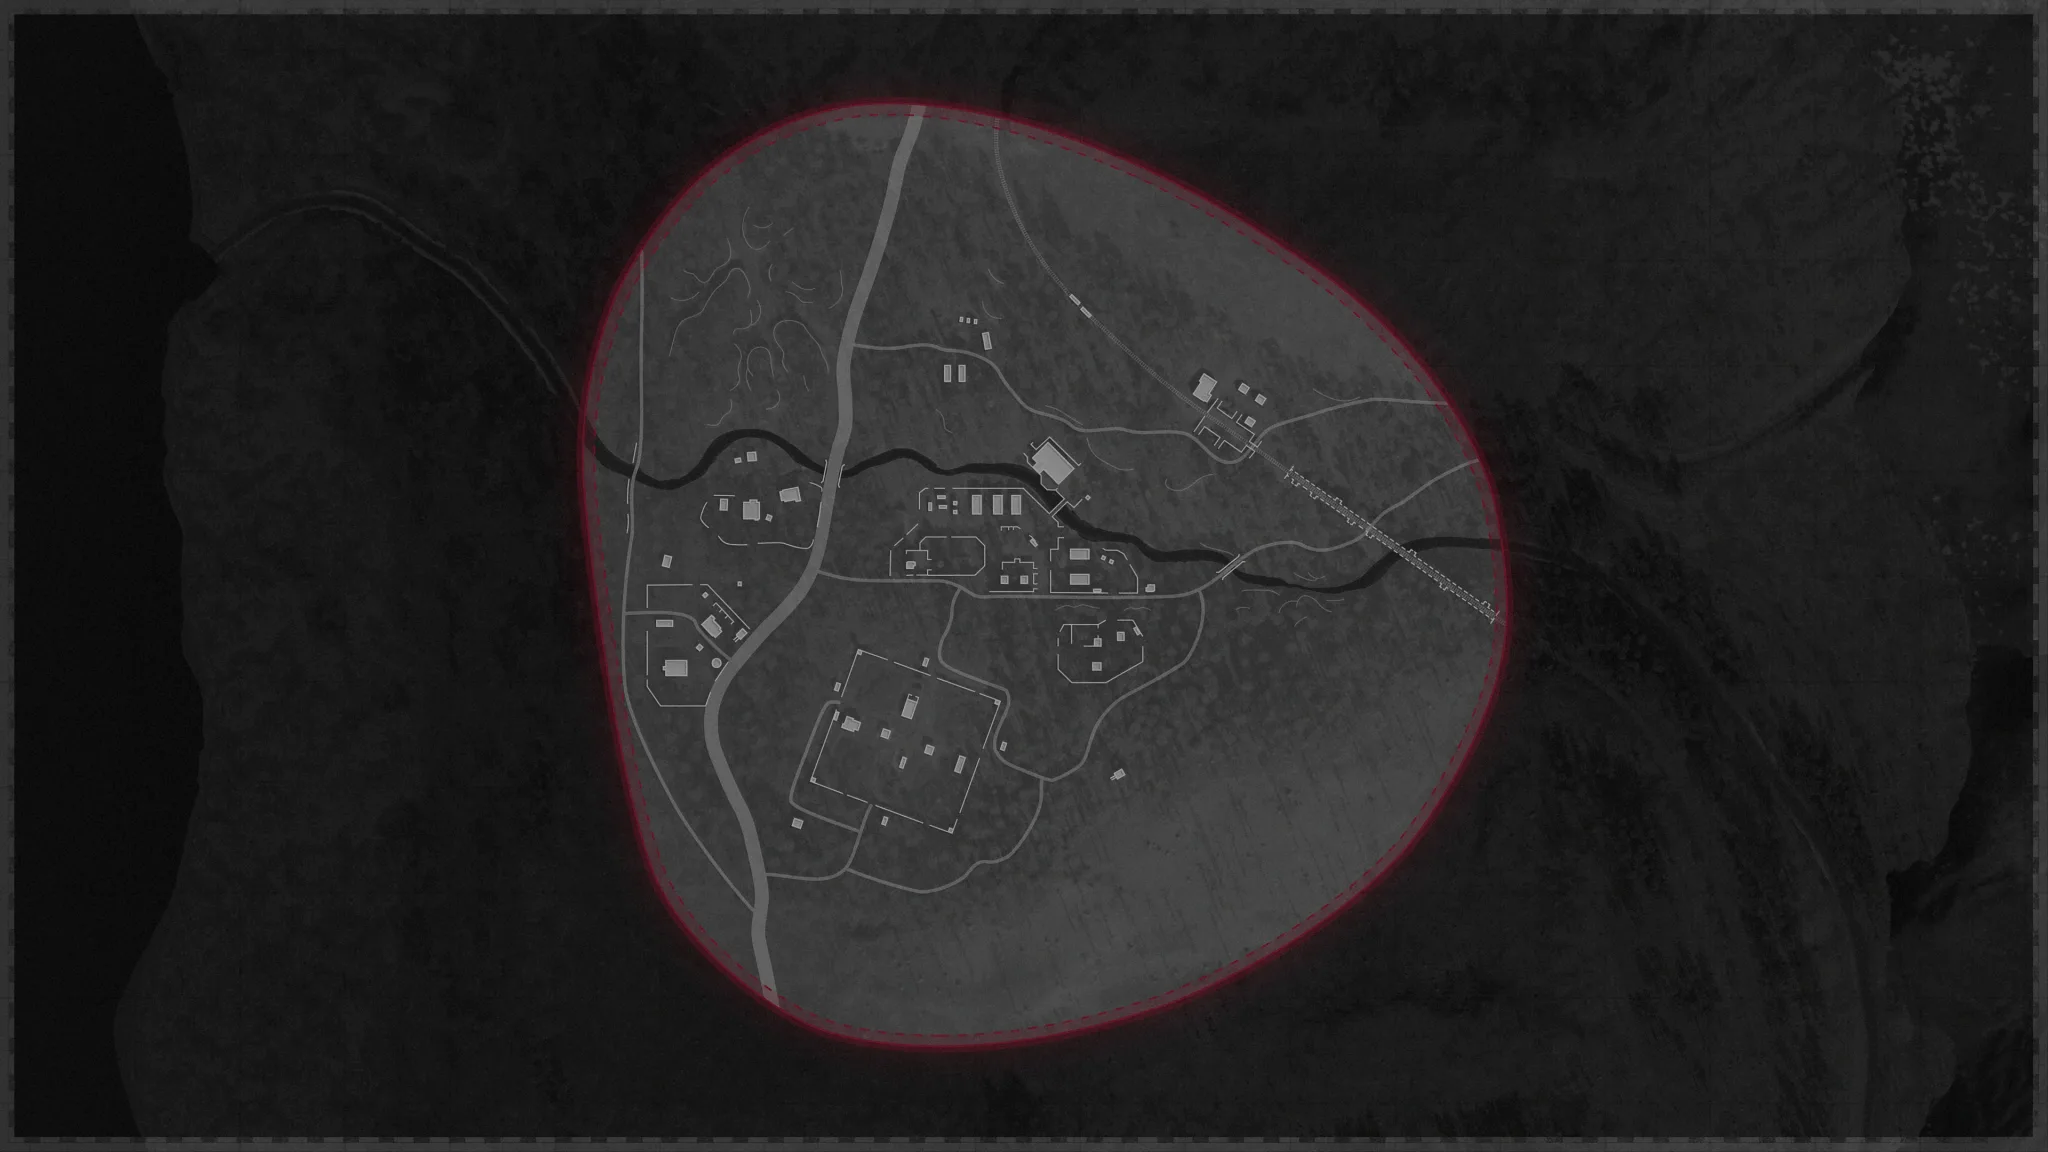
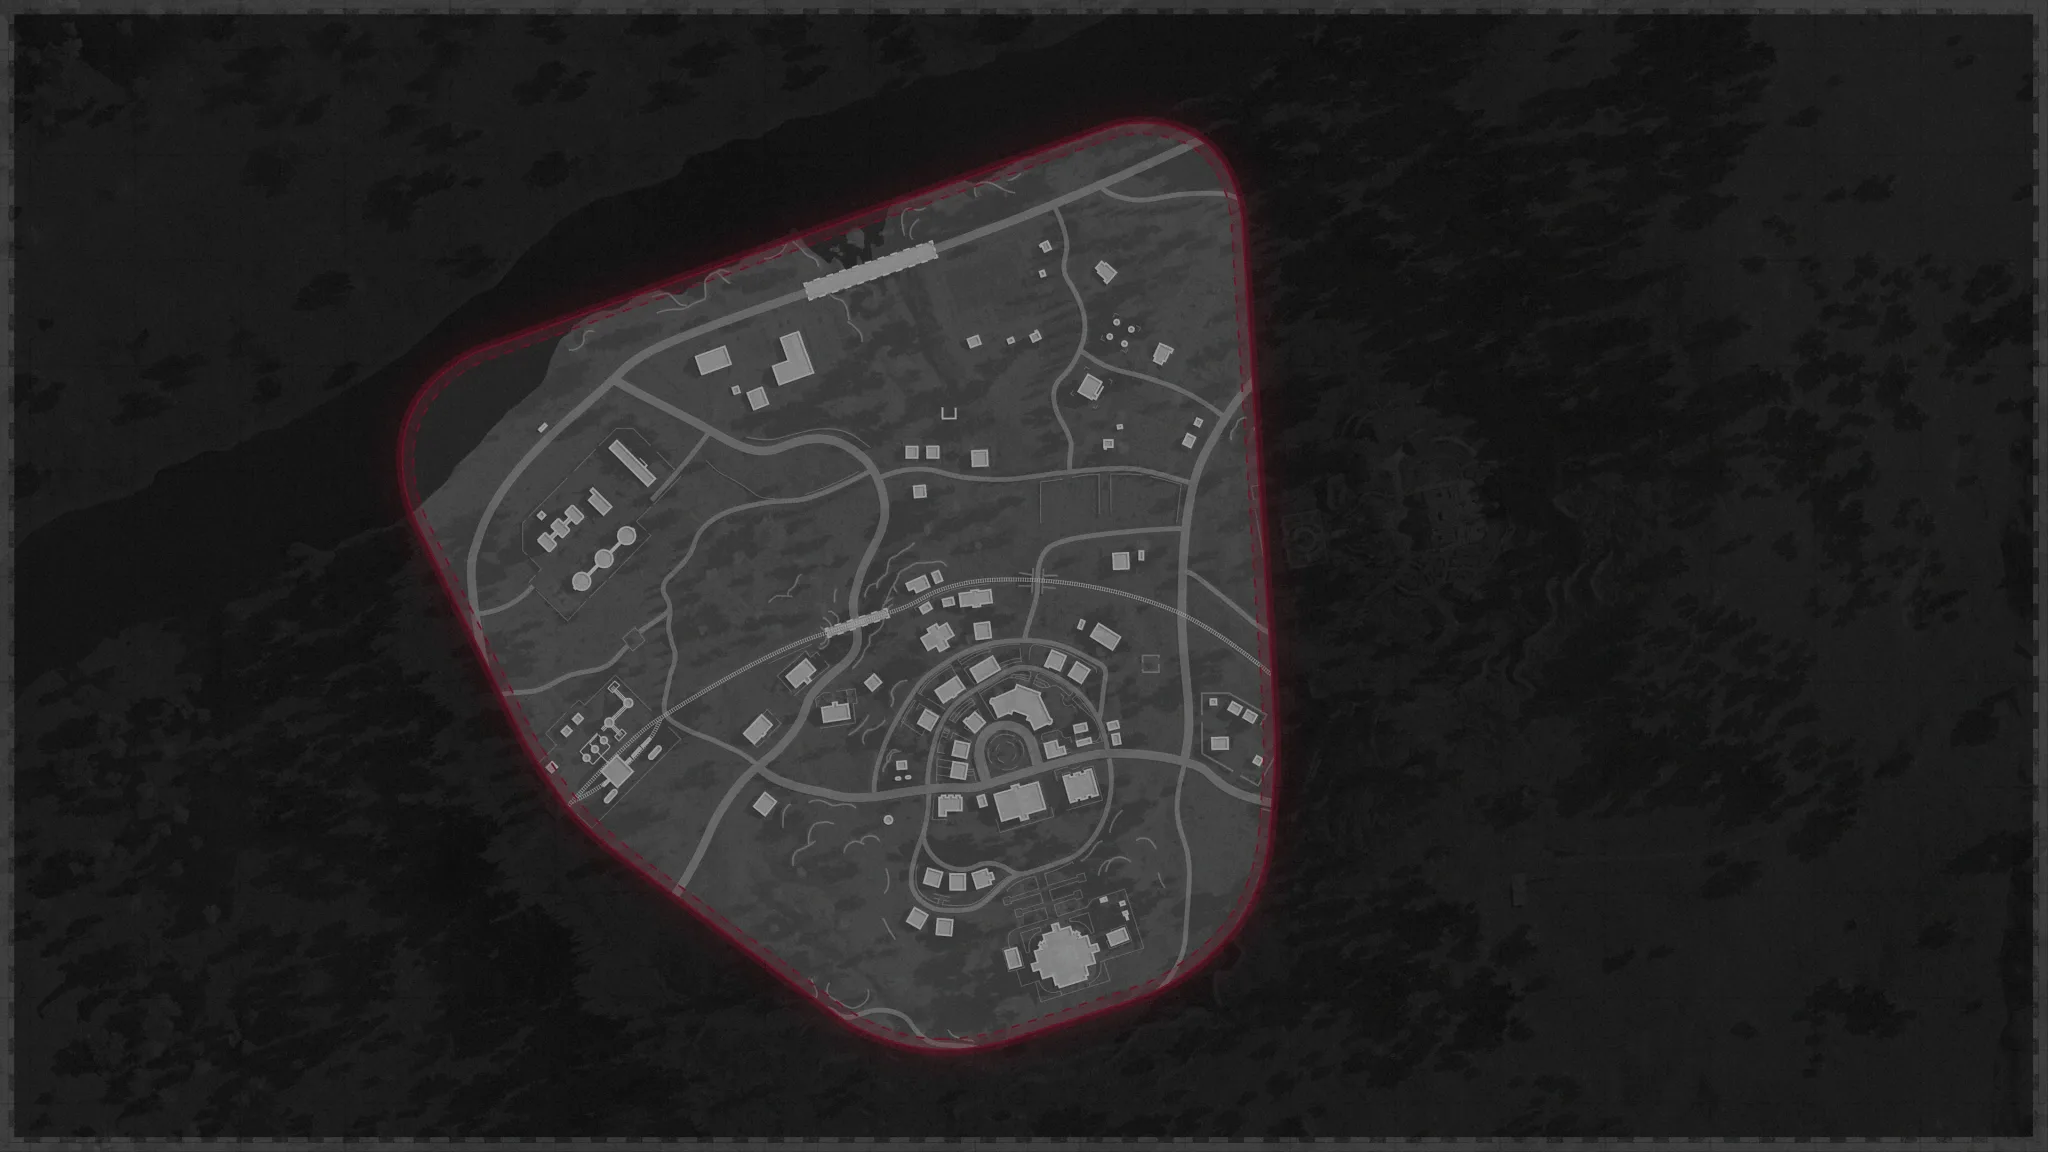
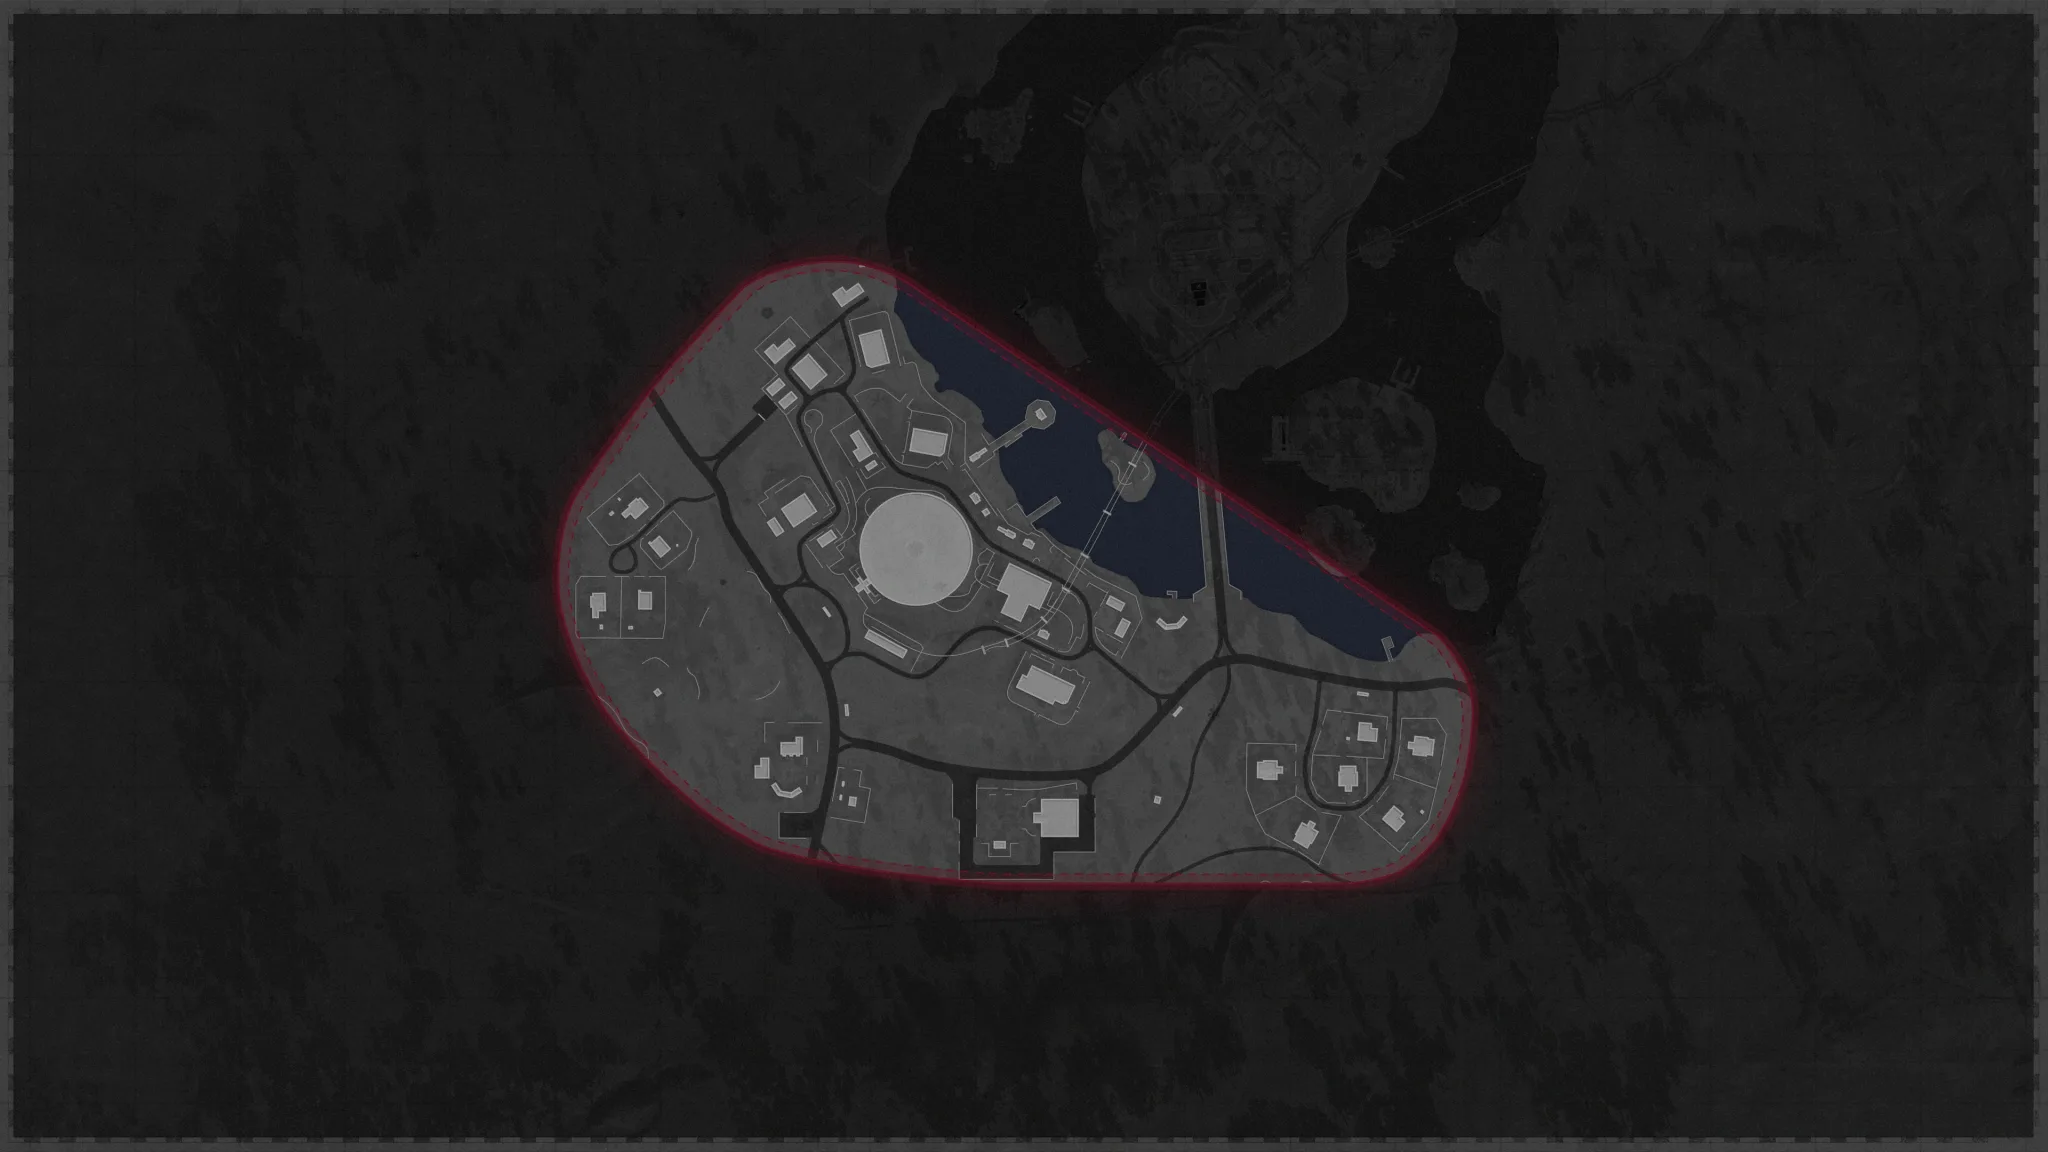
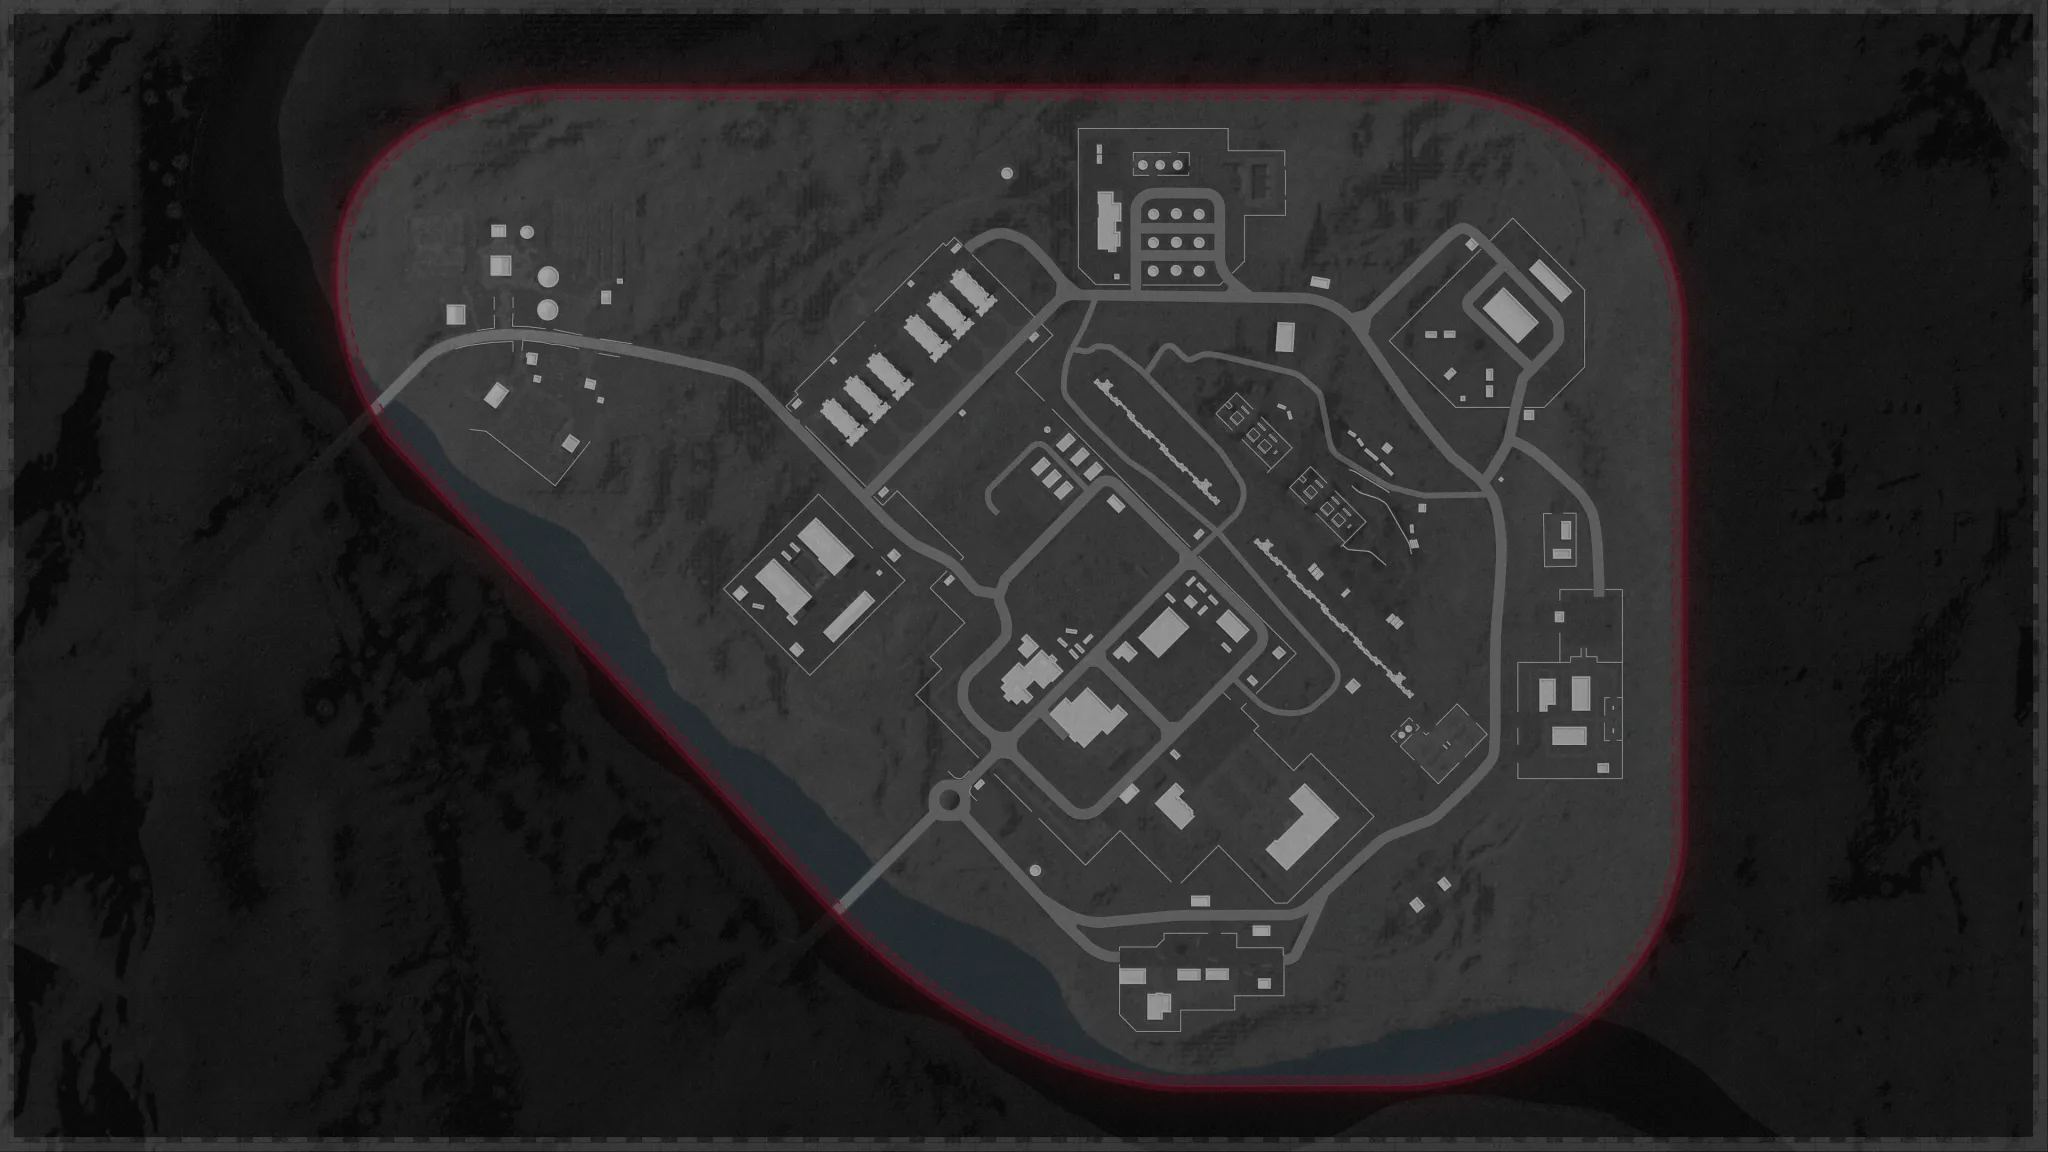
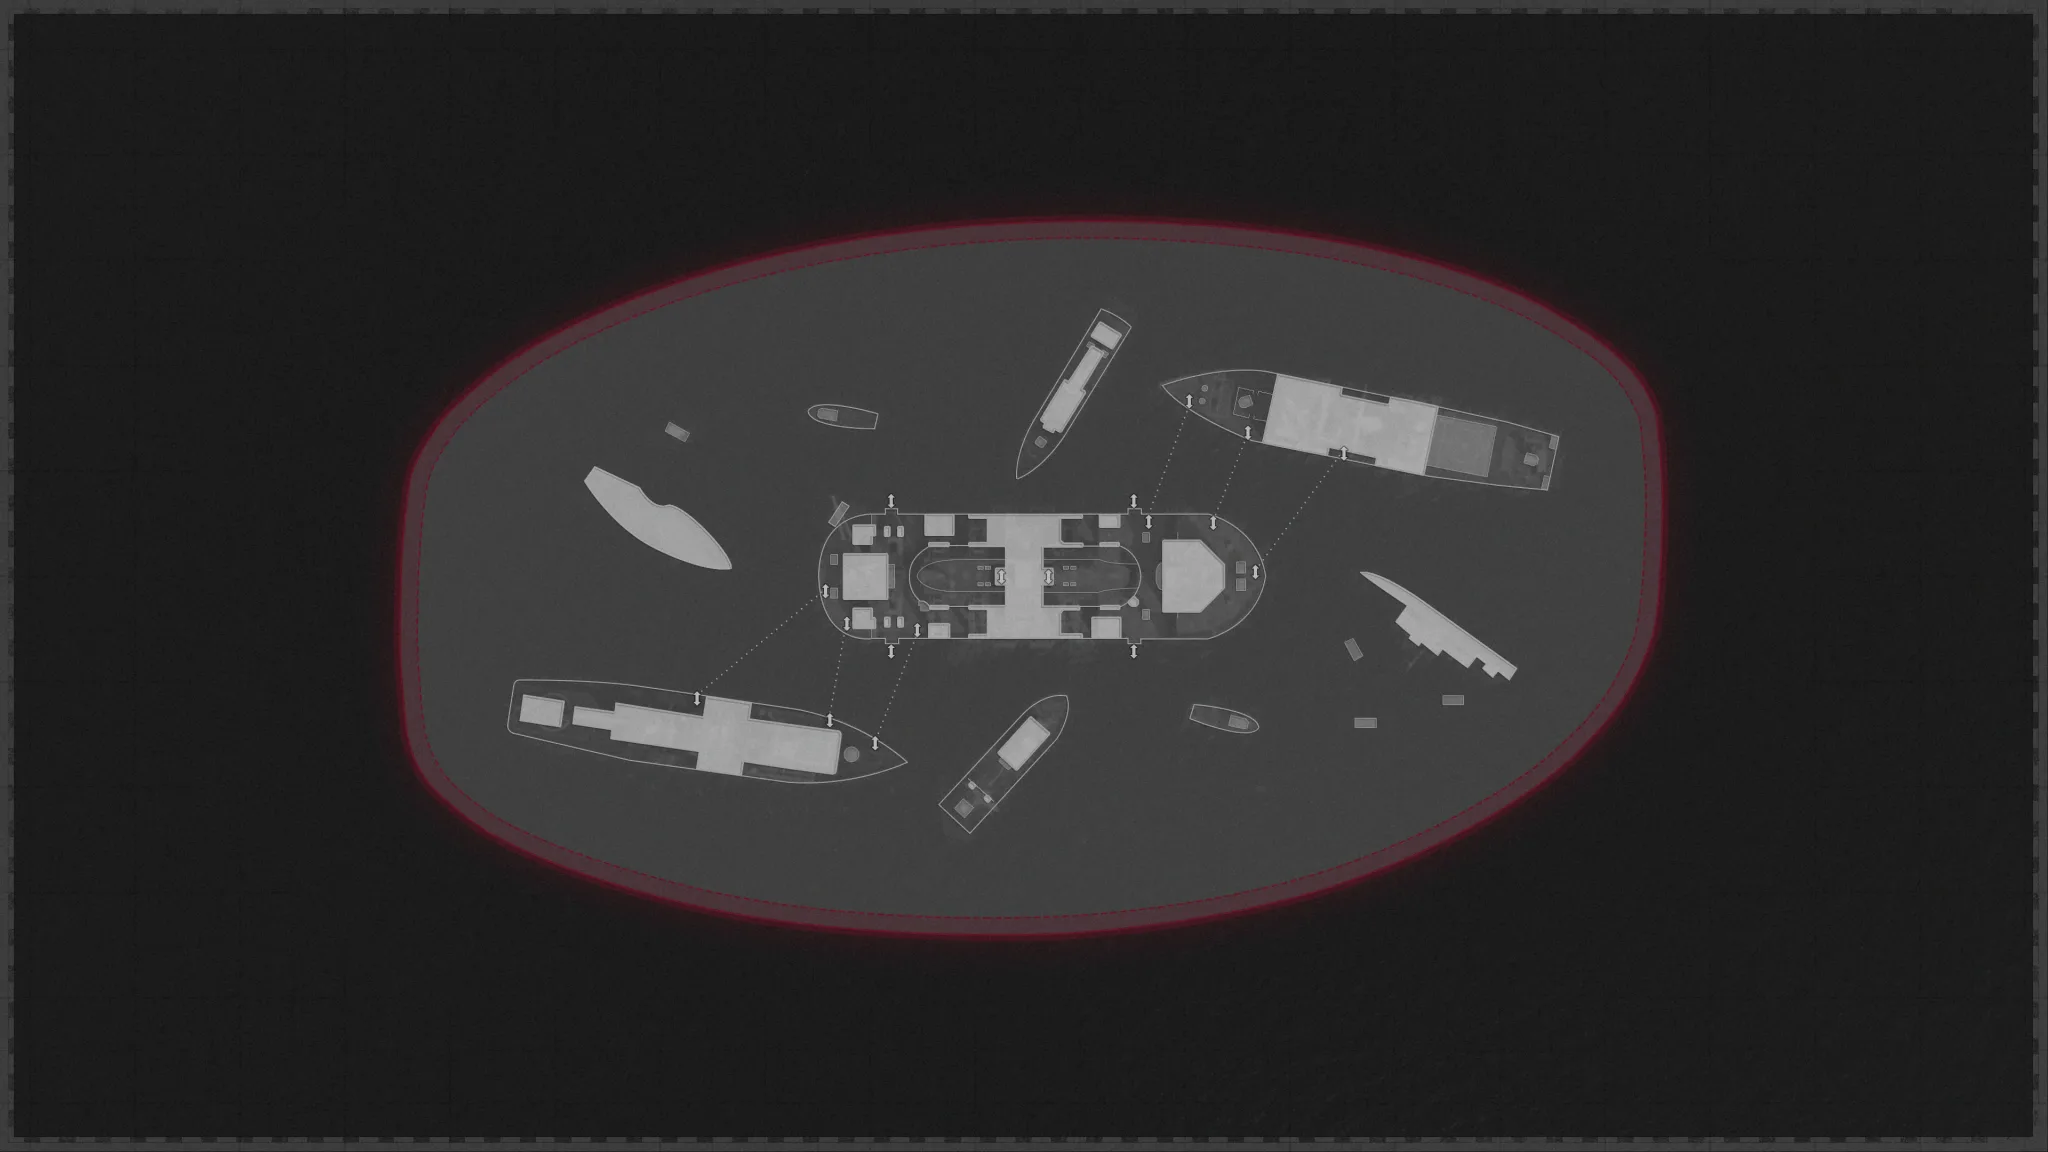
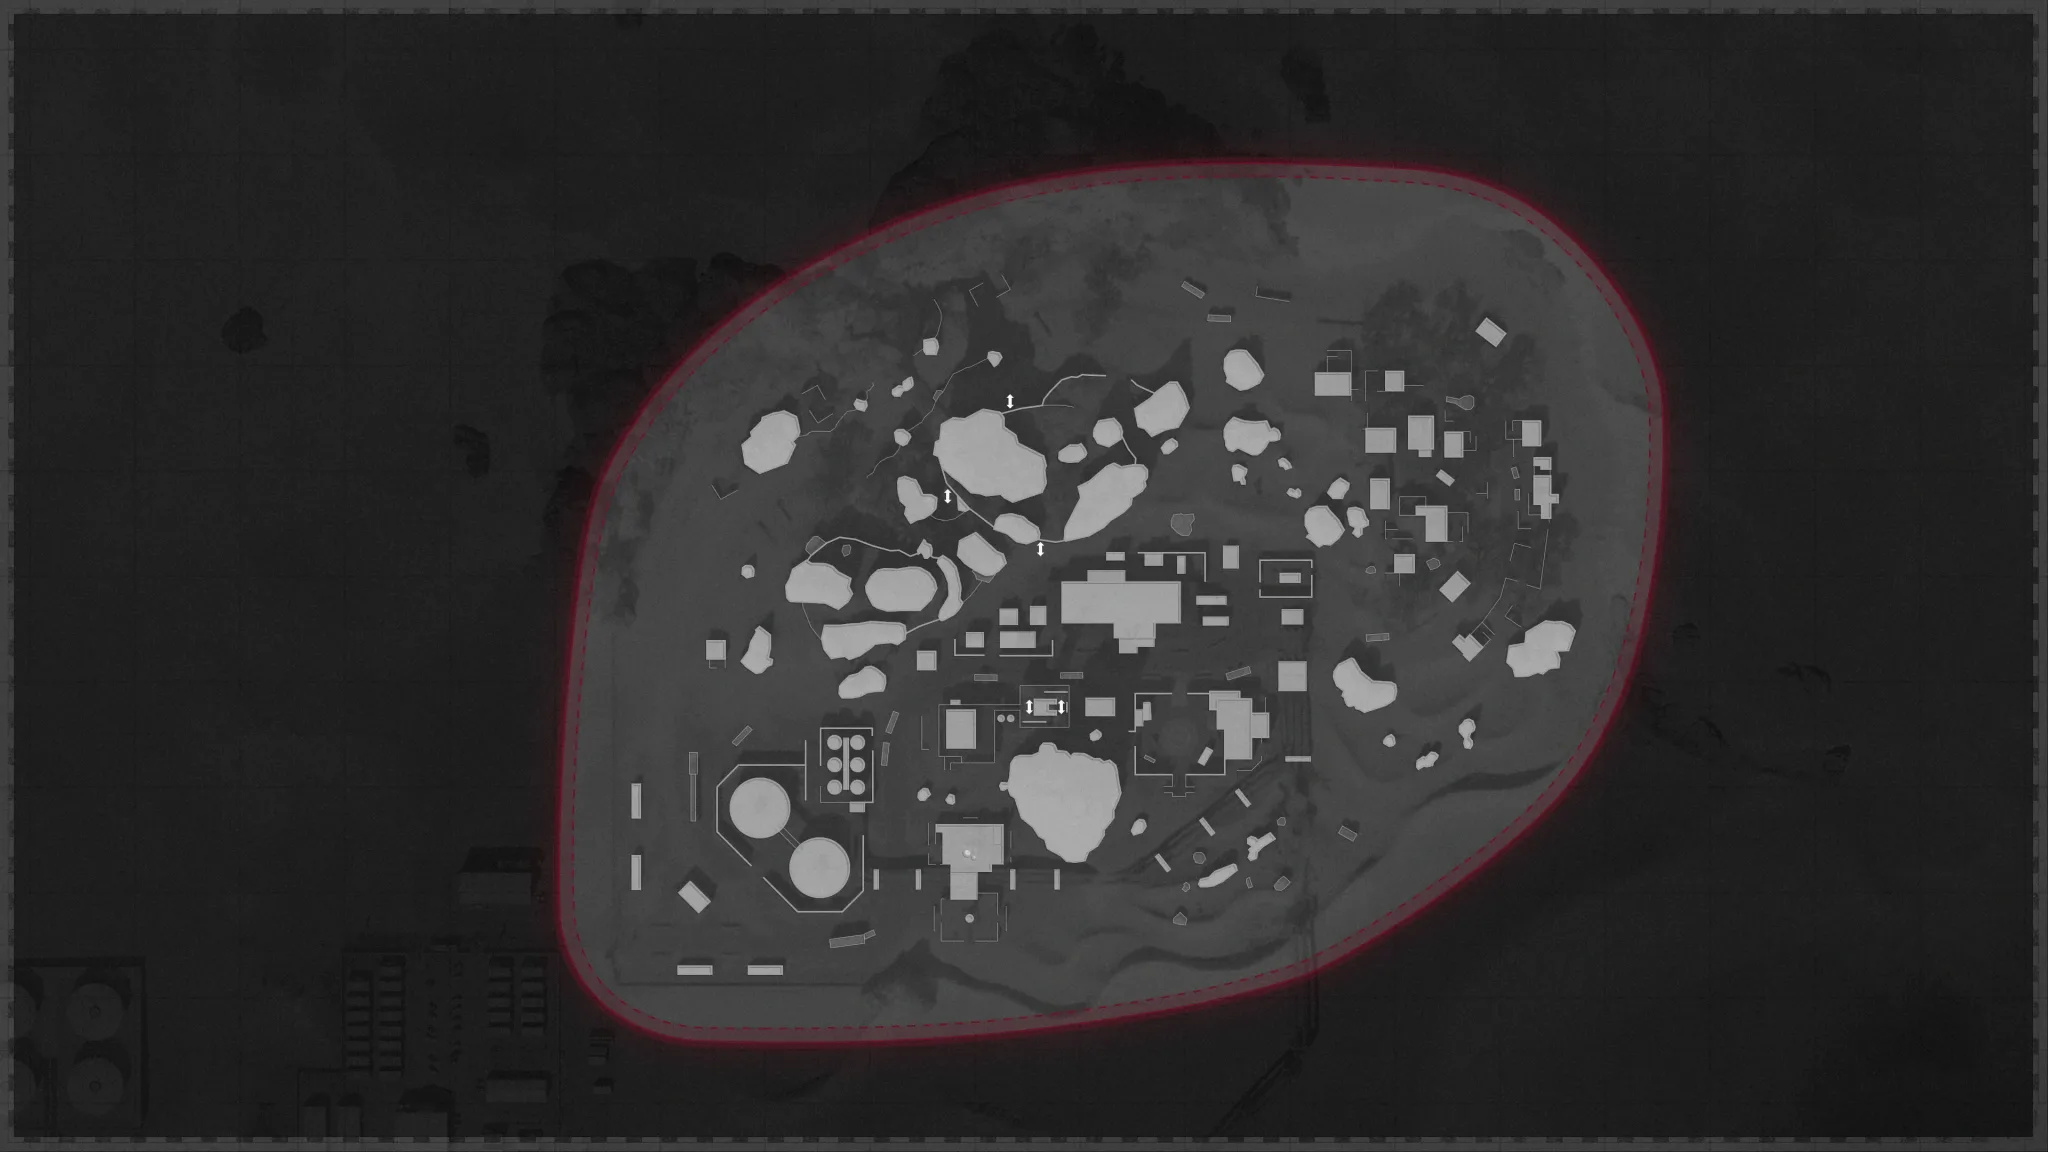
The eight regions
Alpine, Ruka, Golova, Sanatorium, Duga, Zoo, Collateral and Armada. Order is randomised after the opening; quest steps only force Ruka or Sanatorium once the required stage is done.
Primary objective
Every region has one required objective — Holdout, Escort, Retrieve, Eliminate, Defend or Secure. Failing it normally ends the run, so prep before starting at higher tiers.
Beacon and World Tier
After the objective, the Beacon lets you spend resources, repair armour, choose Exfil, or warp to the next World Tier. Each warp raises enemy health and elite pressure.
Aetherium crystals
Crystals appear both as the Fury Crystal side activity (destroy all before the timer for an Aether Tool) and in the Quest 1 silos, where you shoot crystals and collect 20 chunks to charge the Aetherium canister key.
D.I.E. elemental stations
Four fixed Wonder Weapon stations: Electrobolt at Duga's radar array, Nova-5 at Golova's western train silo, Cryo-Emitter at Alpine's frozen pond, and Thermophasic in Ruka's Burnt Forest.
Exfil vs jump
At each Beacon you decide: Exfil to bank rewards and end cleanly, or jump into the next harder region. Leave before your damage falls behind the scaling — a clean exit beats a failed greed warp.
Steps at a glance
- Objective-driven, large-region Zombies mode for 1-4 players; both quests are solo-capable.
- Core loop: primary objective, then side activities, then Beacon, then warp / upgrade / Exfil.
- World Tier rises with every warp, so enemy health and density climb each region.
- Reach World Tier 3 before either story quest becomes available.
- The Pact (at Zoo's Ritual Site) raises your starting loadout rarity based on core Main Quest completions.
- High-value side activities: Dragon Relic, Golden/Black Chest, Fury Crystal, Aether Orb, Fishing, Unknown Signal.
- Wonder Weapons (Ray Gun, D.I.E., RAI K-84) drop from Trials, elites, chests or the Mystery Box.
- Quest 1 (Ravenov Implications) ends at Ruka's Missile Silos with a strict shared ten-minute Legion timer.
- Quest 2 (Operation Excision) begins an irreversible escort once you start the Sanatorium rover.
- Vehicles save huge traversal time, but park them clear of objectives so an explosion can't down the team.
- Both story quests launched in stages across post-release seasons, not at day one (see steps).
Full walkthrough
Radio, amplifiers and the Listening Device
At World Tier 3+, find the unmarked radio (it isn't shown on the map). Activate it and clear the wave; the radio broadcasts a number. Tune all three nearby amplifiers to that same number, then collect the Beacon Listening Device once the signal locks. At the next Beacon choose Respond and warp.
Turn subtitles ON. The radio's number is very hard to pick out by ear, but the subtitle readout names it — set every amplifier to the number the subtitles show.
- Radio activated and wave cleared
- Three amplifiers tuned to the main frequency
- Beacon Listening Device collected
- Respond chosen at the Beacon
Monkey statues, Microfilm and the projector
Search the four stone monkey statues. Shoot the one beside a painted M, or check all four until Microfilm drops. Take it to the projector in the same region, insert the Microfilm and interact three times, letting every transmission finish. Warp again — the next jump is forced to Ruka once the projector stage is complete.
- Correct monkey statue found and Microfilm recovered
- Microfilm inserted in the projector
- Projector used three times, all transmissions finished
- Warp to Ruka triggered
Ruka Missile Silos and the three launch keys
At the bottom of Silo A use the terminal to lift the lockdown. Then collect three keys: the Aether Monkey key (take an Essence Trap, lure the vent monkey into the trap, activate when it returns); the Aetherium canister (shoot crystals, collect 20 chunks as a team, deposit, clear the wave — it replaces your field-upgrade slot); and use the jellyfish lift on the Silo D stairs to reach the suspended canister key. Finally interact with the corpse near Silo C and kill the disguised Mimic HVT Ruzarkon the Twisted for the last key.
Tip: The canister occupies the field-upgrade slot, so the carrier is vulnerable — teammates should lead and clear stairs before the carrier moves.
- Lockdown lifted at Silo A terminal
- Aether Monkey key trapped and collected
- Aetherium canister charged (20 chunks) and collected
- Jellyfish-lift canister key collected
- Ruzarkon the Twisted defeated for the Mimic key
Launch order and the ten-minute Legion finale
Each console has a row of three lights — two red, one green. The green light's position tells you that silo's place in the order (left = 1st, middle = 2nd, right = 3rd); read all three and activate them in that order within the ~30-second window. This is not guesswork — the lights encode the answer, and the order is random each match (work out the launch order). After the launch succeeds, leave fast — the final timer covers both the surface run and the Legion fight. In the arena, break Legion's glowing chest until its armour shatters and it kneels, exposing three orbs. Focus all your fire on a single orb and destroy it — each orb is worth about a third of Legion's health. Re-break the chest to stun it again and kill the next orb; three stun-and-orb cycles finish it.
Tip: Aether Shroud lets you focus an orb while the endless horde can't touch you; a Death Machine or Ray Gun melts orbs fast. Arrive with full armour. Completes the Ravenov Implications main quest.
- Three consoles activated in the correct green-light order
- Surface route opened, ten-minute timer started
- Legion's chest broken to trigger the stun
- Focus one orb per stun (each ≈ a third of its health)
- All three orbs destroyed — Legion defeated
Missile silo launch order
Ruka silo control rooms (Legion finale)Each launch console (Silos A, B, D) shows a row of three lights — two red, one green. The GREEN light's position is that silo's place in the sequence (left = 1st, middle = 2nd, right = 3rd). Click the green position you see on each console and this reads out the activation order. It is random every match and you have about 30 seconds, so read the lights — never rely on a fixed sequence.
Red rifts and the Sanatorium escort
The second quest is a separate storyline. At World Tier 3 in any region other than Sanatorium, find the red Aether rift — unlike the open purple travel rifts, it's tucked out of sight (behind doors or in corners) — launch in and dive into each airborne rift in sequence, following the item that spawns on the final jump. Collect the second Beacon Listening Device and Respond at the Beacon to force nighttime Sanatorium. There, clear guards at the helicopter in Carved Hills and play the Omega recording, then shoot the red Aethereal Orb to herd it (gunfire pushes it) onto the rover on the bridge. Finally interact with the bunny in the broken Mystery Box, survive the wave it spawns, and carry it to the rover.
Tip: Missing an airborne rift usually means retrying in the next eligible region. Starting the rover is the point of no return, so repair armour and buy ammo first.
- All red rifts traversed in sequence
- Second Beacon Listening Device collected
- Respond used — Sanatorium forced
- Helicopter/Omega recording played
- Aethereal Orb pushed to the rover
- Bunny recovered and installed
Operation Excision — escort, Orda and exfil
Escort the rover inside its protective neutralizer bubble to Monument Walk; leaving the bubble causes escalating environmental damage. Play the rooftop recording at Monument Walk to start the final exfil timer, move directly to East Gardens, then defeat Orda and every hostile — the helicopter won't complete until the zone is clear. Board before the timer expires.
Tip: Make Orda the focus; regular zombies and elites keep respawning until it dies. Save a support streak for the elite waves, then resume boss damage. Completes the Operation Excision main quest.
- Rover escorted inside the bubble to Monument Walk
- Rooftop recording played, exfil timer started
- East Gardens reached
- Orda and all hostiles defeated
- Exfil helicopter boarded in time
Side Easter Eggs & extras
Everything beyond the main quest. Tap any entry to open the full how-and-where breakdown.
Kill the Horde / Eliminate
A marked HVT or wave objective; save burst damage for the target and clear nearby specials first.
Holdout / Defend
Enter with full armour and ammo, control doors and stairs, and pre-place field-upgrade coverage while preserving two exits.
Fury Crystal
Destroy all Aetherium crystals before the timer for an Aether Tool; plan a route before you start.
Dragon Relic
Feed zombies inside the ring for a reward chest — efficient early loot.
Black Chest
Cleanse the orb sequence for a lasting region buff and loot.
Aether Orb
Shoot it and follow it through several moves for essence and loot.
Golden Chest
Defeat the guardian wave for a tiered reward chest.
Fishing
Low-risk salvage, perks and loot at a fishing spot — but watch for a hostile catch.
Demented Echo
A hidden scare that can trigger a fast hostile wave — only engage it with room to move.
Orda (free-roam)
A large free-roaming boss with strong rewards; skip it if the ammo and time cost outweigh the value.
The Pact
After completing at least two core Cold War Main Quests, interact with Zoo's Ritual Site to raise starting rarity (2 quests = Uncommon, 4 = Rare, 6 = Epic); toggle off at the same site.
Unknown Signal
Tune the marked radios' amplifiers to the matching frequency to unlock Outbreak menu music (an ‘Abracadavre’ remix) plus essence and intel — not quest-essential.
Interactive solvers
Every solver for Outbreak, in the order you meet them. Each also appears inside its step in the walkthrough above — use whichever is handier. Browse every Zombies solver →
Missile silo launch order
Ruka silo control rooms (Legion finale)Each launch console (Silos A, B, D) shows a row of three lights — two red, one green. The GREEN light's position is that silo's place in the sequence (left = 1st, middle = 2nd, right = 3rd). Click the green position you see on each console and this reads out the activation order. It is random every match and you have about 30 seconds, so read the lights — never rely on a fixed sequence.
Recommended loadouts
Three strong picks for this map — the map's Wonder Weapon plus reliable box/wall options. These are pre-augment-era games, so the setup is the gun plus Pack-a-Punch and perk synergy.
RAI K-84 (Wonder Weapon)
Aether AR with a charged alt-fireDrops from Trials, elites, chests or the Mystery Box; an all-round quest weapon that doubles as a chest-breaker on Legion.
D.I.E. Shockwave (Wonder Weapon)
Elemental WW with four upgrade variantsBuild / upgrade at the region D.I.E. stations (Electrobolt-Duga, Nova-5-Golova, Cryo-Alpine, Thermophasic-Ruka); great crowd control during Holdouts and escorts.
Pack-a-Punched M16 (high rarity)
Reliable burst AR for the boss chest phasesBuy / upgrade to Epic+ with PaP II/III before the silos; keep line of sight on Legion’s chest while circling.
Field Upgrade reference (Cold War)
Black Ops Cold War introduced Field Upgrades — the tactical ability you charge with kills. Cold War upgraded them through Aetherium Crystal skill tiers (I–V), not the Major/Minor augment system that arrived in Black Ops 6.

Energy Mine
A proximity energy explosion.

Frost Blast
A frost AoE that slows enemies.
Healing Aura
Instant heal beams (also revives teammates in BO6/BO7).
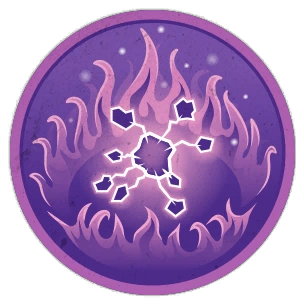
Ring of Fire
A damage-boost ring that also burns enemies (15s).

Aether Shroud
Phase out of enemy detection.

Tesla Storm
Lightning links players, stunning and damaging enemies.

Frenzied Guard
Repair armour and taunt enemies; kills repair your armour.
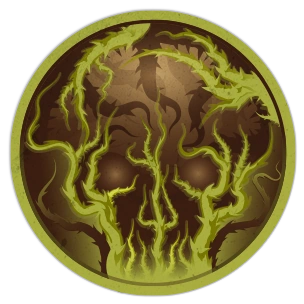
Toxic Growth
Thorn vines that slow and damage.
Dark Ops & mastery cards (Cold War)
Black Ops Cold War introduced the Zombies ‘Dark Ops’ card system — hidden challenges earnable on any map (plus Dead Ops Arcade). Filter by category.

Another Round?
Dark OpsReach Round 100.
Reaper of the Undead
Dark OpsKill 1,000,000 zombies.
Invincible
Dark OpsReach Round 30 without going down.
Social Distancing
Dark OpsReach Round 20 without taking a hit.
Good Enough
Dark OpsReach Round 20 with your starting loadout.
Armed to the Teeth
Dark OpsHold 2 fully-upgraded weapons with ammo mods and 6 active perks.
Box Addict
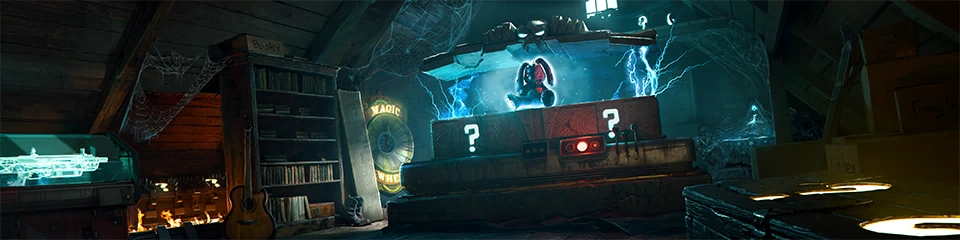
Dark OpsBuy every Mystery Box weapon in one game.
Harbinger of Doom
Dark OpsKill 50 enemies with a single Support.

The Anvil
Dark OpsExfil a game using only melee attacks.
Evil Unleashed
Dark OpsComplete any main Easter-egg quest.

King of Silverbacks
Dead Ops ArcadeReach a cumulative Dead Ops Arcade score of 999,999,999.
Pristine Pelt
Dead Ops ArcadeBeat Mamaback (the DOA final round) without dying.

Dark Ops Master
MasteryComplete the Dark Ops set.
Intel
Outbreak is the open-world mode, so Intel works differently: the regions (Ruka, Alpine, Golova, Duga, Sanatorium, Zoo, Collateral, Armada) are handed to you at random as you raise the difficulty, so most Intel has no single fixed spot — you gather whatever is in the region you land in and restart to cycle to others. It's still split by the four factions (Requiem, Omega, Maxis, Dark Aether) and grew with every season to roughly 266 pieces (approximate — the total climbed with each update). Story/lore only, no gameplay reward.
Audio Logs 2
Found as World Intel
Lying at set spots inside regions (heavily in the Zoo and Cottage, and later Armada/Collateral). Because the region is random, you collect whatever is in the one you drop into.
Some are quest-gated
A few come only from the Outbreak main quests — e.g. the Sanatorium crashed-helicopter and bridge-rover steps.
Radio Transmissions 2
One per faction, per game
Requiem, Omega and Maxis each have a fixed radio pickup in every region, but you can grab only one per faction per match — restart and cycle regions to collect the rest.
Dark Aether transmissions
Come from the Trial Machine rather than a radio (see Dark Aether below).
Documents 2
Elite & chest drops
Random drops from special enemies (Russian Manglers, Mimics, Megatons) and golden Aetherium chests — grab the glowing yellow pickup. No fixed spot; roughly a couple per faction per game.
Some are quest-gated
e.g. the Sanatorium Blue Bunny and Monument steps drop specific documents during the main quest.
Artifacts 2
Fixed World Intel objects
Physical items at set region spots (Blue Bunny, Juggernog can, Monkey Bomb, Omega Patch, Kravchenko's knife, Aetherium canisters and more), often needing a parachute or a climb to reach.
Objective-gated
At least one (the Zombie Head) is awarded for completing a Defend World Event rather than picked up.
Dark Aether (Trials) 1
Trial Machine rewards
Run trials until a folder icon appears on the trial computer, then the next trial rewards Dark Aether intel (logs, documents and transmissions). Capped at 3 per game, so it takes many runs.
Visual guides & sources
Screenshots and exact part locations live in these — open one on a second screen.