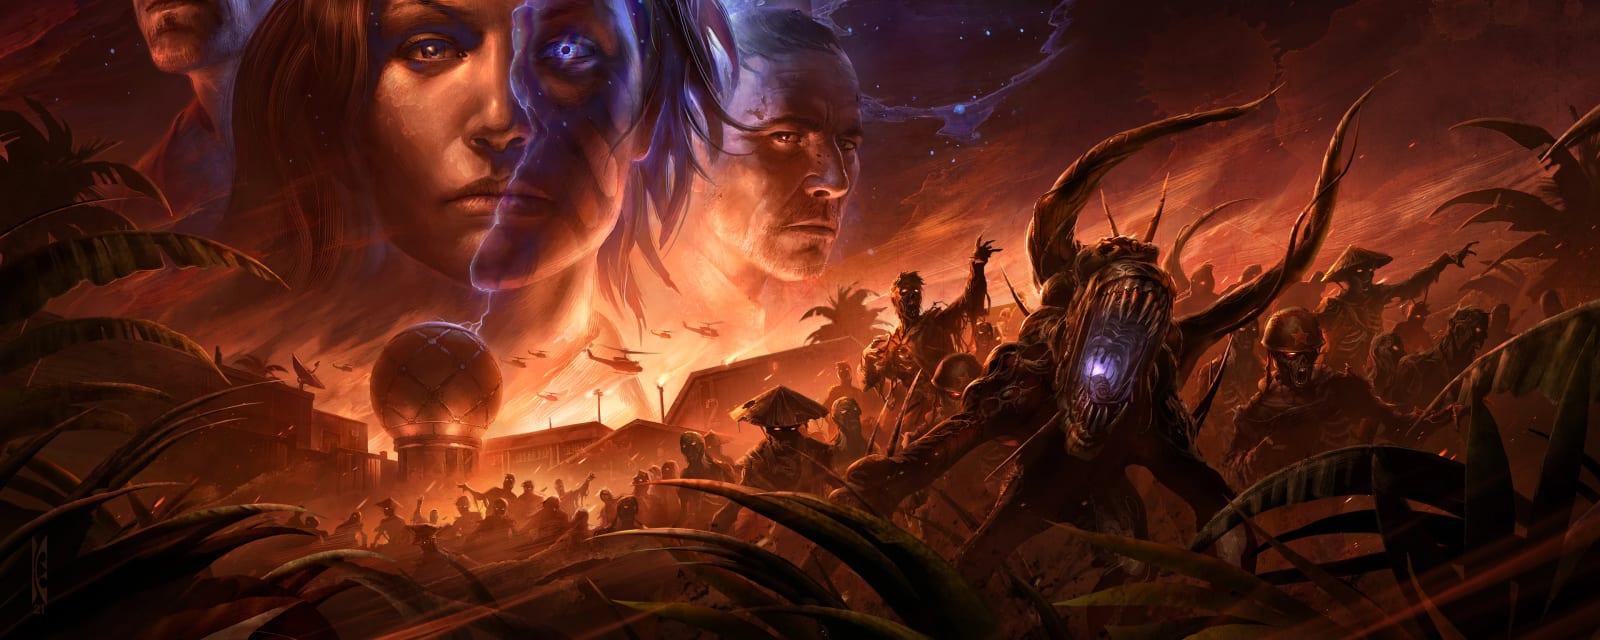

Firebase Z
Firebase Z opens in a snowbound Village and expands into a Requiem military installation reached by a rooftop teleporter. Three Aether Reactors replace the usual power switch, Assault Rounds hammer the base, and the Maxis Potential quest revolves around the treacherous Dr. Peck, Mimic memory extraction and three Aetherium containers. It all ends in a rooftop showdown with the Orda to pull Samantha Maxis back from the Dark Aether.
Map & Key areas
The map layout first, then the areas worth knowing by name. Map imagery © Activision, self-hosted.
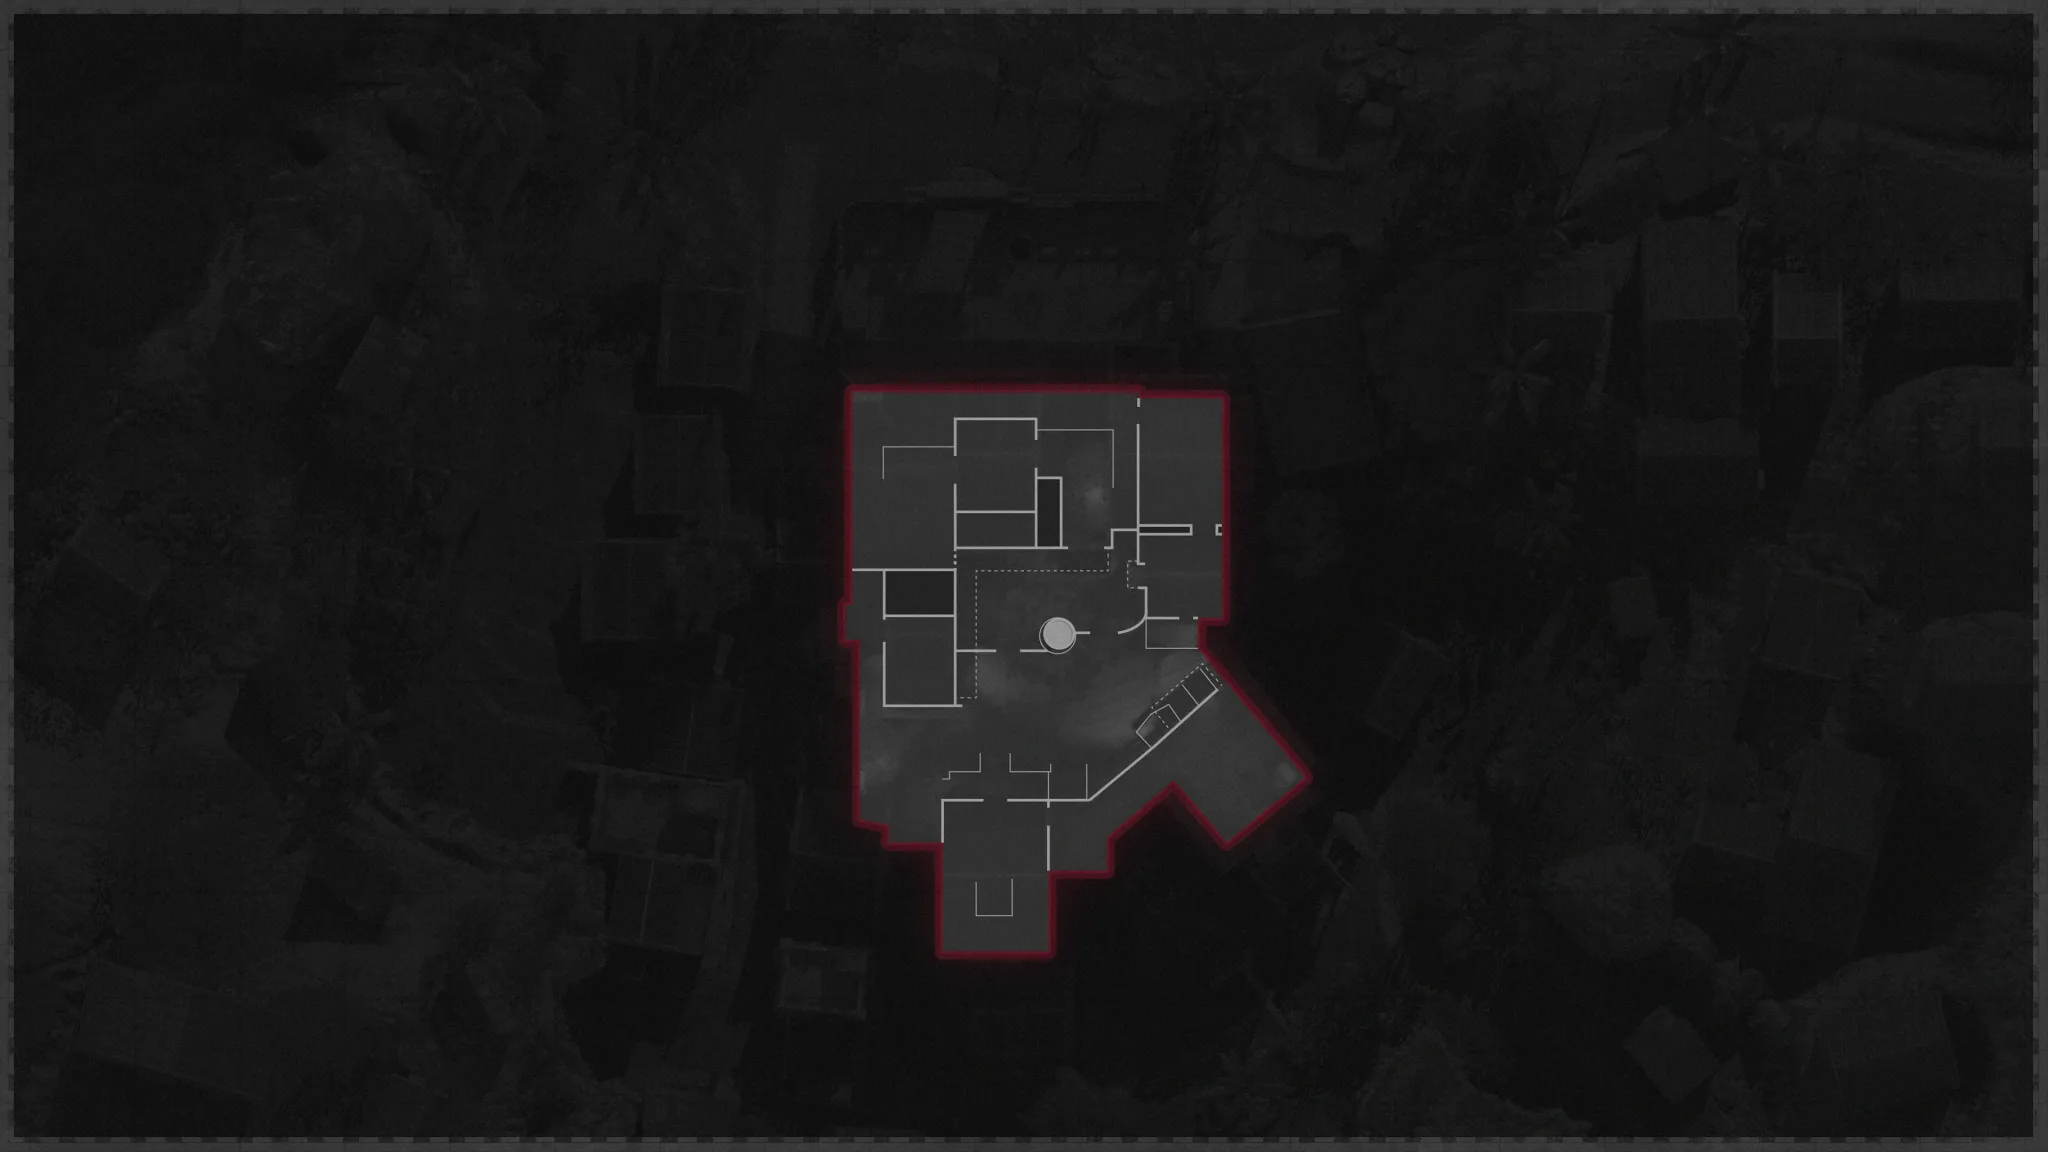
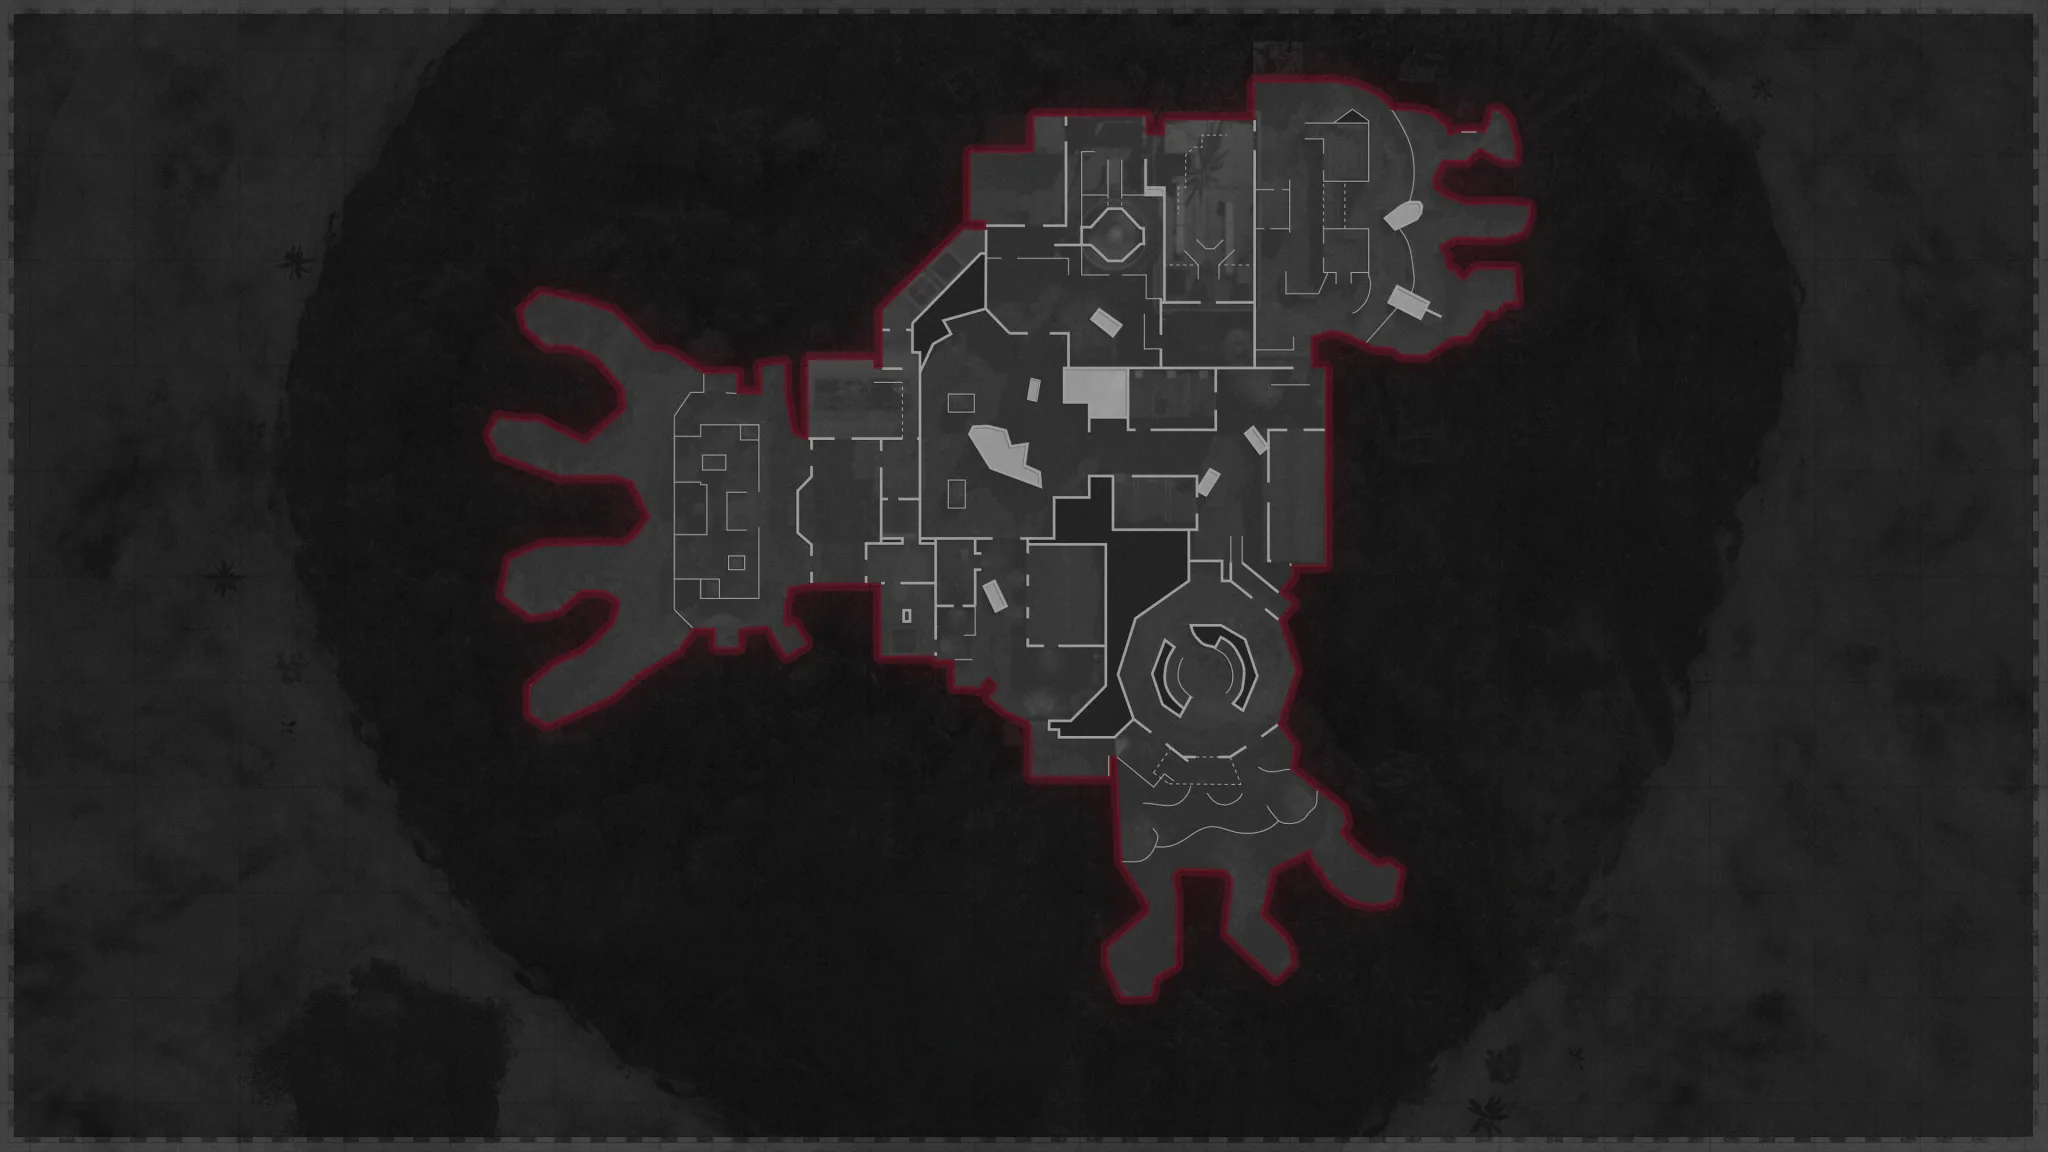
Village
Spawn hub with Pack-a-Punch, Ravenov, the dartboard and the bunny room; the rooftop teleporter links to the Firebase.
Mission Control
Dr. Peck's window, the OPC (boss trigger), Planning Office satellite terminal and the first Aether Reactor.
Data Center
Memory Transference Station and second reactor; where Essence Traps and Mimic memories are processed.
Military Command
Third reactor and the Control Room Mimic zone that restores full power.
Weapon Lab
RAI K-84 blueprint, retina scanner, power-cell charger, dartboard computer and the build bench.
Defense lanes
Scorched, Rocky and Jungle Defense zones for the eye corpse, the shovel, Sergei's head and Assault Round holdouts.
Steps at a glance
- Open the Village, climb to the rooftop and teleport to the Firebase.
- Activate all three Aether Reactors (Mission Control, Data Center, Military Command) to restore power.
- Pack-a-Punch sits in the Village Atrium beside Ravenov, back through the teleporter.
- Power is a defense event per reactor: keep kills inside the marked collection circles.
- Build the RAI K-84 wonder weapon; you need its Alt-Fire for the moving container.
- Mimics disguise as fake-loot piles; Manglers drop the uncharged power cell.
- Speak to Ravenov, meet Peck, then gas him with a home-mixed truth serum.
- Extract Mimic memories with an Essence Trap and process three correct names.
- Recover three Aetherium containers and slot one into each reactor.
- Align the satellite dish to the Requiem (yellow question-mark) target, never a flag.
- Entering the OPC transitions straight into the Orda boss — finish all prep first.
- Orda's glowing mouth is the critical target; clear specials, then resume damage.
Full walkthrough
Restore power and unlock Pack-a-Punch
Open the Village, climb to the rooftop teleporter and reach the Firebase. Activate the Aether Reactors at Mission Control, Data Center and Military Command by paying 500 to start each event, then charging it with kills.
Defend the Collection Units, don't just farm kills. Each reactor is flanked by units that soak souls; they glow red when zombies attack them. Kiting the horde away from the room starves the charge and lets the units get destroyed, resetting your progress — stay in the room and thin the horde on top of the units. When it fills, the reactor ignites purple and clears nearby zombies. Then return through the teleporter to Pack-a-Punch in the Village Atrium beside Ravenov.
- All three reactors online
- Pack-a-Punch available in the Atrium
Build the RAI K-84
Take the blueprint from the Weapon Lab wall. Recover the eye from the corpse in Scorched Defense and place it in the retina scanner to open a drawer holding a locker key. Open marked Barracks lockers until a Mimic drops the Barrel Assembly, kill a Mangler for the Uncharged Power Cell and charge it in the Weapon Lab (wait one full round). Read the dartboard code off the computer, shoot the three numbers then the bullseye in the Village to release the Aetherium Converter, then craft the RAI K-84 at the bench.
Struggling to read the wedges? The Weapon Lab computer flashes a wheel with a segment that stops in three positions; those positions map onto the standard dartboard in the Village. Note where each flash lands, find that number below, and shoot it — then the bullseye. Dartboard reference & shot planner.
- Blueprint taken
- Locker key from retina scan
- Barrel Assembly (Mimic drop)
- Charged Power Cell
- Aetherium Converter (dartboard)
- RAI K-84 crafted
Firebase Z Dartboard — shot planner
Weapon Lab computer → Village dartboardThe Weapon Lab computer flashes a wheel whose lit segment stops in three positions; those positions map onto the standard dartboard in the Village. Note where each flash lands, then click those wedges here in the same order — it marks your firing sequence (three wedges, then the bullseye last). Fire with a single-shot, non-explosive gun so splash never clips a neighbouring wedge. The positions are randomised every match, so read your own screen — this is a layout reference, not a fixed answer.
Meet Peck and collect the compounds
Exhaust Ravenov's dialogue, then speak to Dr. Peck through the Mission Control window and return to Ravenov for the ID Badge. Use the badge on three lockers to take the compounds at Equipment Storage, Engineering and the Colonel's Office.
- Ravenov dialogue exhausted
- ID Badge collected
- Compound — Equipment Storage
- Compound — Engineering
- Compound — Colonel's Office
Mix the serum and gas Peck
Place the three compounds in the mixer at the Field Hospital, kill the Hellhounds and collect the Agent Delivery System. Install it on the air-conditioning unit outside the OPC, return to Peck and wait through the full dialogue to earn the truth-serum interrogation. Then take an Essence Trap from the Data Center's Memory Transference Station (it fills your tactical slot).
- Serum mixed, Hellhounds cleared
- Agent Delivery System installed on A/C
- Peck gassed — dialogue complete
- Essence Trap collected
Capture three Mimic memories
Each round one quest Mimic hides in a fake-loot cluster (Motor Pool, the Military Command Control Room, or Peck's Quarters). Damage it to near death, throw the Essence Trap at its feet, activate it and pick it up, then deposit at the Memory station before the timer expires. Process the three correct names — Brahms, Sokolov and Zhabin — to unlock the floppy disk. Wrong memories are recoverable. A purple glow on the Mimic confirms the capture; extraction is limited to one per round, so end the round after each success — and a killed Mimic or a failed capture also means ending the round to retry (with subtitles on, a correct memory speaks as Sokolov, Brahms or Zhabin; any other name is a wrong Mimic).
Don't kill the Mimic — trap it. The number-one failure is overshooting: bring it to roughly 15–20% health, then throw the trap. You can't tell which Mimic holds a correct memory until you deposit it — the station only names it after. If Weaver reads Brahms/Sokolov/Zhabin (watch the subtitles) it counts; any other voice is a wrong memory and you retry next round. Deposit quickly — the captured trap is on a timer.
- Brahms processed
- Sokolov processed
- Zhabin processed
- Floppy disk available
Open the OPC and gather the containers
Insert the floppy disk in the Planning Office computer and inspect the unstable OPC. Collect the Aethermeter from the locker left of Peck (Ravenov supplies the code) and the shovel from Scorched Defense. Dig the Open Lot container (by the Engineering window): identical decoys spawn around it, so pick the one whose smoke runs clear/white inside — every decoy swirls black (smoke comparison). At Jungle Defense, dig the middle lane and stay inside the yellow dome — standing outside it deals steady damage, so in co-op everyone must be in. For the moving container (Barracks / Field Hospital), pin it from range with the RAI K-84 Alt-Fire (the lobbed black-hole shot, Up on the d-pad) before it relocates, then run over and grab it. Slot one Aetherium container into each reactor.
- Floppy disk inserted, OPC opened
- Aethermeter collected
- Shovel collected
- Open Lot canister (no black smoke)
- Jungle Defense canister
- Moving container frozen with RAI Alt-Fire
- One container in each reactor
Aetherium canister — smoke check
Open Lot dig (RAI K-84 build)When you dig the Open Lot canister, identical-looking decoys spawn all around it. Only one is real — judge by the smoke swirling inside: the correct canister runs clear / WHITE, every decoy runs BLACK. Grab the white one; interacting with a black-smoke decoy fails the pickup.
Align the satellite, then kill Orda
At the satellite terminal move the cursor onto the target marked by a yellow question mark (the Requiem satellite) — never the US or USSR flag (which satellite to pick). Finish all prep — armour, ammo, self-revive, perks, support — because entering the OPC at Mission Control transitions directly into the boss. Focus Orda's open, glowing mouth from range (it opens when it attacks), and never stand under its hand/hammer slam — that lane is a one-hit down. Dodge the plague cloud, clear special waves, then finish it to rescue Samantha Maxis from the Dark Aether.
- Yellow question-mark satellite selected
- Full prep complete before the OPC
- Orda defeated
- Ending sequence complete
Satellite target — pick the “?”
Planning Office computer (before Orda)On the satellite screen the decoy satellites carry a US or USSR flag — never select those. The Requiem satellite you want is marked with a yellow “?”. Move the cursor onto that one and confirm to fire the beam and start the Orda fight.
Side Easter Eggs & extras
Everything beyond the main quest. Tap any entry to open the full how-and-where breakdown.
“Lost” (Kevin Sherwood / Julie Nathanson)
Collect three golden cassette tapes: Equipment Storage shelf, Motor Pool Office (green cabinet), and Scientist Quarters bookcase (needs all reactors on).
Sergei's head
Carry Sergei's head from a defense zone (Scorched / Rocky / Jungle) to the Field Hospital plate, trap a low-health zombie beside it, then open the Colonel's Office safe for a random perk and a cipher.
Bunny room
After Pack-a-Punch, stare at the stuffed bunny above Der Wunderfizz to teleport, shoot it three times in the dark sequence, then choose a chest.
Upgraded Cymbal Monkeys
Get roughly 50 Cymbal Monkey kills near reactor areas; upgraded monkeys glow red and force zombies to dance.
Free jump-pad travel
Activate all six jump pads to remove their later use cost.
Discordian Disruptor
Pack-a-Punch the RAI K-84: 50-round mag / 300 reserve, red rounds, and the Alt-Fire becomes the Discordian Harmonizer.
Exfil
Call and survive the exfil sequence, like Die Maschine, for bonus Aetherium Crystals.
Assault Rounds
Periodic Assault Rounds attack the Firebase — defend the marked lane; later ones can throw an Orda at you, so keep long-range damage and an artillery streak ready.
Interactive solvers
Every solver for Firebase Z, in the order you meet them. Each also appears inside its step in the walkthrough above — use whichever is handier. Browse every Zombies solver →
Firebase Z Dartboard — shot planner
Weapon Lab computer → Village dartboardThe Weapon Lab computer flashes a wheel whose lit segment stops in three positions; those positions map onto the standard dartboard in the Village. Note where each flash lands, then click those wedges here in the same order — it marks your firing sequence (three wedges, then the bullseye last). Fire with a single-shot, non-explosive gun so splash never clips a neighbouring wedge. The positions are randomised every match, so read your own screen — this is a layout reference, not a fixed answer.
Aetherium canister — smoke check
Open Lot dig (RAI K-84 build)When you dig the Open Lot canister, identical-looking decoys spawn all around it. Only one is real — judge by the smoke swirling inside: the correct canister runs clear / WHITE, every decoy runs BLACK. Grab the white one; interacting with a black-smoke decoy fails the pickup.
Satellite target — pick the “?”
Planning Office computer (before Orda)On the satellite screen the decoy satellites carry a US or USSR flag — never select those. The Requiem satellite you want is marked with a yellow “?”. Move the cursor onto that one and confirm to fire the beam and start the Orda fight.
Recommended loadouts
Three strong picks for this map — the map's Wonder Weapon plus reliable box/wall options. These are pre-augment-era games, so the setup is the gun plus Pack-a-Punch and perk synergy.
RAI K-84 (Wonder Weapon)
Aetherium AR with a mine-lobbing Alt-FireBuild it in the Weapon Lab or pull it from the box / Trial — its Alt-Fire slowing field is mandatory for freezing the moving Aetherium container.
Discordian Disruptor (PaP’d RAI K-84)
Red-round upgrade, 50-mag / 300 reservePack-a-Punch the crafted RAI K-84; Mimic and Mangler ammo drops keep it fed through the Orda fight.
Gallo SA12 / Hauer 77 (early wall-buy)
Reliable close-range clear-out for the reactor holdoutsWall-buy in the Village / Firebase and Pack-a-Punch it — a low-spread shotgun doubles as a safe Mimic-catcher without over-killing the target.
Field Upgrade reference (Cold War)
Black Ops Cold War introduced Field Upgrades — the tactical ability you charge with kills. Cold War upgraded them through Aetherium Crystal skill tiers (I–V), not the Major/Minor augment system that arrived in Black Ops 6.

Energy Mine
A proximity energy explosion.

Frost Blast
A frost AoE that slows enemies.
Healing Aura
Instant heal beams (also revives teammates in BO6/BO7).

Ring of Fire
A damage-boost ring that also burns enemies (15s).

Aether Shroud
Phase out of enemy detection.

Tesla Storm
Lightning links players, stunning and damaging enemies.

Frenzied Guard
Repair armour and taunt enemies; kills repair your armour.

Toxic Growth
Thorn vines that slow and damage.
Dark Ops & mastery cards (Cold War)
Black Ops Cold War introduced the Zombies ‘Dark Ops’ card system — hidden challenges earnable on any map (plus Dead Ops Arcade). Filter by category.

Another Round?
Dark OpsReach Round 100.

Reaper of the Undead
Dark OpsKill 1,000,000 zombies.

Invincible
Dark OpsReach Round 30 without going down.

Social Distancing
Dark OpsReach Round 20 without taking a hit.
Good Enough
Dark OpsReach Round 20 with your starting loadout.
Armed to the Teeth
Dark OpsHold 2 fully-upgraded weapons with ammo mods and 6 active perks.
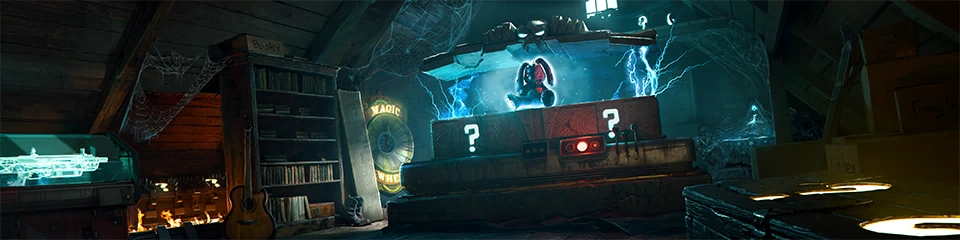
Box Addict
Dark OpsBuy every Mystery Box weapon in one game.
Harbinger of Doom
Dark OpsKill 50 enemies with a single Support.

The Anvil
Dark OpsExfil a game using only melee attacks.

Evil Unleashed
Dark OpsComplete any main Easter-egg quest.

King of Silverbacks
Dead Ops ArcadeReach a cumulative Dead Ops Arcade score of 999,999,999.

Pristine Pelt
Dead Ops ArcadeBeat Mamaback (the DOA final round) without dying.

Dark Ops Master
MasteryComplete the Dark Ops set.
Intel
91 pieces — Requiem 28, Omega 25, Maxis 17, Dark Aether 21 — as 22 Audio Logs, 30 Documents, 29 Radio Transmissions and 10 Artifacts (76 at launch, 15 in Season Two). Only the audio logs and three radios are in the map; documents drop from Manglers and Mimics, artifacts come from the main quest and the RAI K-84 build, and all Dark Aether intel is from the Trials computer. Story/lore only, no gameplay reward.
Audio Logs 22
Ravenov (Requiem)
Atrium village area — on the bench just above the Pack-a-Punch.
Requiem — Data Center
Lower level, on a table left of the large hole in the wall.
Requiem — Military Command
Under a table in the south-east corner.
Omega — Planning Offices
Upper floor, underneath the middle table.
Omega — Engineering
Up in the ceiling pipes — shoot it down; it lands by the green-screen computer.
Omega — Mission Control
Upper floor, on a table just left of the reactor defence point.
Omega — Scorched Defense
On the roof of the left bunker, on top of a box.
Omega — Field Hospital
On the drawers in the corner by the lab/protective suits.
Omega — Weapon Lab
On the shelves across from the RAI K-84 build bench.
Omega — Colonel's Office
Under the desk, right side.
Omega — OPC (Omega Portal Chamber)
On the ground on the left; the OPC only opens through the main quest.
Maxis — Equipment Storage
Across from the Pack-a-Punch building, bottom floor, on a shelf.
Maxis — Scientist Quarters
On the beam above the Arsenal — shoot it and it drops into the Briefing Room.
Maxis — Barracks locker
In one of the Barracks lockers, opened with the key you get while building the RAI K-84.
Dark Aether — 5 Lost Souls logs
Earned from the Trials computer, not found in the map (max 3 Trial-reward intel per game).
Season Two audio logs — 4
Focal Point (Requiem), Half of the Reason (Omega), More Bad News (Maxis) and Lost Souls: Federov #2 (Dark Aether). Exact map spots for the S2 ones aren't well documented.
Radio Transmissions 29
Requiem radio — 13 transmissions
Data Center upper floor, on the table across from an Aether reactor (near Speed Cola). One per game.
Omega radio — 5 transmissions
Peck's Quarters, upper level of the spawn Village (windowsill in the 2nd-floor room by Pack-a-Punch). One per game.
Maxis radio — 9 transmissions
Rocky Defense — on a table in the middle of the area. One per game.
Dark Aether — 2 transmissions
From the Trials computer, not a physical radio.
Documents 30
Elite-drop documents
Most of the 30 drop randomly from Manglers and Mimics (Omega 6, Maxis 4, plus the Requiem set and the Season Two additions). Roughly one or two a game.
Colonel's Office safe (Requiem)
One Requiem document sits in the Colonel's Office safe — get the code by taking a captured zombie to the Field Hospital table, then returning Sergei's head (found in Scorched, Jungle or Rocky Defense) to it.
Dark Aether documents — 13
The Stranger's day-numbered journal entries, all from the Trials computer.
Artifacts 10
10 artifacts — main quest & RAI K-84
None lie in the map — all come from the main Easter egg and building the RAI K-84: e.g. Kuhlklay's Eye and the Weapon Trial Folder in Scorched Defense, the RAI K-84 Blueprint in the Weapon Lab, Ravenov's ID Badge, the Essence Trap, and the Omega Canister from the three Aether crystals.
Visual guides & sources
Screenshots and exact part locations live in these — open one on a second screen.