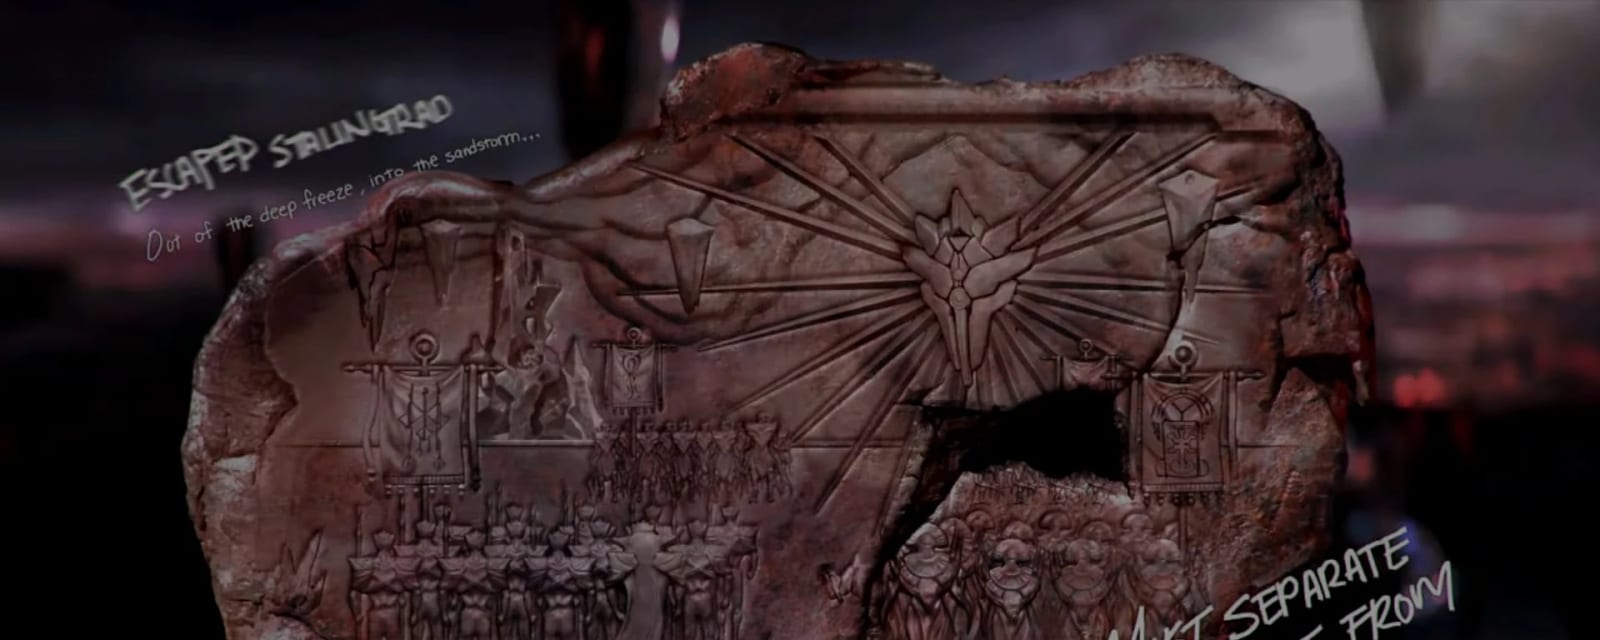

Terra Maledicta
Terra Maledicta takes the objective-hub formula into the Eastern Desert and adds Vanguard's first proper story quest. From a central camp the map opens toward East and West Spring, the Bazaar, Merchant Road and the Debris Field as portal objectives are cleared. Its main quest builds the Decimator Shield Wonder Weapon over two runes, then uses the Shield's charged slam to free four trapped arms in a Void arena and recover a page from the Tome of Rituals. Two new objective types — Augmentor and Sacrifice — join the returning pool.
Quick answers
How do you complete the Terra Maledicta Easter egg?
- Objective hub for 1-4 players, fully solo-capable; no permanent boss lock-in — failed objective or Shield steps can normally be retried after another round.
- Main quest: build the Decimator Shield (two runes), enter the Debris Field Void, free four wall arms with the Shield slam, and recover the Tome page. Story completion ends there — there is no separate boss arena.
- The Decimator Shield is the map Wonder Weapon: a defensive block plus a charged slam that destroys special quest objects (and is required for the wall-arm puzzle).
- New objective types: Augmentor (protect a moving energy source, destroy the crystals powering enemy defenses) and Sacrifice (kill marked/empowered enemies inside a zone to fill the ritual).
- Same Vanguard systems as Der Anfang — perk fountains, Altar of Covenants (refresh after each objective), Artifacts, and Pack-a-Punch. Aim for armor + Fiendish Fortitude + Demonic Frenzy + one Pack-a-Punched primary before the Shield route in earnest; the Shield is utility, not a replacement for gun damage.
- Shovels appear at fixed desert landmarks; once held, dark soil mounds can be dug for equipment, points, quest objects — or hazards. Treat every dig as unsafe until the result appears.
- Special enemies: Boom Schreier, Sturmkrieger, Zaballa and objective-specific elite pressure; the Bazaar and spring corners are riskier when Zaballa is active.
What is the Wonder Weapon on Terra Maledicta?
How long does the Terra Maledicta Easter egg take?
Can you do the Terra Maledicta Easter egg solo?
What are the main areas on Terra Maledicta?
How many side Easter eggs are on Terra Maledicta?
When was Terra Maledicta released?
Map & Key areas
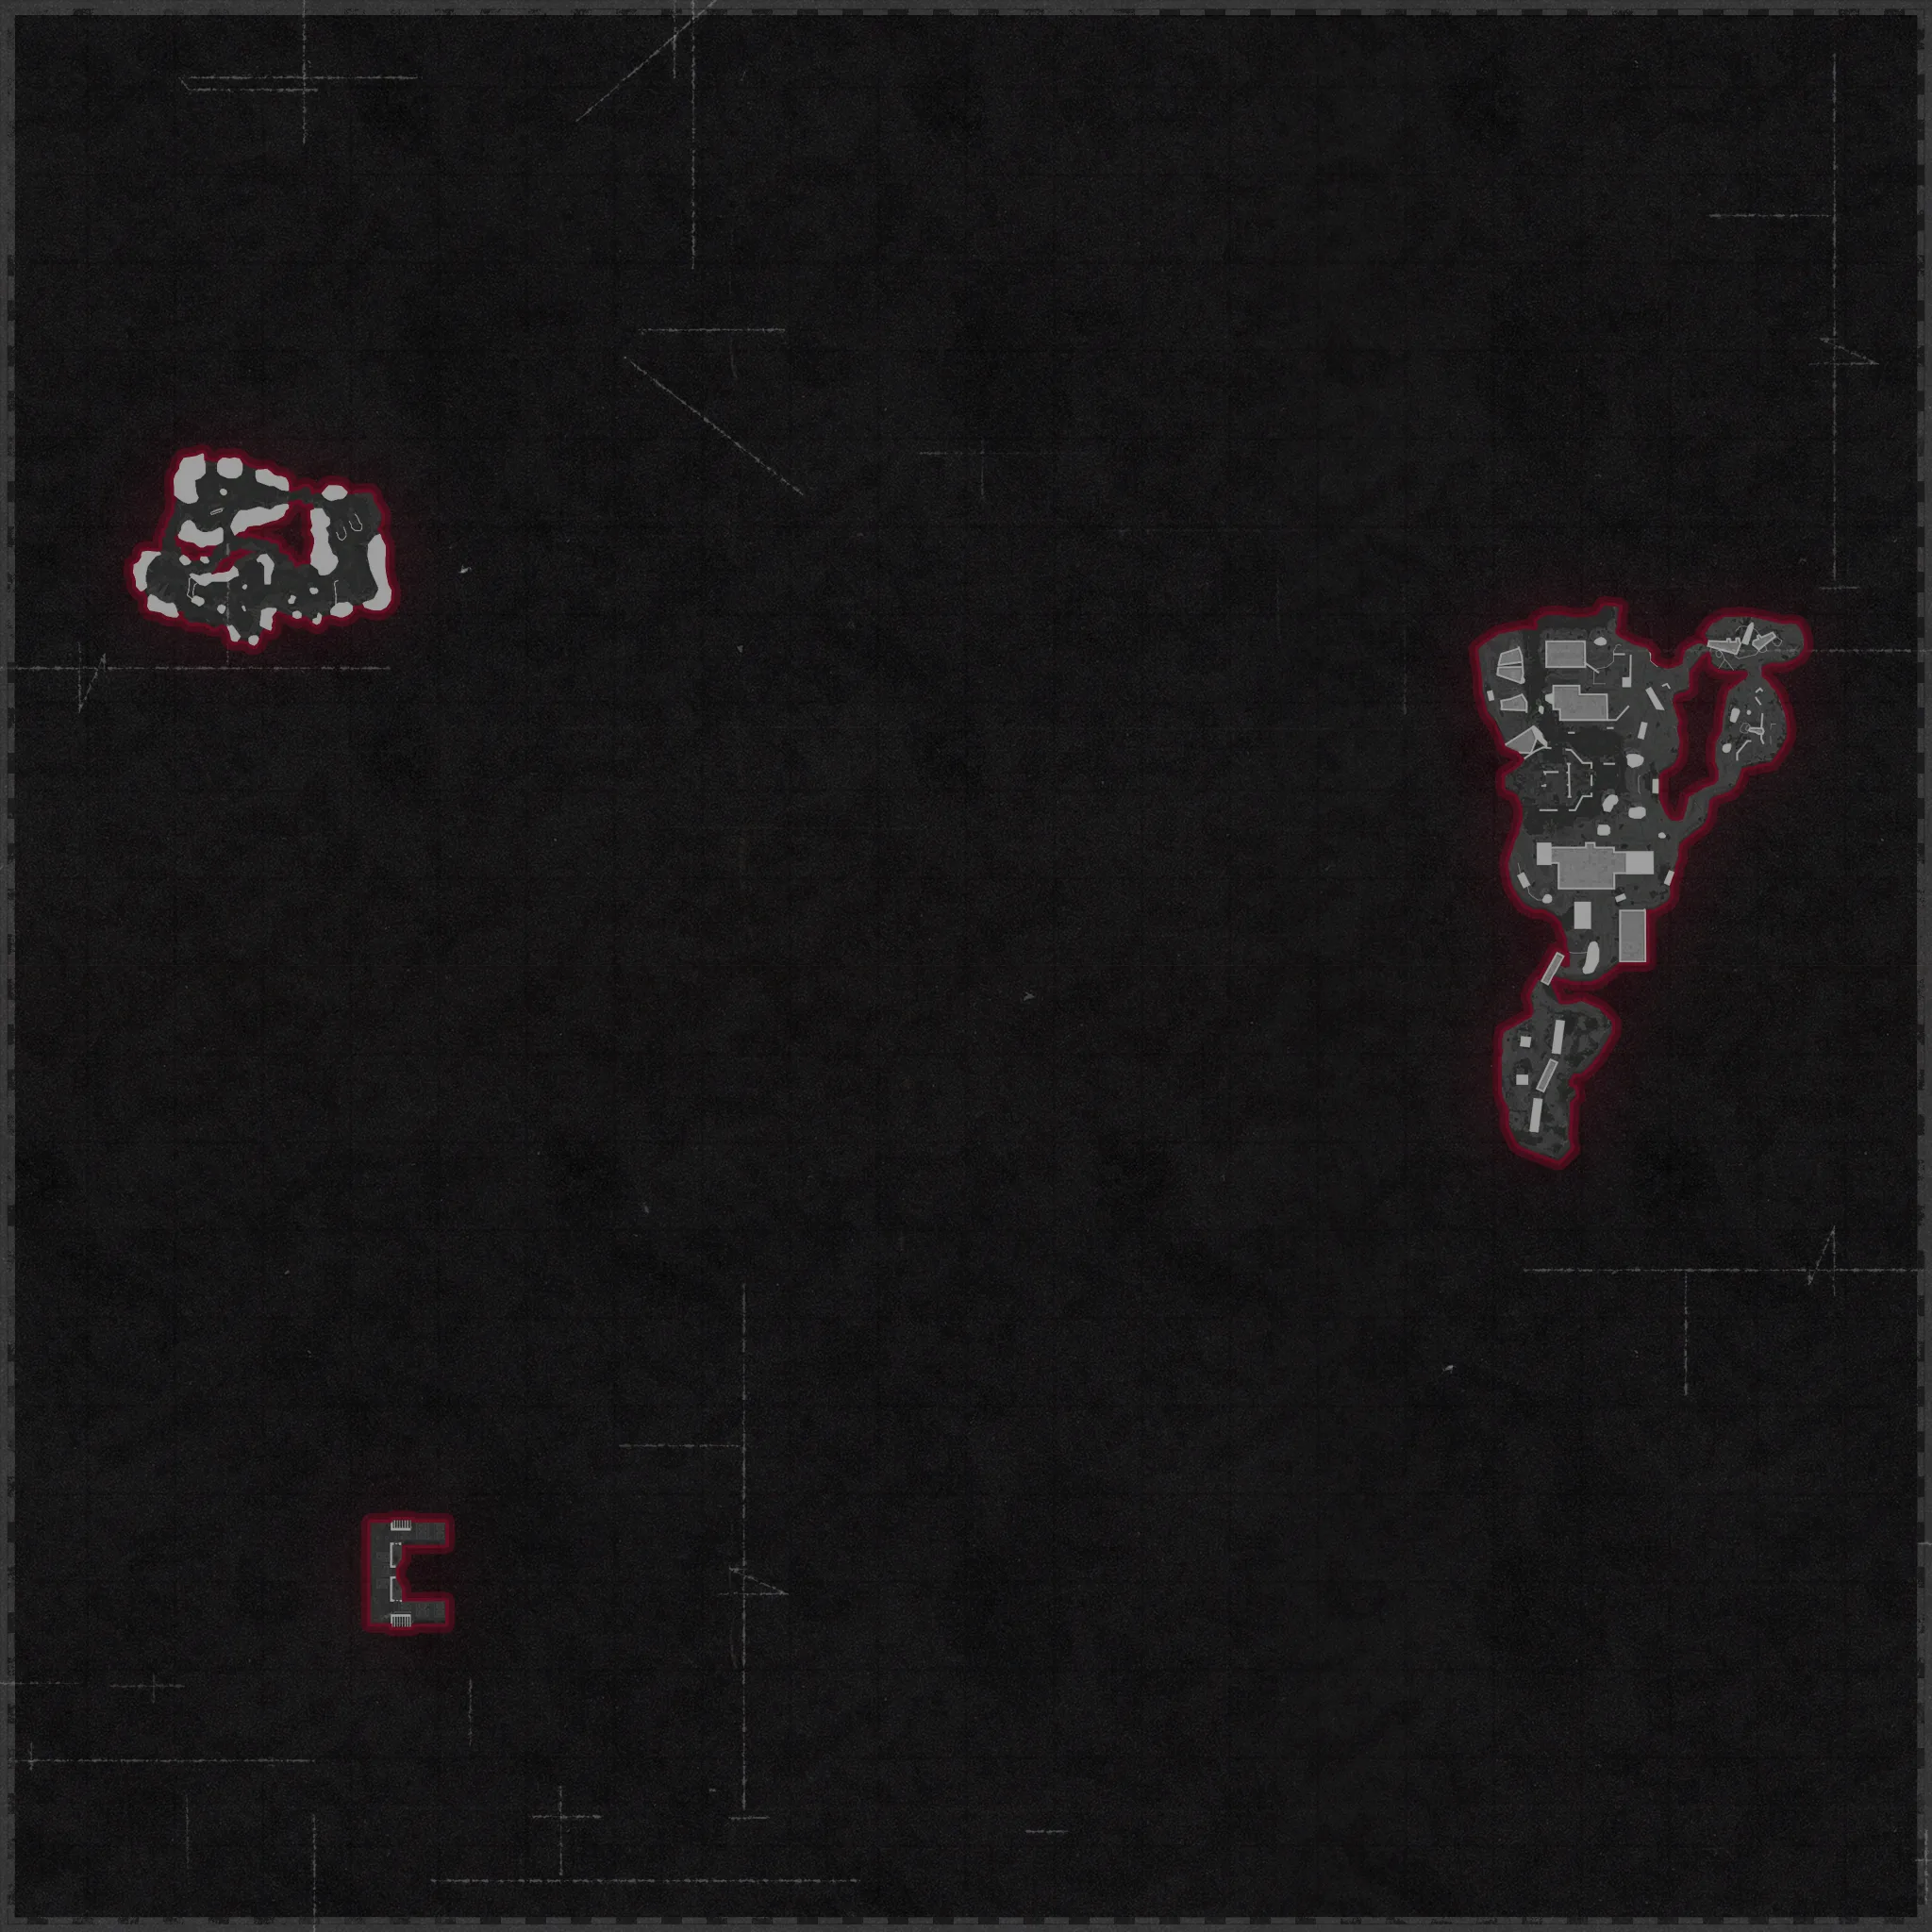
The map layout first, then the areas worth knowing by name. Map imagery © Activision, self-hosted.
Central Camp
Spawn hub: Pack-a-Punch, perks, armor, the Altar of Covenants and reward access.
Merchant Road
The Decimator Shield display and its story conversations; route to East Spring.
East Spring
Demonic Frenzy fountain, the first Shield rune and the Augmentor portal.
West Spring
Opens the western route and access to the Bazaar.
Bazaar
The second Shield rune and the Sacrifice portal.
Debris Field
The main-quest rune (by Venomous Vigor), the Void arena, the wall-arm puzzle and the Tome page.
Steps at a glance
- Objective hub for 1-4 players, fully solo-capable; no permanent boss lock-in — failed objective or Shield steps can normally be retried after another round.
- Main quest: build the Decimator Shield (two runes), enter the Debris Field Void, free four wall arms with the Shield slam, and recover the Tome page. Story completion ends there — there is no separate boss arena.
- The Decimator Shield is the map Wonder Weapon: a defensive block plus a charged slam that destroys special quest objects (and is required for the wall-arm puzzle).
- New objective types: Augmentor (protect a moving energy source, destroy the crystals powering enemy defenses) and Sacrifice (kill marked/empowered enemies inside a zone to fill the ritual).
- Same Vanguard systems as Der Anfang — perk fountains, Altar of Covenants (refresh after each objective), Artifacts, and Pack-a-Punch. Aim for armor + Fiendish Fortitude + Demonic Frenzy + one Pack-a-Punched primary before the Shield route in earnest; the Shield is utility, not a replacement for gun damage.
- Shovels appear at fixed desert landmarks; once held, dark soil mounds can be dug for equipment, points, quest objects — or hazards. Treat every dig as unsafe until the result appears.
- Special enemies: Boom Schreier, Sturmkrieger, Zaballa and objective-specific elite pressure; the Bazaar and spring corners are riskier when Zaballa is active.
Full walkthrough
Open Merchant Road and hear the Shield
Complete the portal that opens Merchant Road, then approach the blocked Decimator Shield display and stay nearby until the Dark Aether dialogue finishes.
First rune — Augmentor + four crystals
Open East Spring, pick up the glowing rune beside Demonic Frenzy, and enter its portal to complete an Augmentor objective (protect the energy source; follow the markers). On returning, find and shoot the four dark crystals that form around the central area — use their glow and audio hum to confirm each break — then return to the Shield to hear the next dialogue.
- Merchant Road dialogue heard
- East Spring rune collected
- Augmentor completed
- Four central crystals destroyed
Second rune — Bazaar + Sacrifice
Open West Spring for Bazaar access, collect the Bazaar rune, and enter its portal to complete a Sacrifice objective (kill the marked enemies inside the ritual zone — don't pull elites out of the scoring area).
- West Spring + Bazaar opened
- Bazaar rune collected
- Sacrifice completed
Claim the Decimator Shield
Return to the display; the Decimator Shield drops and can be equipped. Block to soak fire while repositioning/reviving; charge the slam (a wide shockwave) for the wall-arm puzzle — don't waste it just before entering the Void.
Open the Debris Field and take the quest rune
Complete the outer portal route to the Debris Field and pick up the glowing quest rune near Venomous Vigor.
Enter the Void and free four arms
Enter with the Shield slam charged. Four energy beams point from a central structure to arms trapped in the walls — trace one beam at a time, stand close to each arm and use the Shield slam, waiting for the visual break before the next. Use the block when crossing open ground under Sturmkrieger fire.
- Decimator Shield brought (slam charged)
- All four wall arms freed
Recover the Tome page
Once all four arms are released, collect the Tome page that appears and use the portal to its right to return — the payout back outside is roughly 10,000 essence plus loot chests, which (with the completion dialogue) confirms this boss-less quest is done. (If the page doesn't appear, recheck all four beam endpoints for an arm that still has its restraint.)
- Tome page collected
- Reward dialogue confirmed — quest complete
Side Easter Eggs & extras
Everything beyond the main quest. Tap any entry to open the full how-and-where breakdown.
Decimator Shield
Block (face fire to reduce pressure) + a charged slam (wide shockwave, required for the wall-arm puzzle). In co-op the Shield carrier handles quest objects while teammates protect the approach and clear elites.
Lost Tome pages → Death Machine room
With a shovel, dig scattered pages from dark soil mounds; returning the complete set opens the sealed Death Machine room and can improve a powerful reward — including a possible Ray Gun. Dig placements use match-specific pools, so search the whole area.
Antenna & radios
Recover the antenna through dig interactions, then use the map's radios in the prompted sequence for story dialogue and rewards.
Corrupted Heart
Follow the red corruption cue through its interaction chain; expect a combat event before the reward appears.
Red orb route
Interact with the red orb and follow its movement around the hub — keep one zombie alive so the route can be finished without round pressure.
Perks / Covenants / Artifacts
Perk fountains (prioritise Fiendish Fortitude, Demonic Frenzy, Aethereal Haste), the Altar of Covenants (refresh after each objective; Legendary ammo/healing effects transform late objectives) and Artifacts (Aether Shroud for objective safety, Ring of Fire for elites) — the shared Vanguard economy.
Recommended loadouts
Three strong picks for this map — the map's Wonder Weapon plus reliable box/wall options. These are pre-augment-era games, so the setup is the gun plus Pack-a-Punch and perk synergy.
Decimator Shield
Wonder Weapon (built)Two-rune build: block to soak incoming fire, and a charged slam that destroys quest objects and frees the four Void wall-arms. It is utility, not a damage replacement — back it with a Pack-a-Punched primary.
Pack-a-Punched primary
WorkhorseNo specific gun quest here; take a shotgun or accurate automatic and Pack-a-Punch it early. The Shield handles emergencies, the gun handles kills.
Visual guides & sources
Screenshots and exact part locations live in these — open one on a second screen.